Tin Can Containers


Things to do with old tin cans while in isolation - idea two is the simplest - containers.
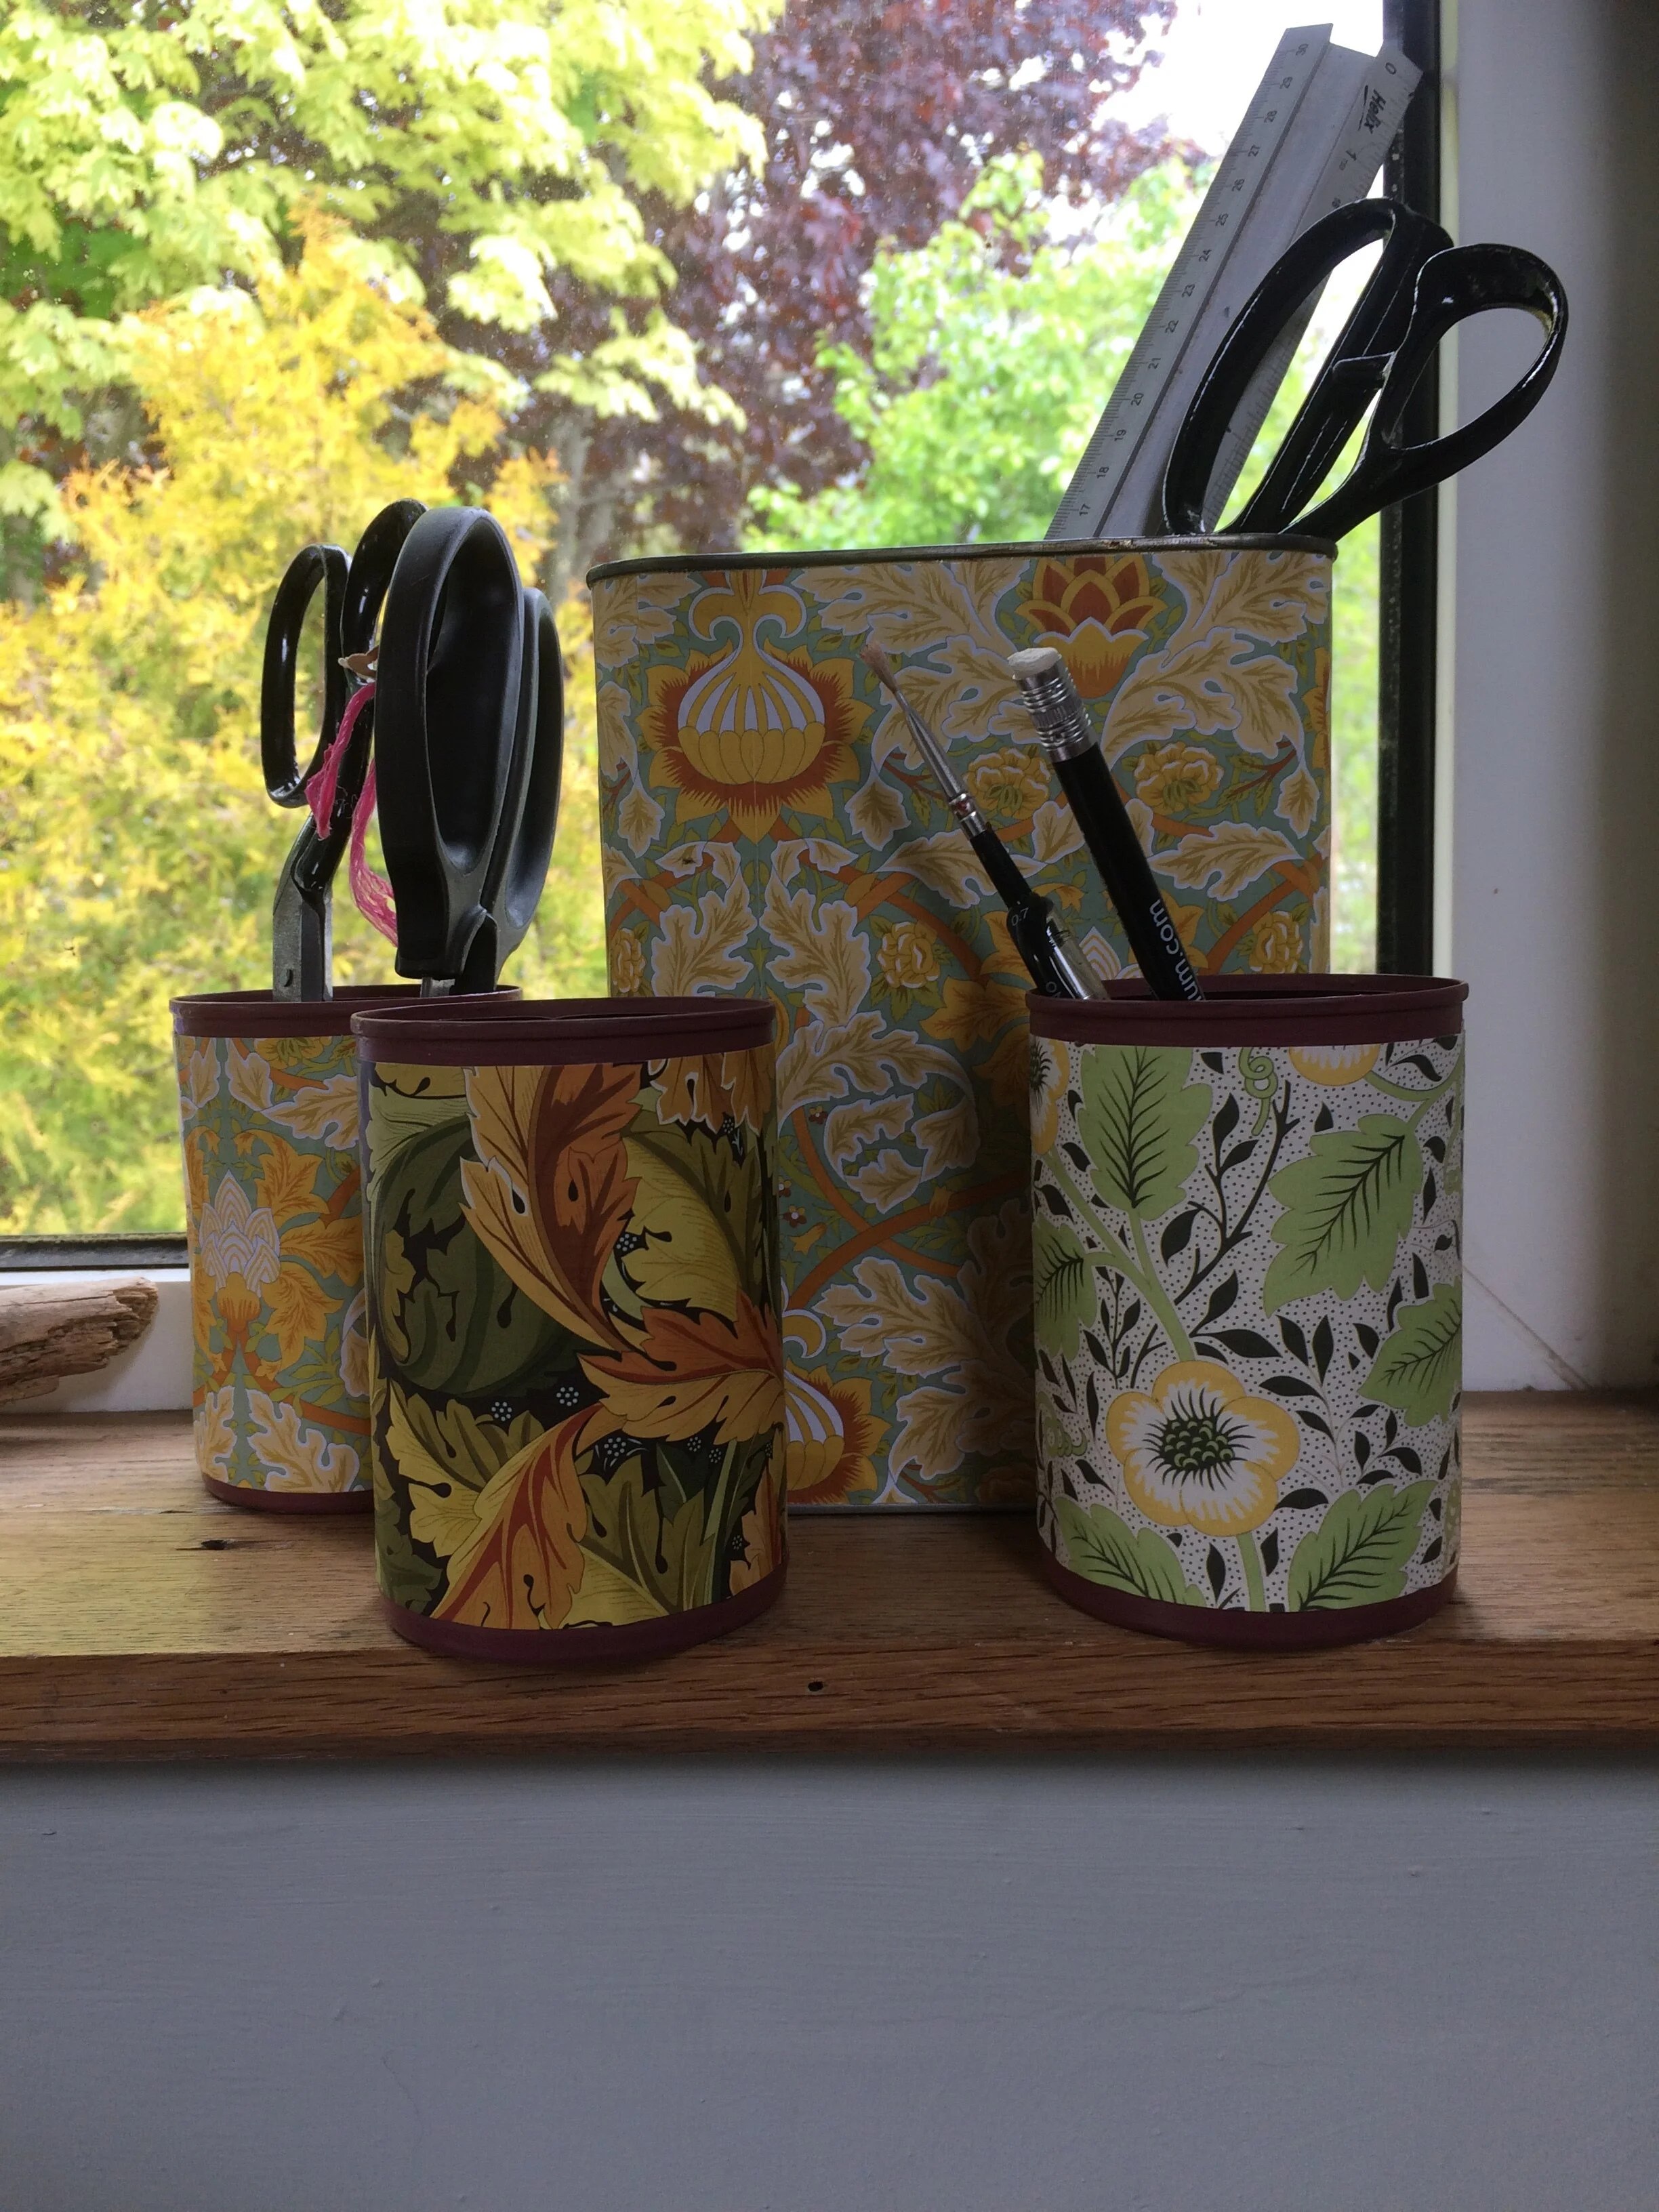
Standard sized tin cans are brilliant for holding art supplies, cutlery, dried flower arrangements, all sorts of bits and bobs. You can make lovely containers from old tin cans, paper and glue, and perhaps a bit of paint. Add cardboard, more glue and some fabric scraps or buttons, and you can add matching lids.
1. Clean the cans and remove the labels


Clean the tins thoroughly and remove the label (which should come off cleanly if you hold the can under hot water). Smooth down any sharp or rough edges where the lid was removed by pinching them down towards the inside of the can with pliers.
2. Paint the cans

This is a good chance to use up old emulsion tester pots. Paint the top and bottom rims of the can. I was not sure how much paper I was going to put around the middle of the can so I painted quite far down. If you like, paint a little inside the can as well. I found that two coats of emulsion paint covered the tins well.
3. Decorate with Paper


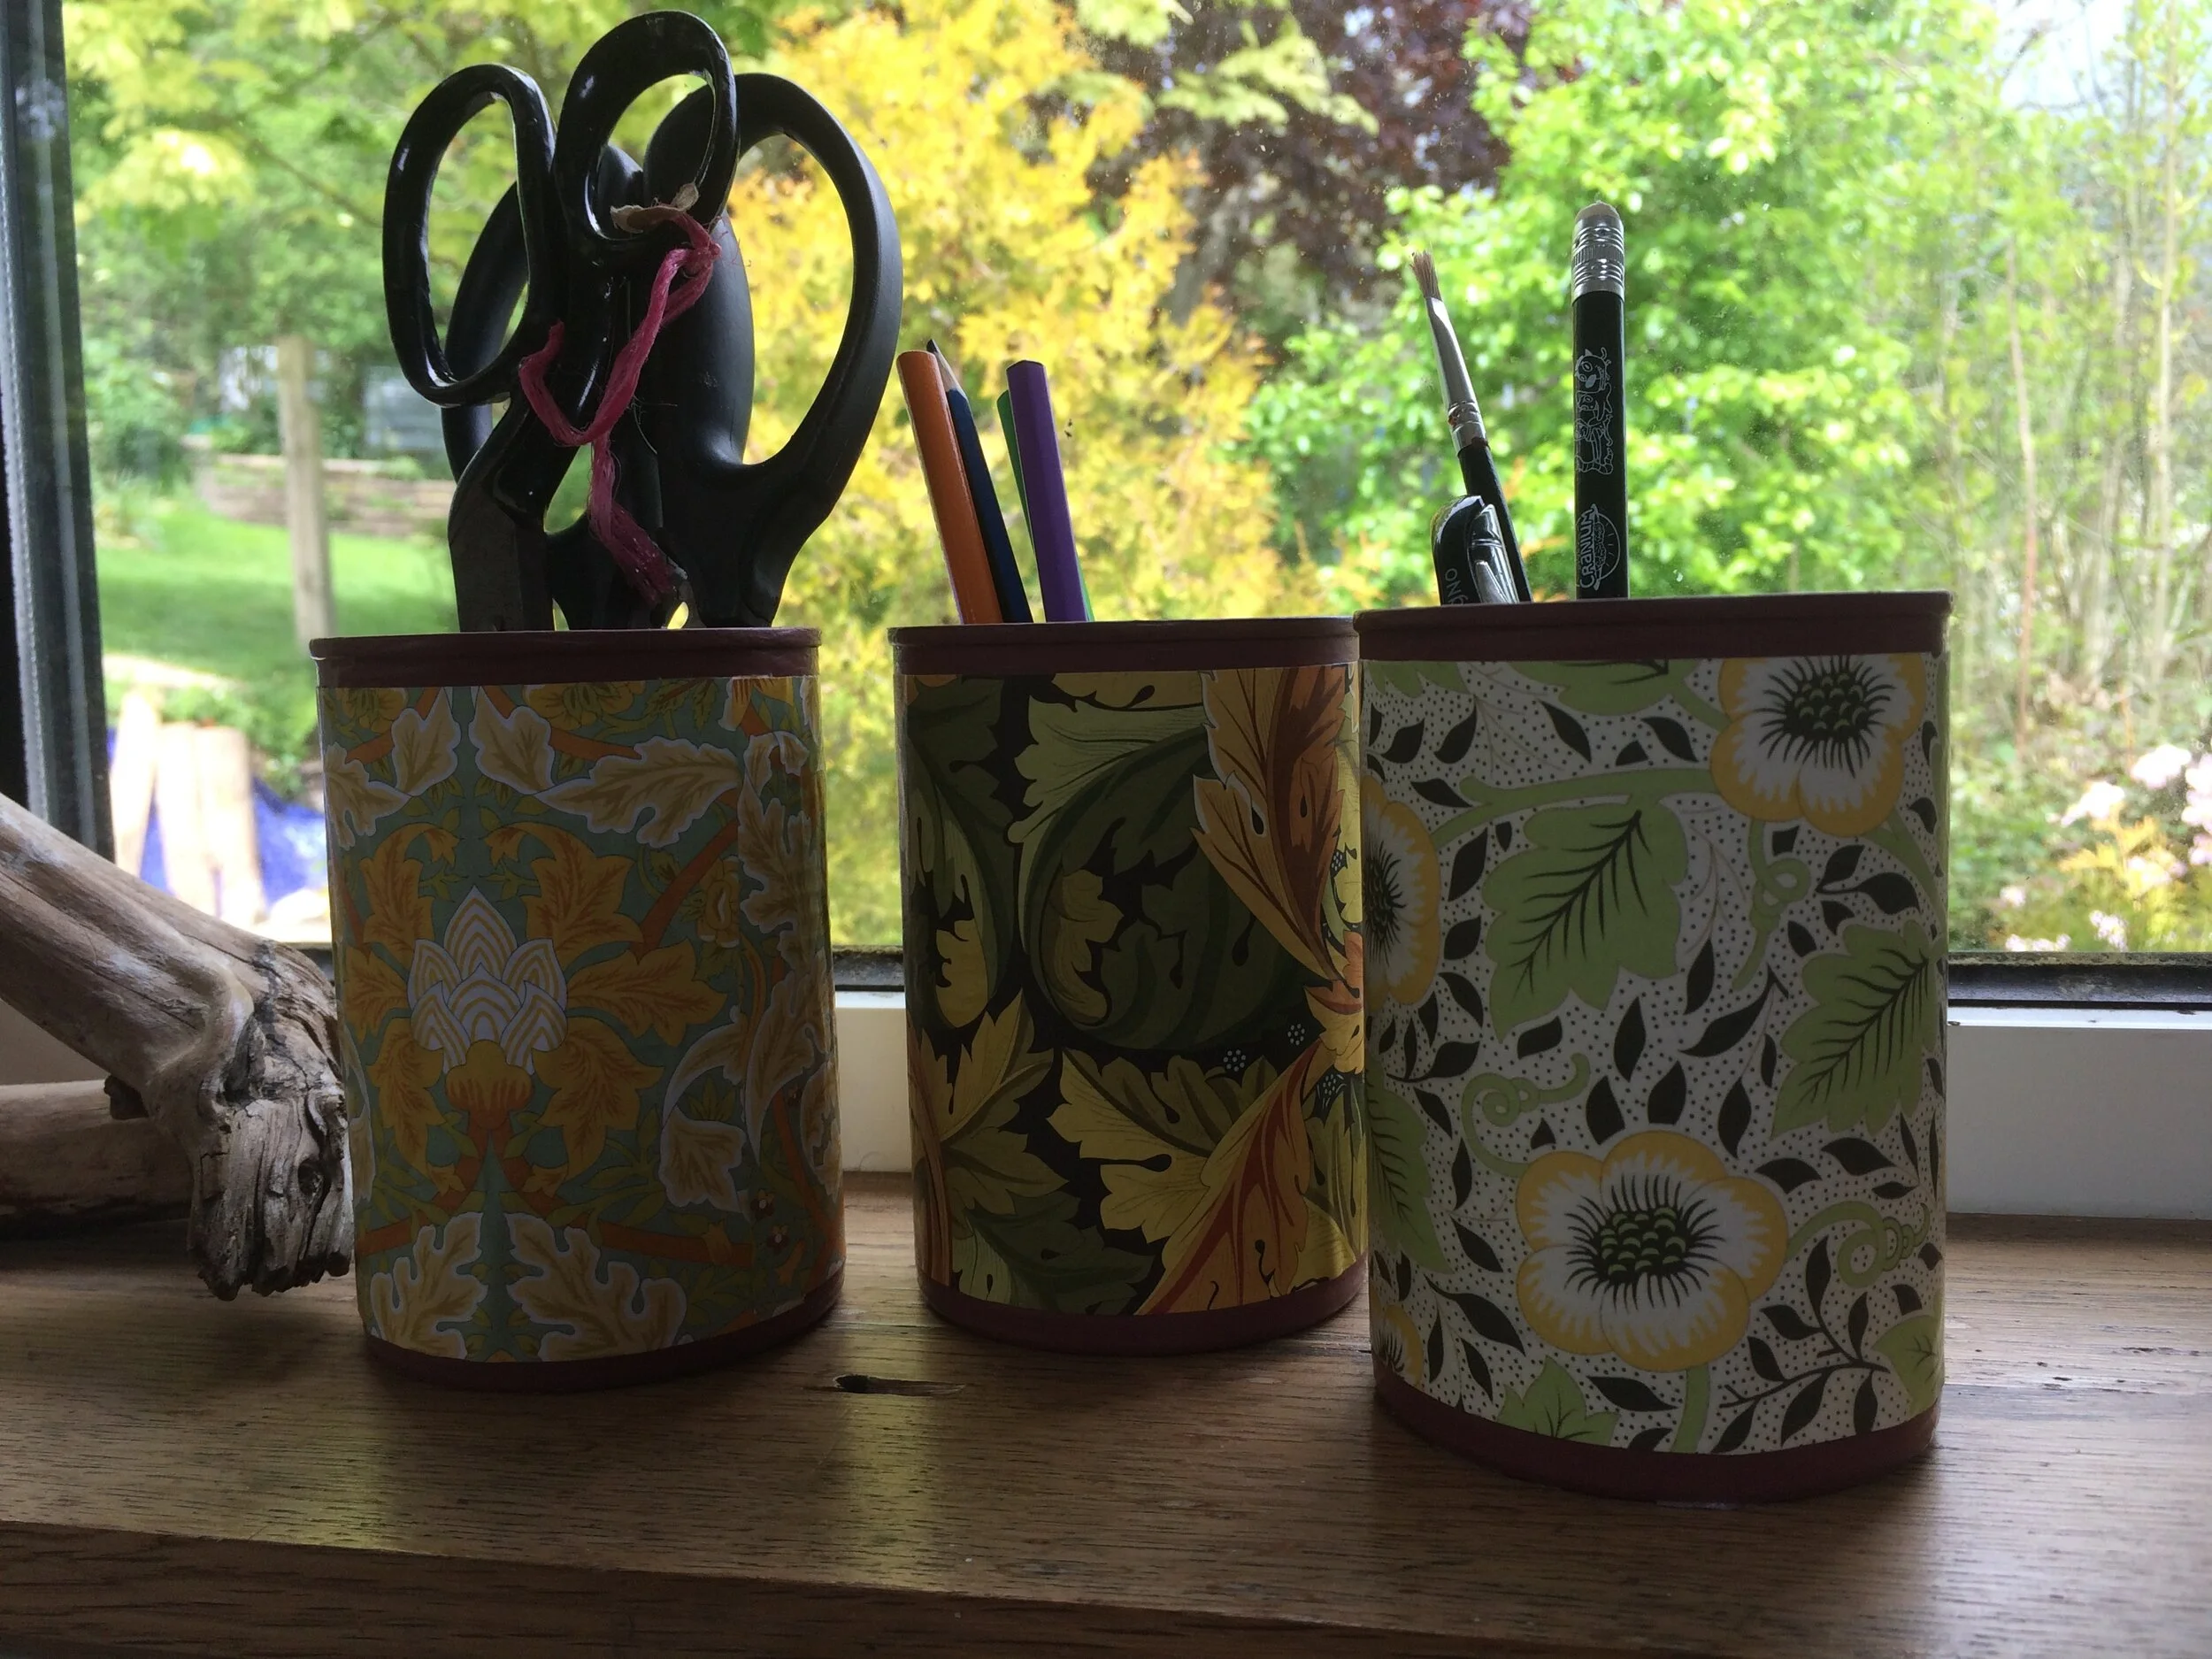
Measure the height of the can, and cut a strip of paper the correct height, using a mat and rotary cutter or scissors. Use mod podge or clear-drying glue to coat the can, and stick on the paper. If you don’t have clear-drying glue then you can use a few dots of any glue to attach the start and end of the strip.
Adding a code of clear-drying glue or varnish over the while can and paper will help protect your container.
I used some pretty wrapping paper, but you can get all sorts of different styles, using wrapping paper, newspaper, pages from old books or children’s art work.
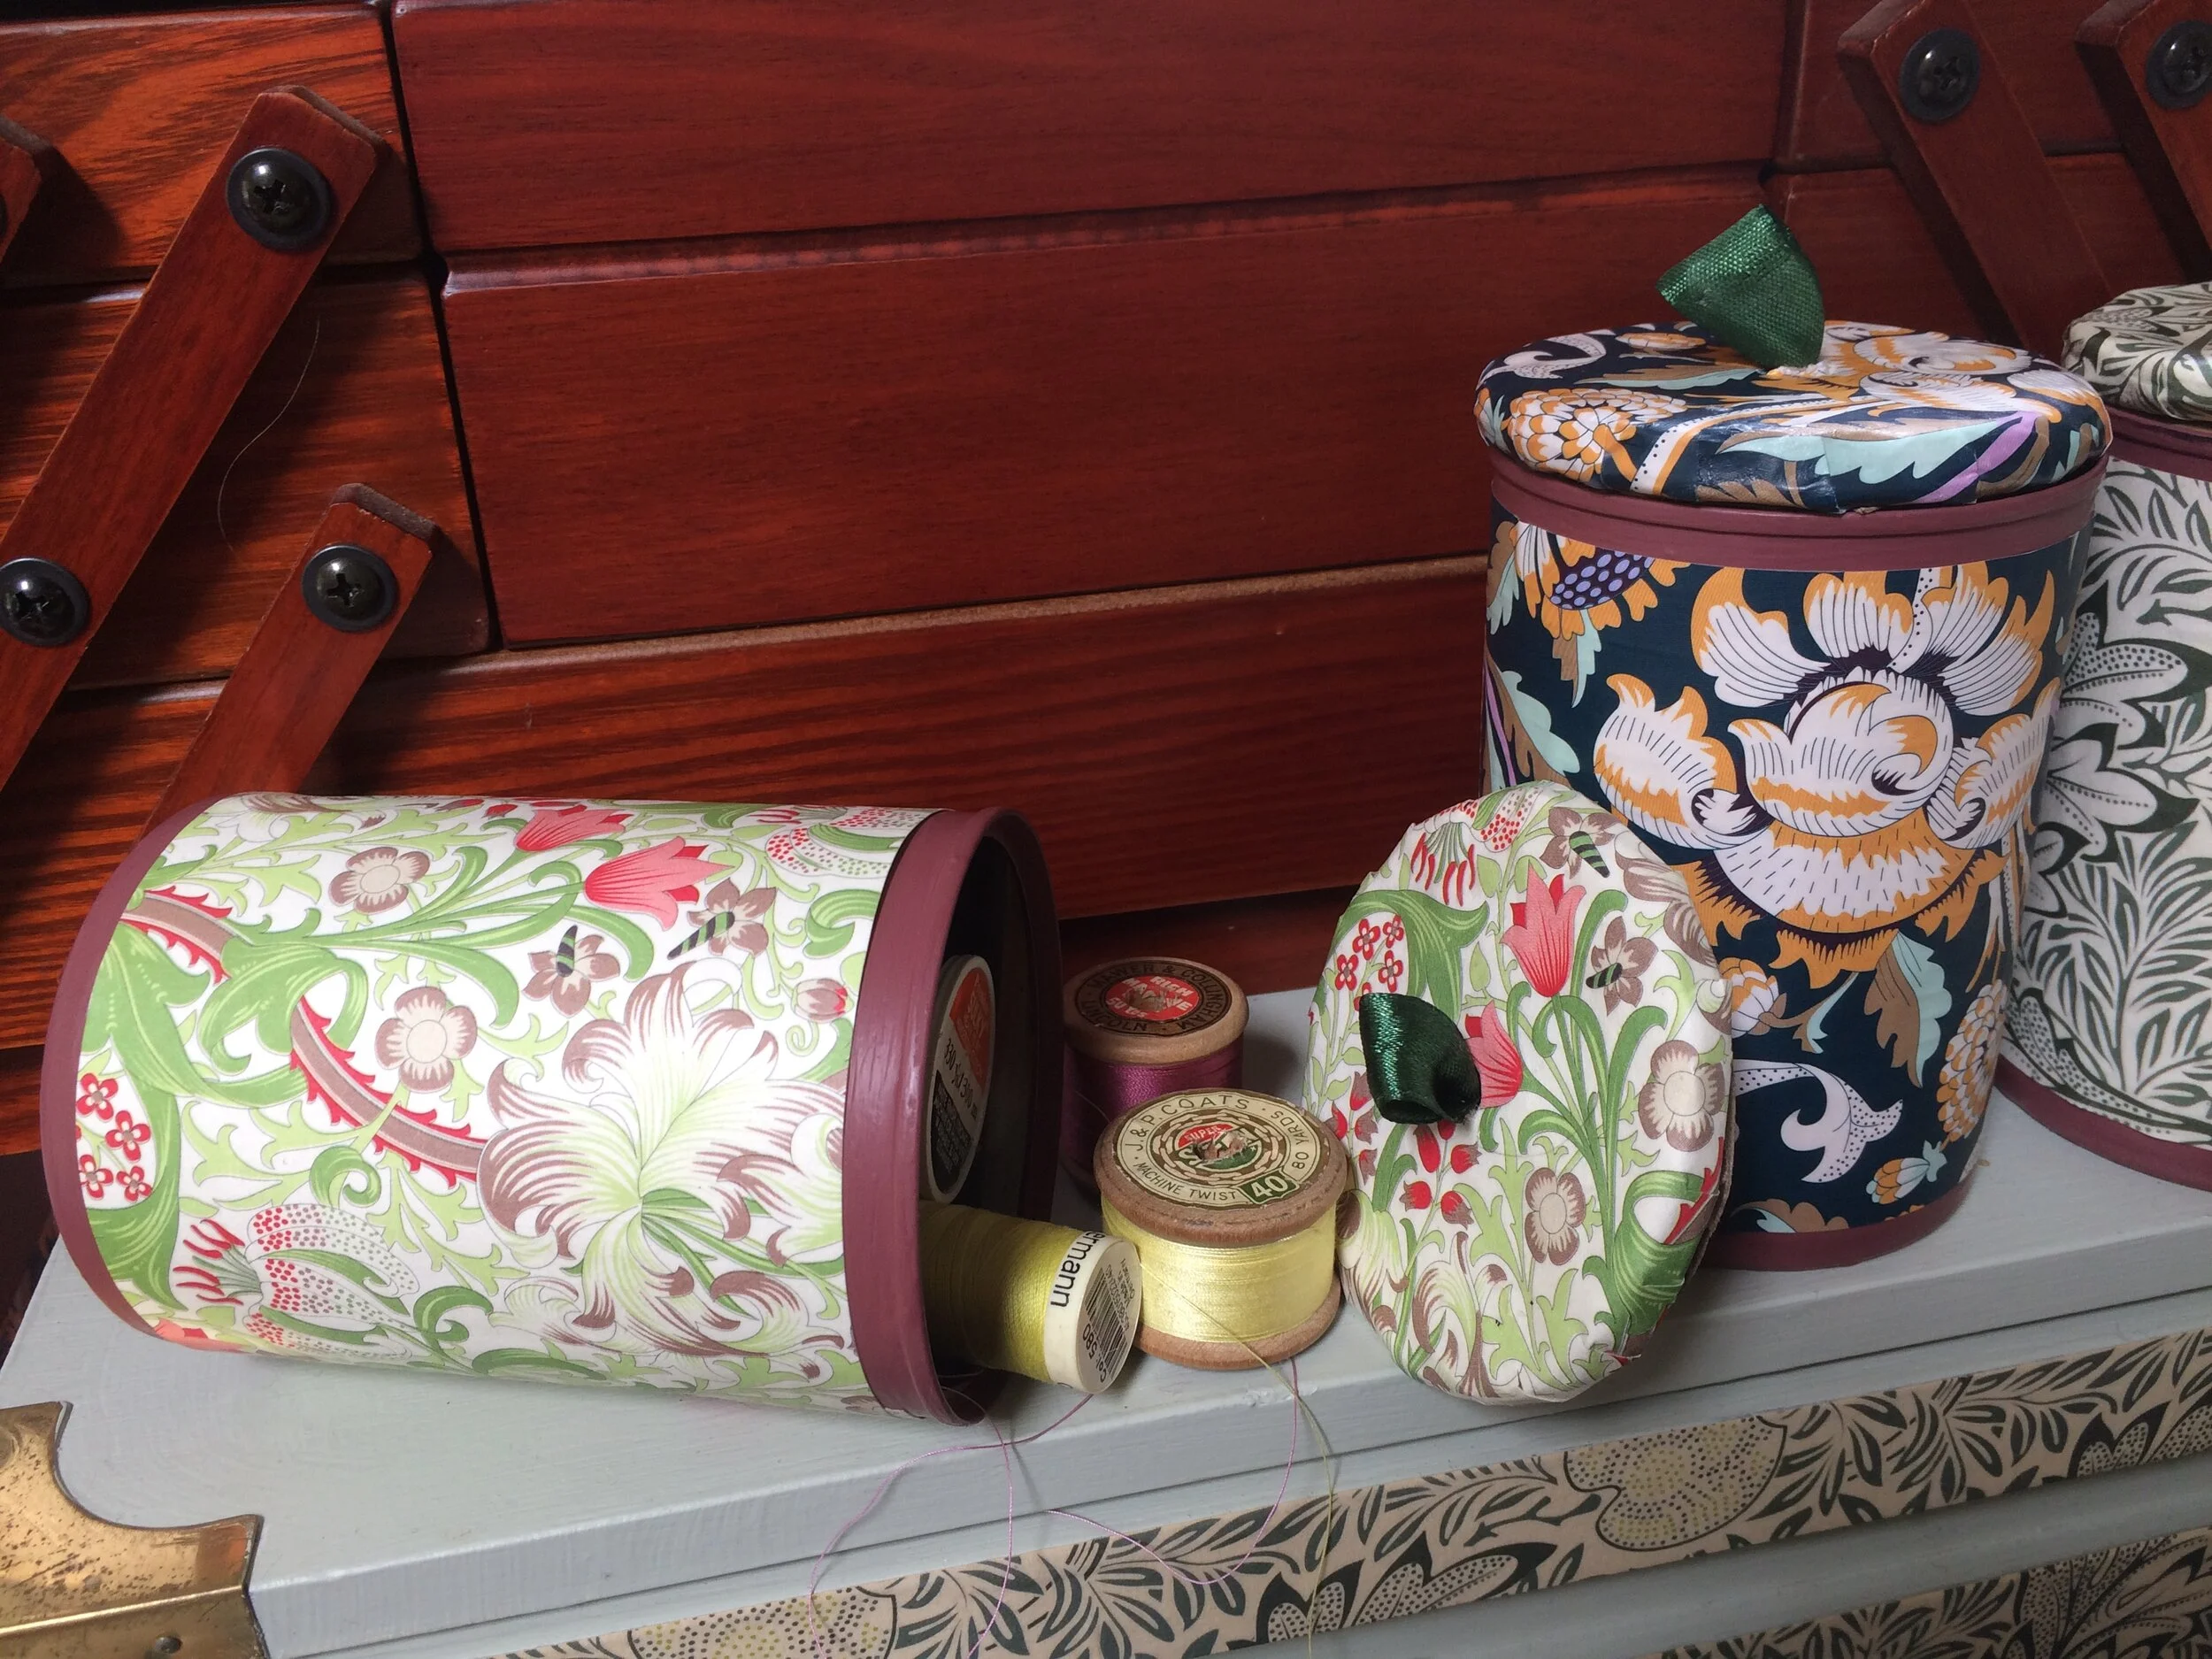
4. Make lids
You could make these lids out of wood, or other materials such as old cork tiles or foamboard. I used cardboard for quick and easy lids.

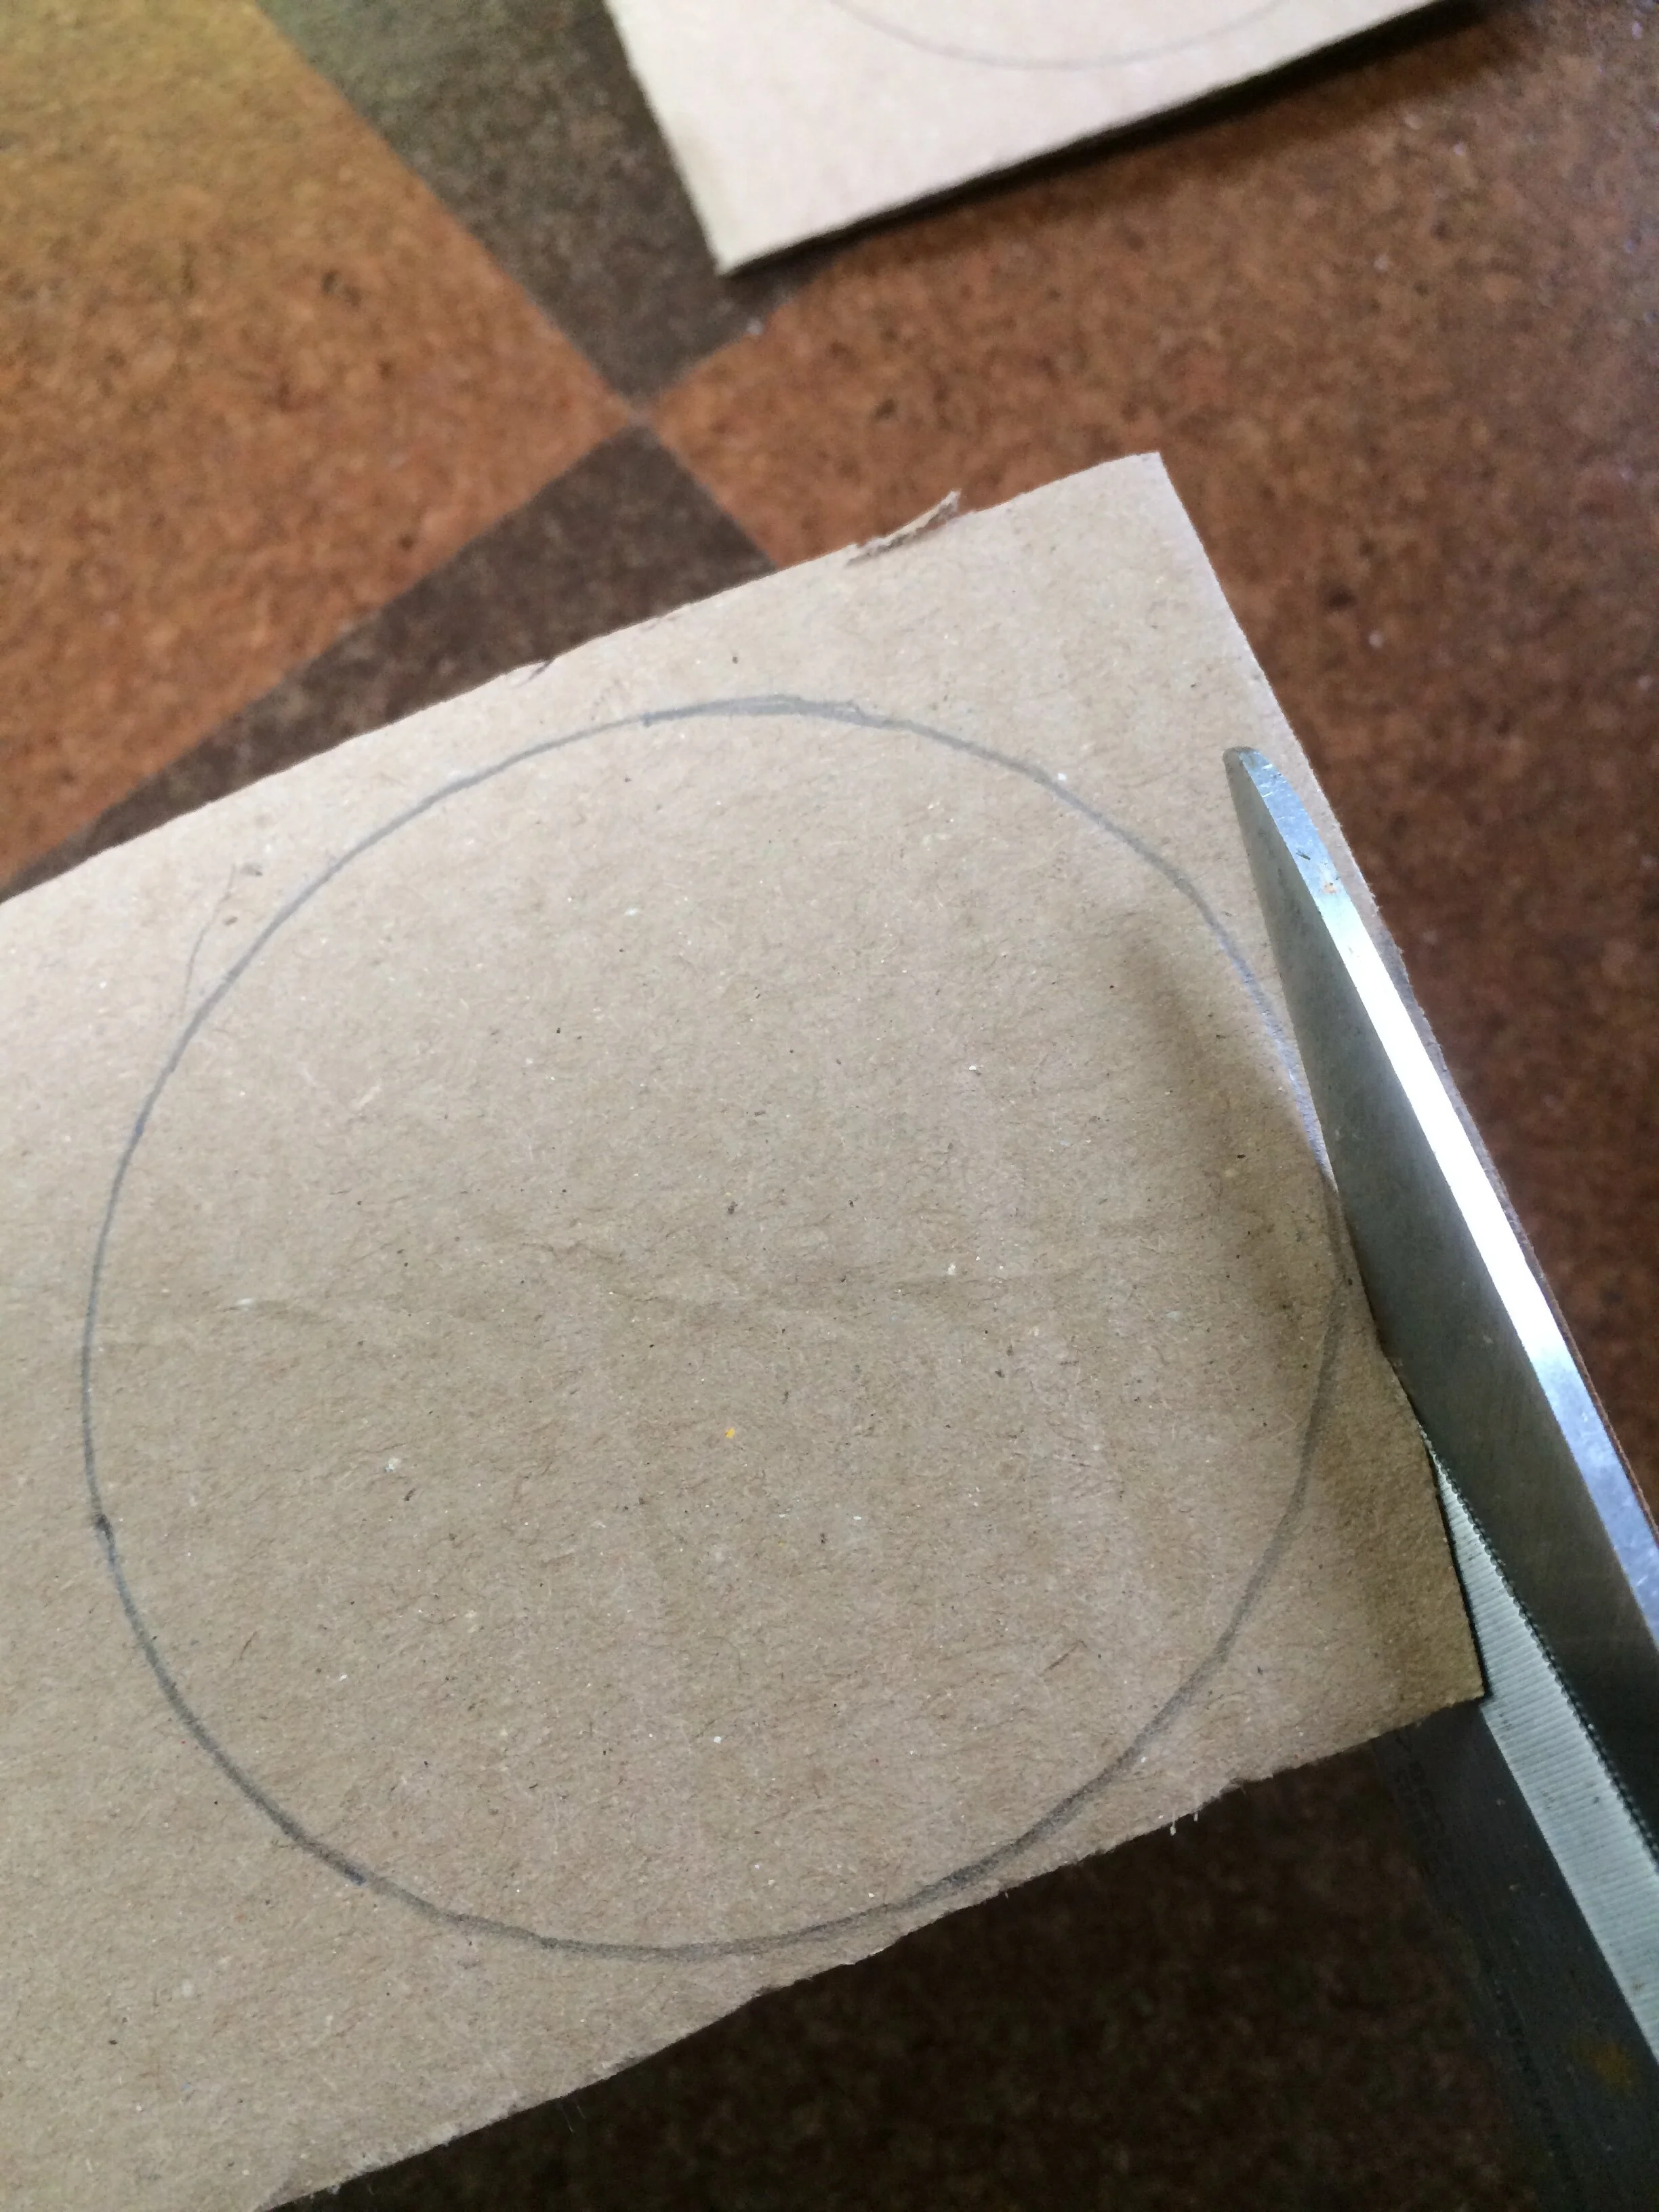

Trace around the top of the can on your cardboard, and cut out the circle. You will sandwich cardboard circles together to make the lid. Using corrugated cardboard from a packing box, I cut out four circles for each lid.
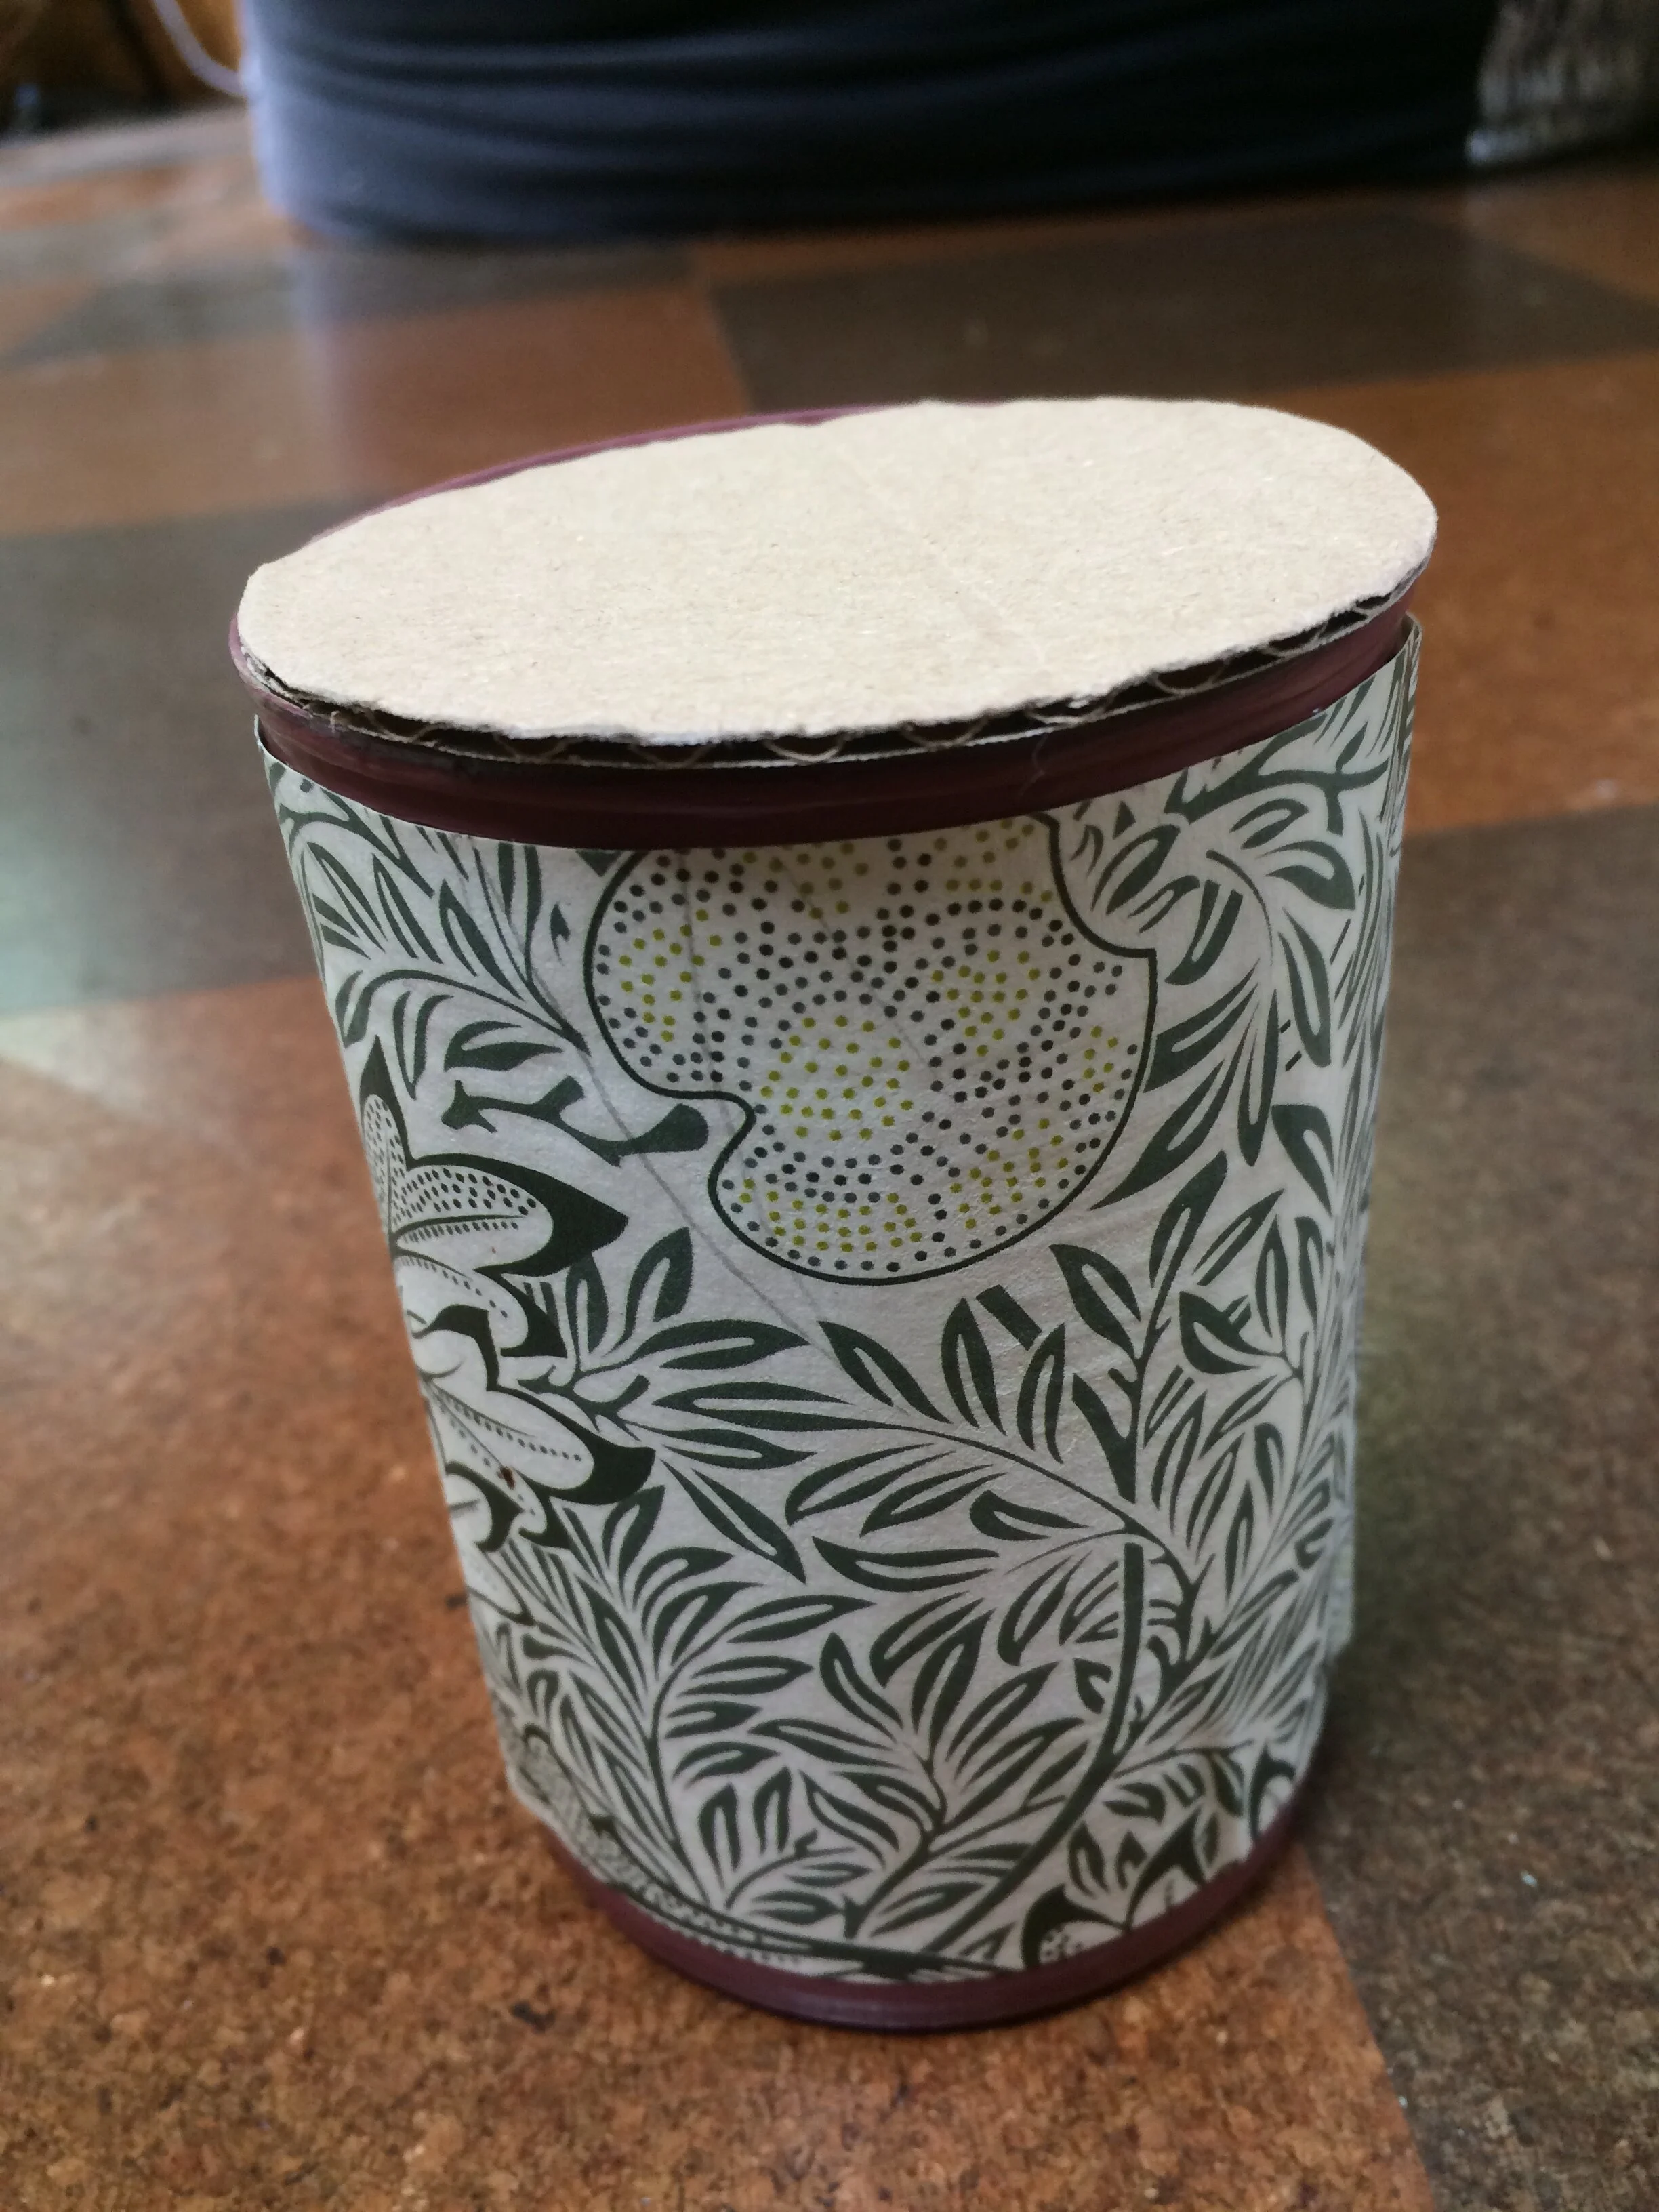
For each lid, stick three of the circles together, and let them dry.


Next, trace around the can on your decorative paper, and then cut out a circle that is about 2cm larger than your pencil circle. Make a series of cuts around the edge of the circle, stopping at the pencil circle. Stick the paper to your lid (cardboard sandwich), then fold the flaps over to the back of the lid and stick them down there. Let your lid dry, and ideally give the whole lid another coat of clear-drying glue.


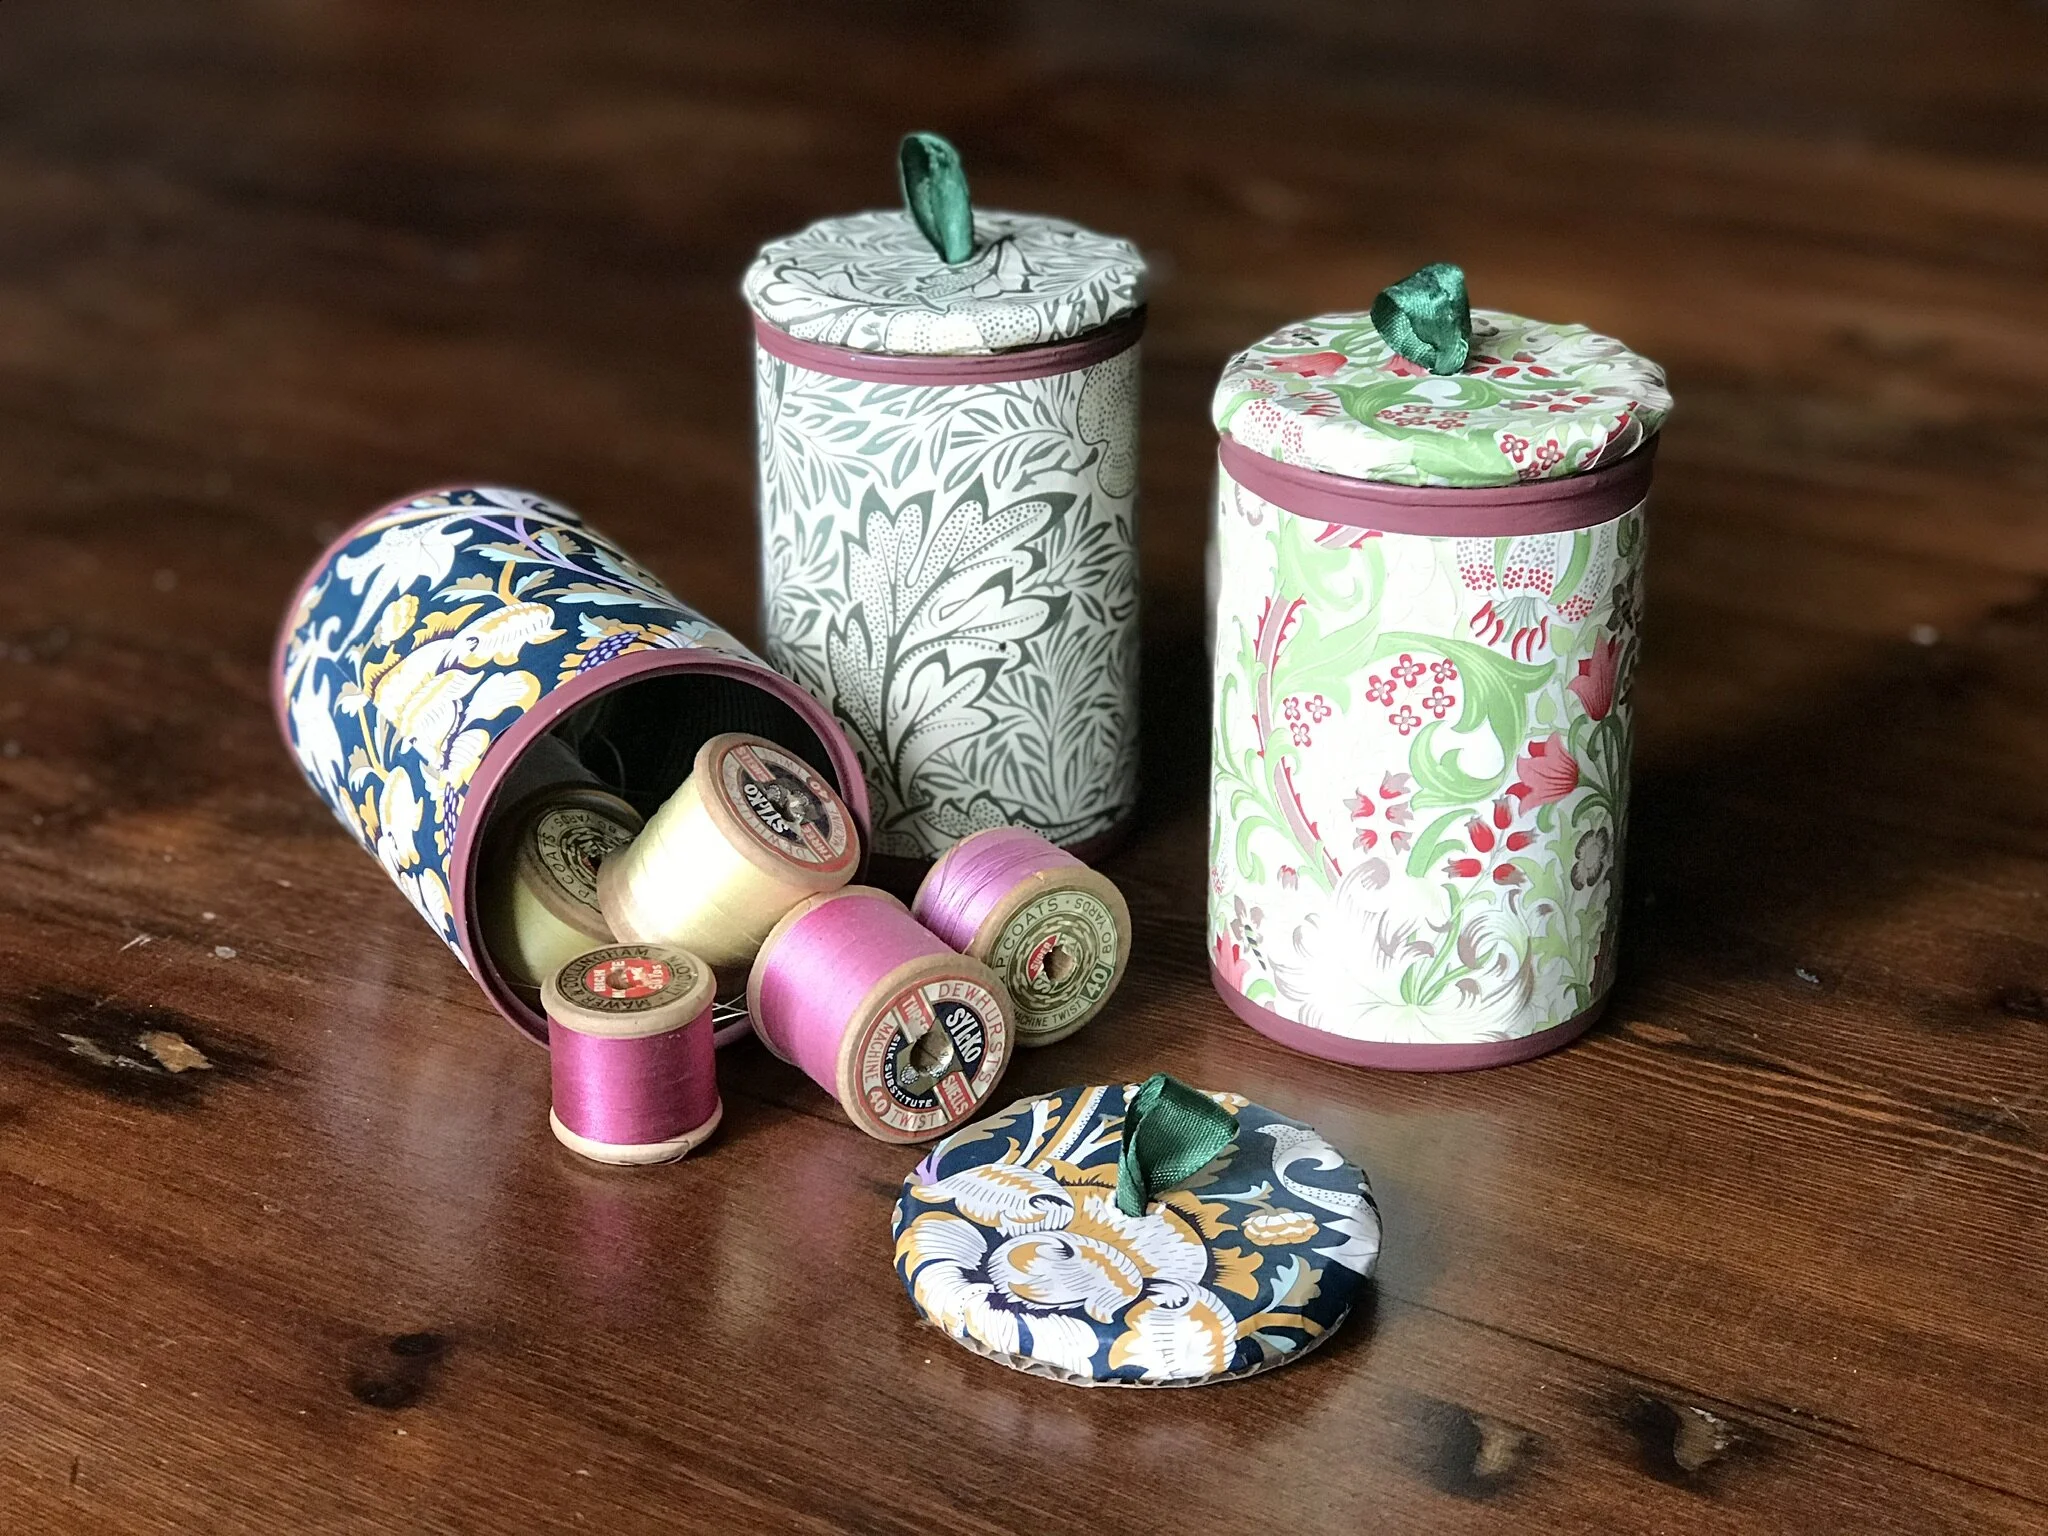
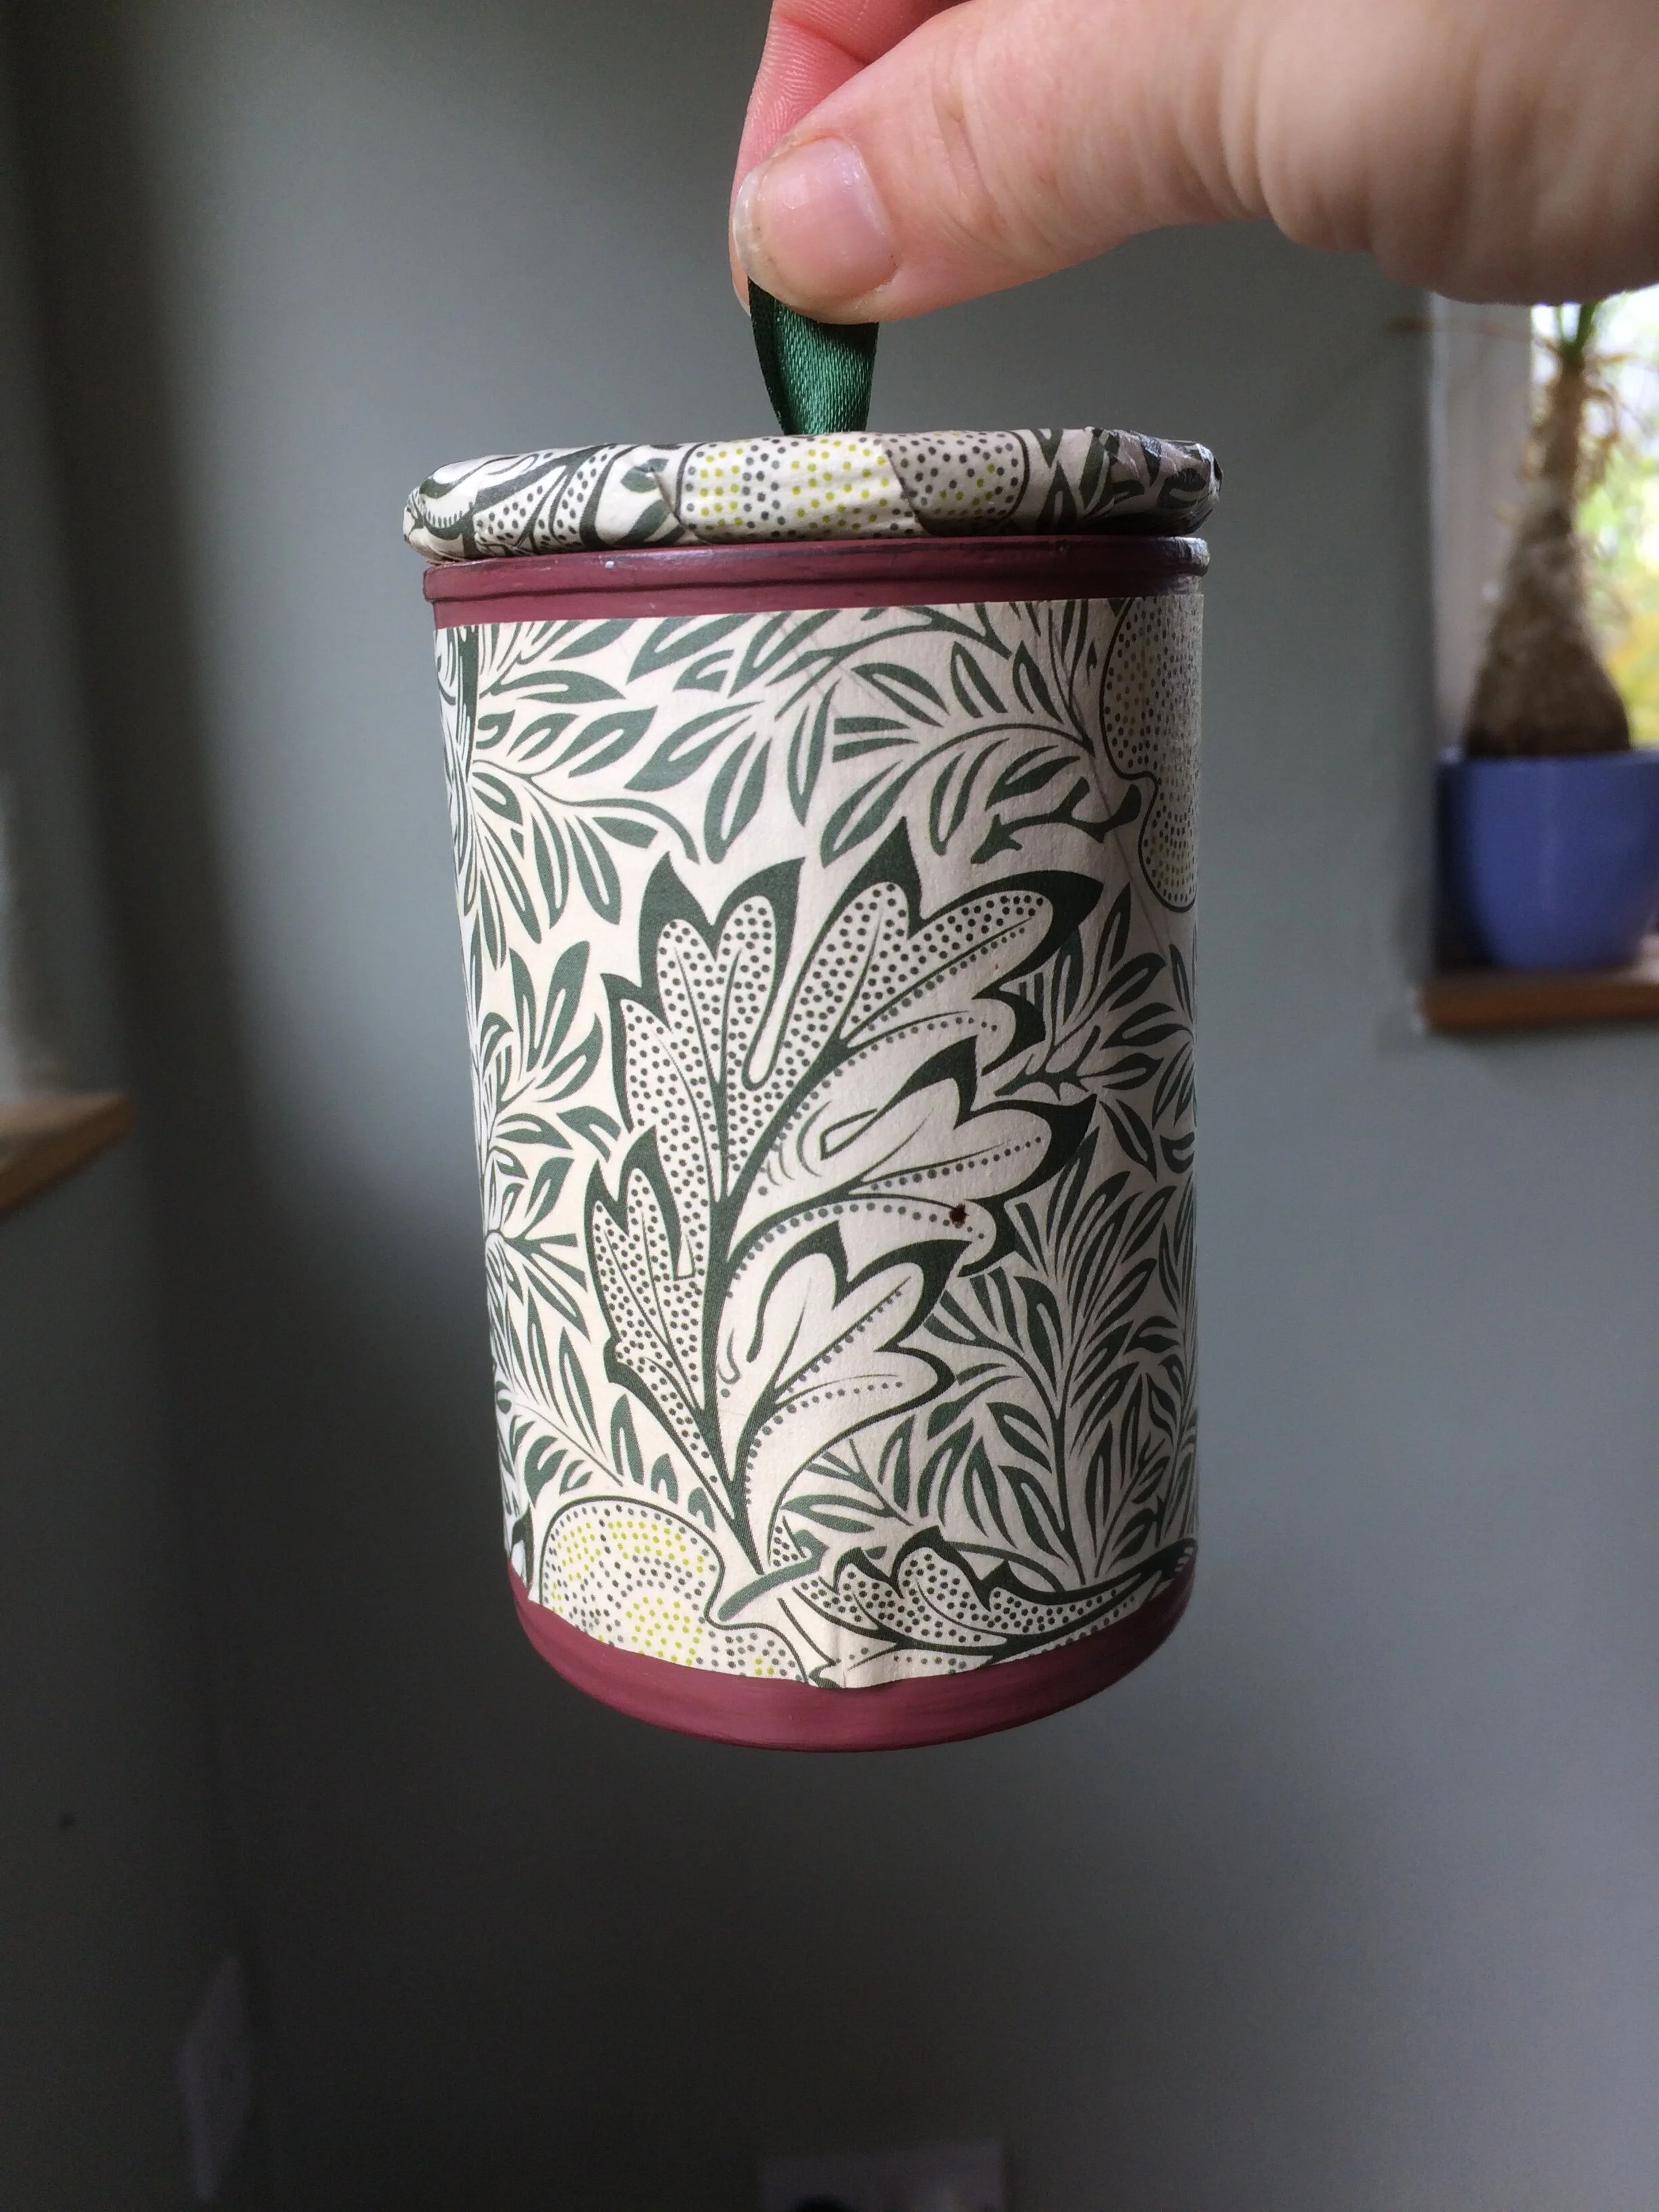
Once your lid is dry, make a hole through the centre, and push a small piece of ribbon though from the back. Next, take the last remaining cardboard circle for each lid, and trim it all the way around by a very small amount. This circle needs to fit snugly inside the rim of the can.
Flatten the loose ends of the ribbon, and stick the final cardboard circle to the back of the lid, holding the ribbon in place. You could paint or decorate the bottom of the lid, but since this is not visible I did not do this.
The cardboard and paper give a slightly squashy, quilted feel and the seal is quite strong; as long as the final cardboard circle on the back is the right size, you should be able to lift up your tin can container by the lid.

5. Use your containers
With or without lids, the containers are super useful for organising children’s art, craft supplies, gardening supplies, cutlery…