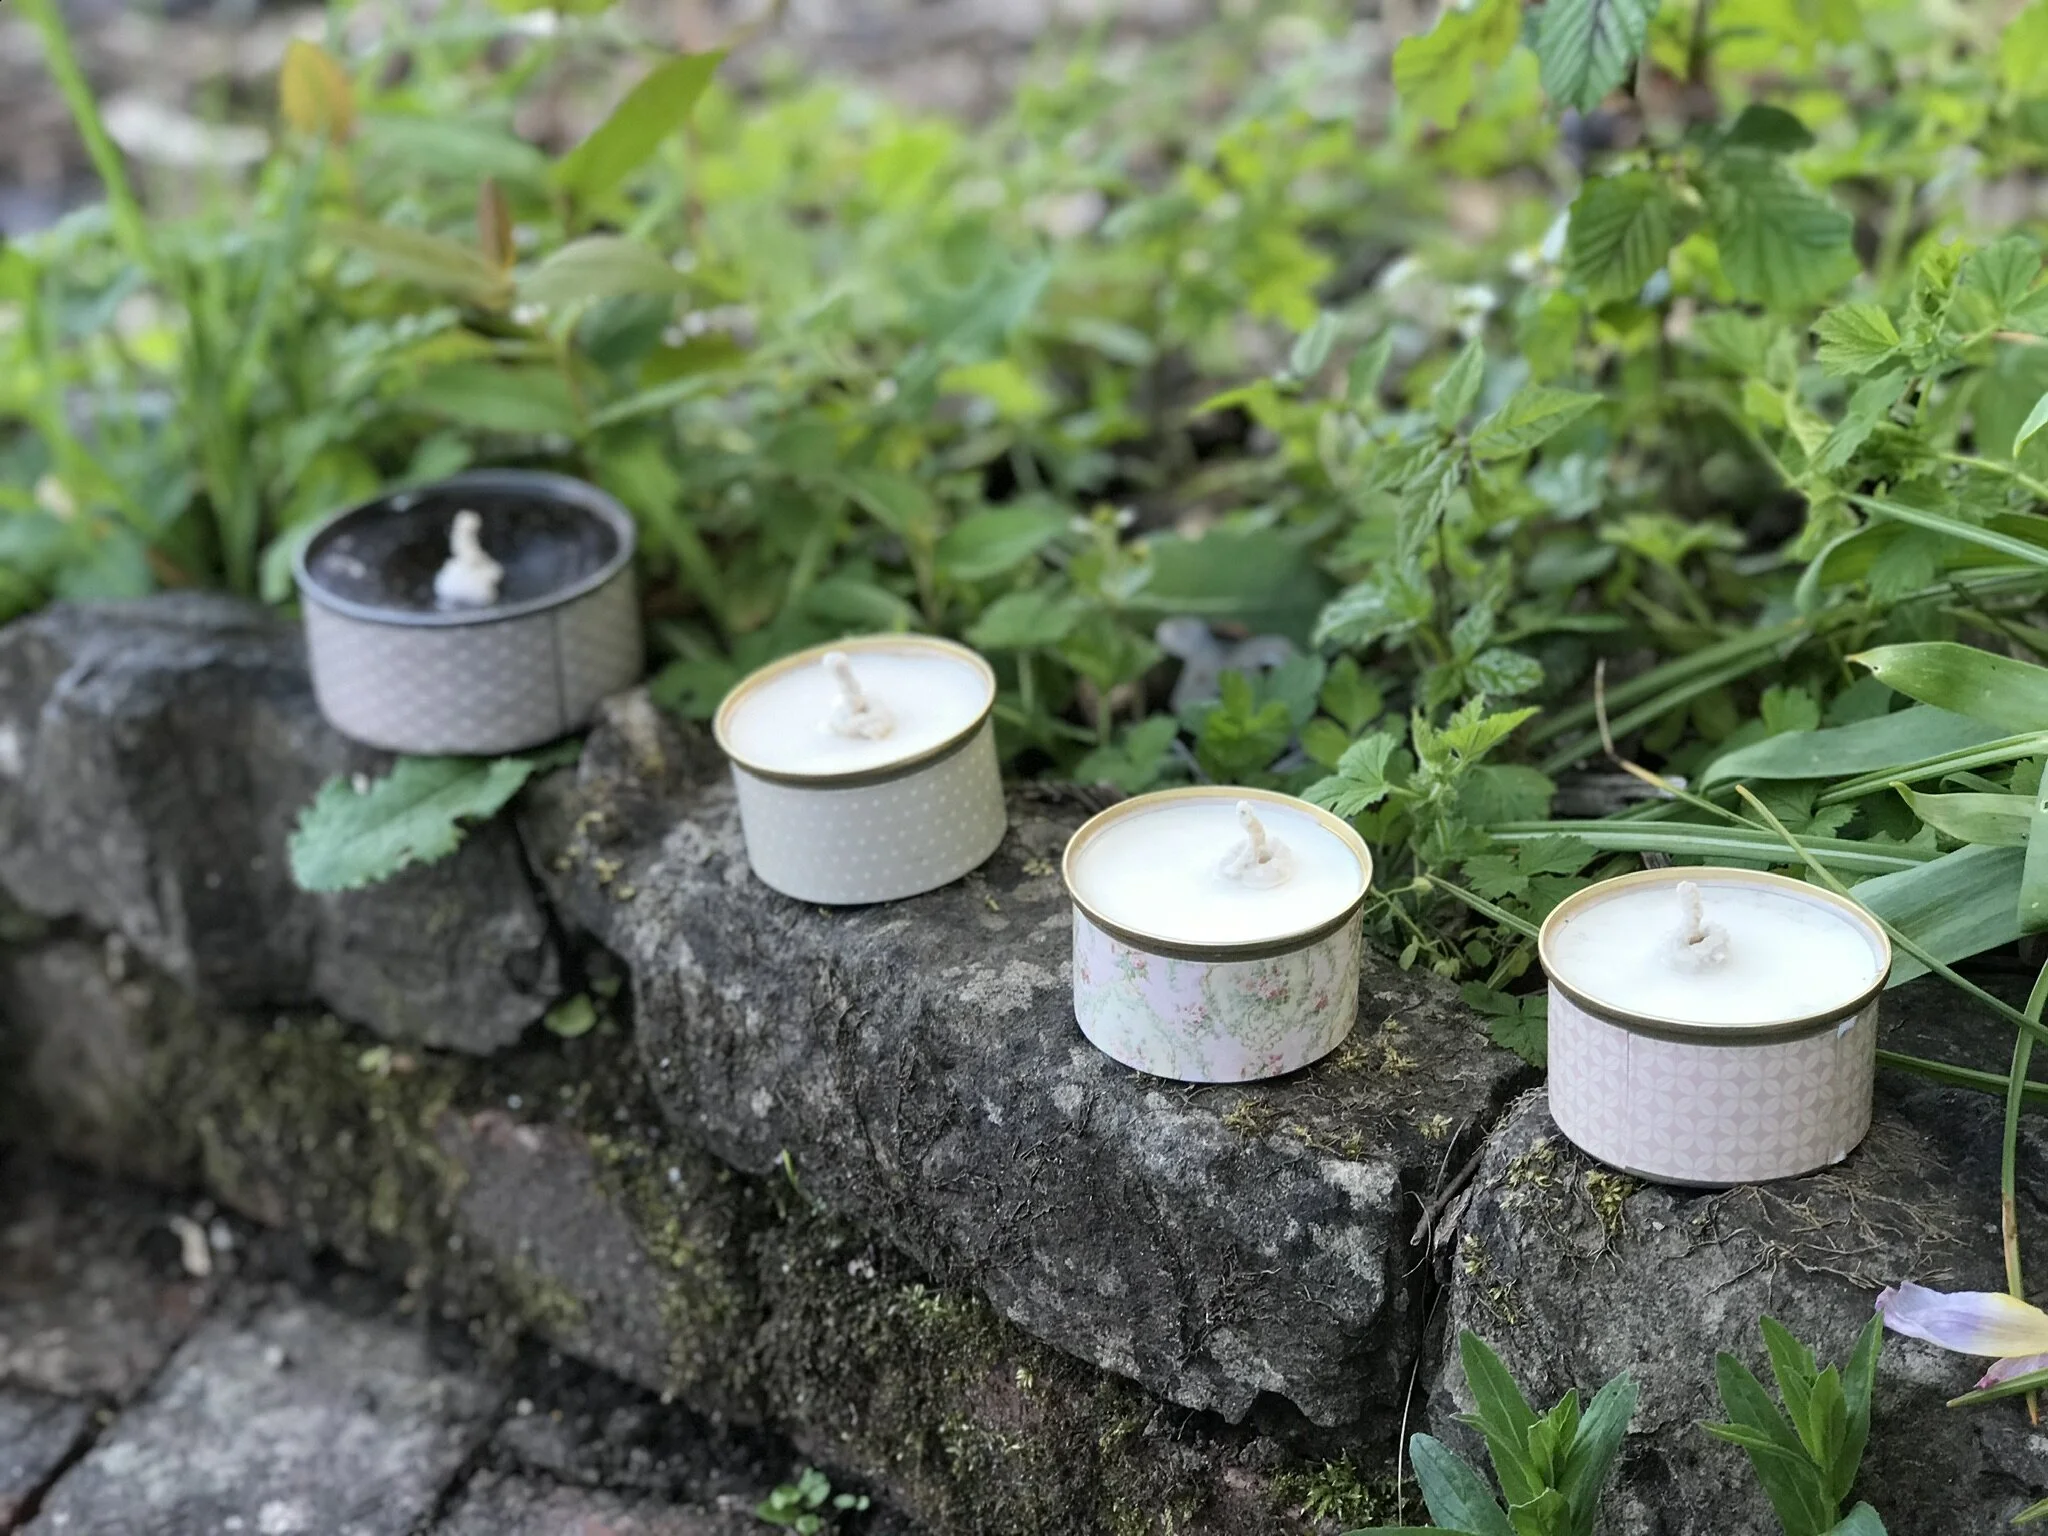
Tin Can Candles
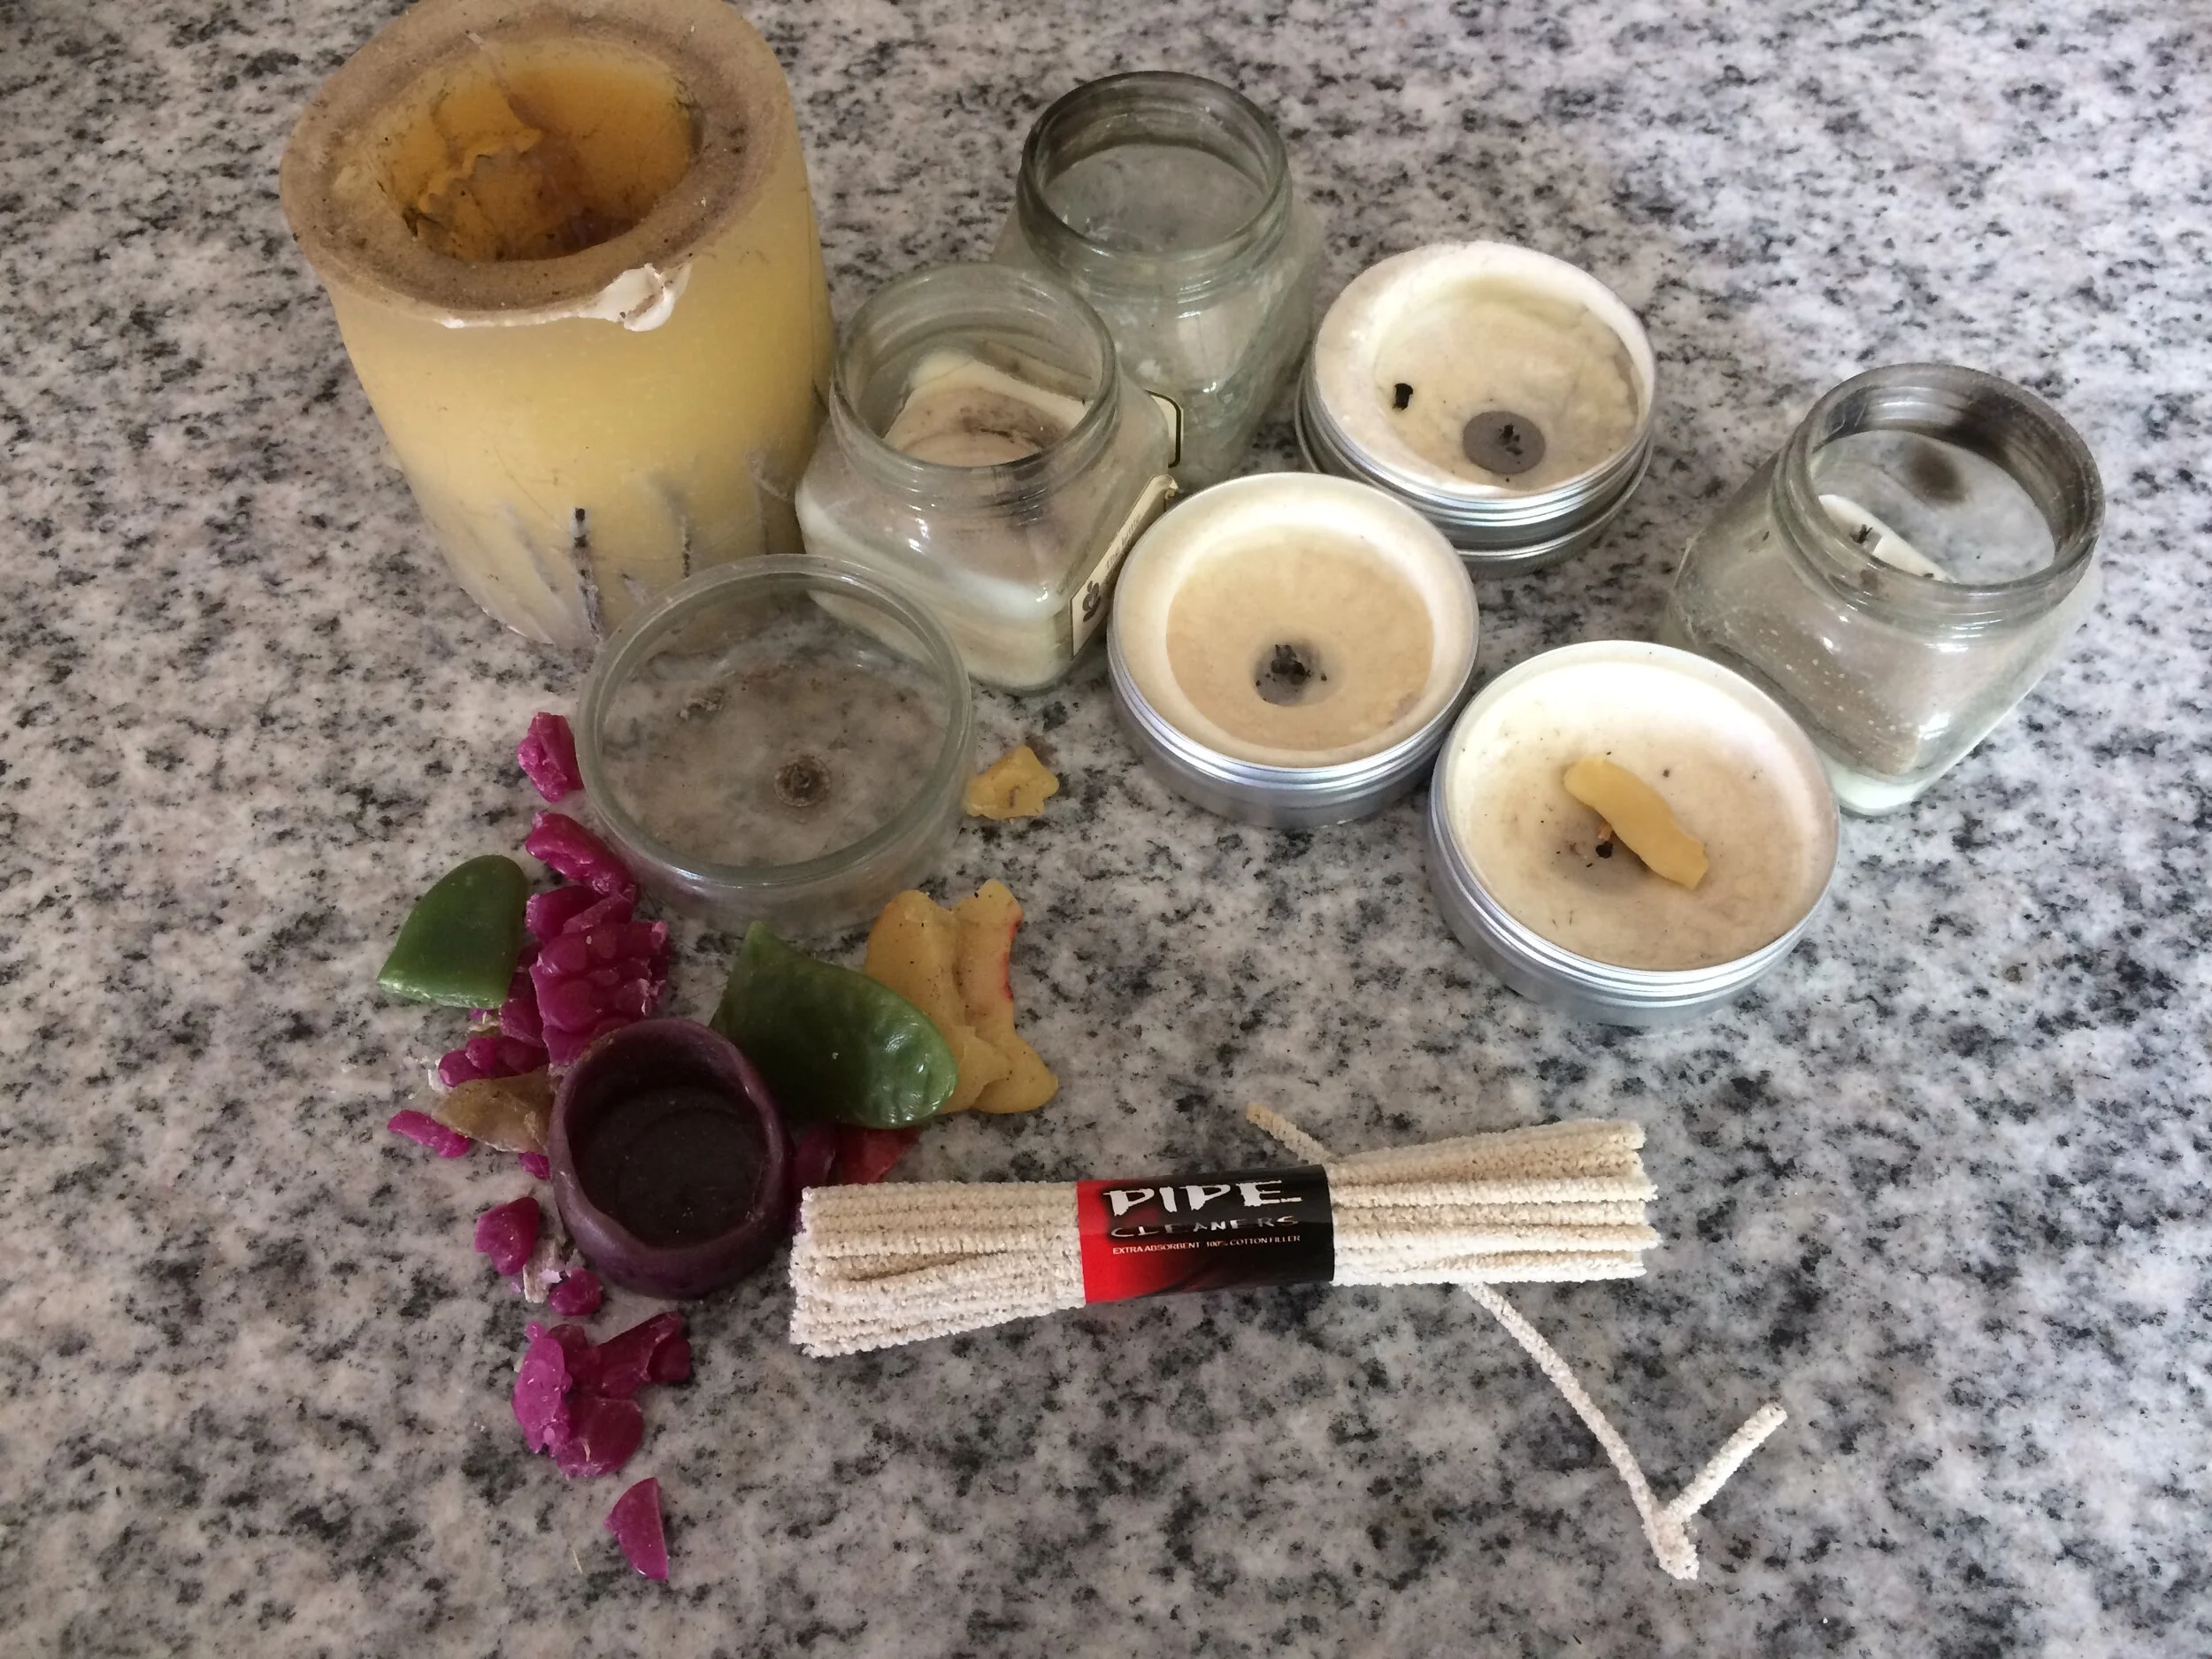
Things to do with tin cans while in quarantine - make them into pretty candles, using old candle stubs and bits of waste wax. To make these you will need:
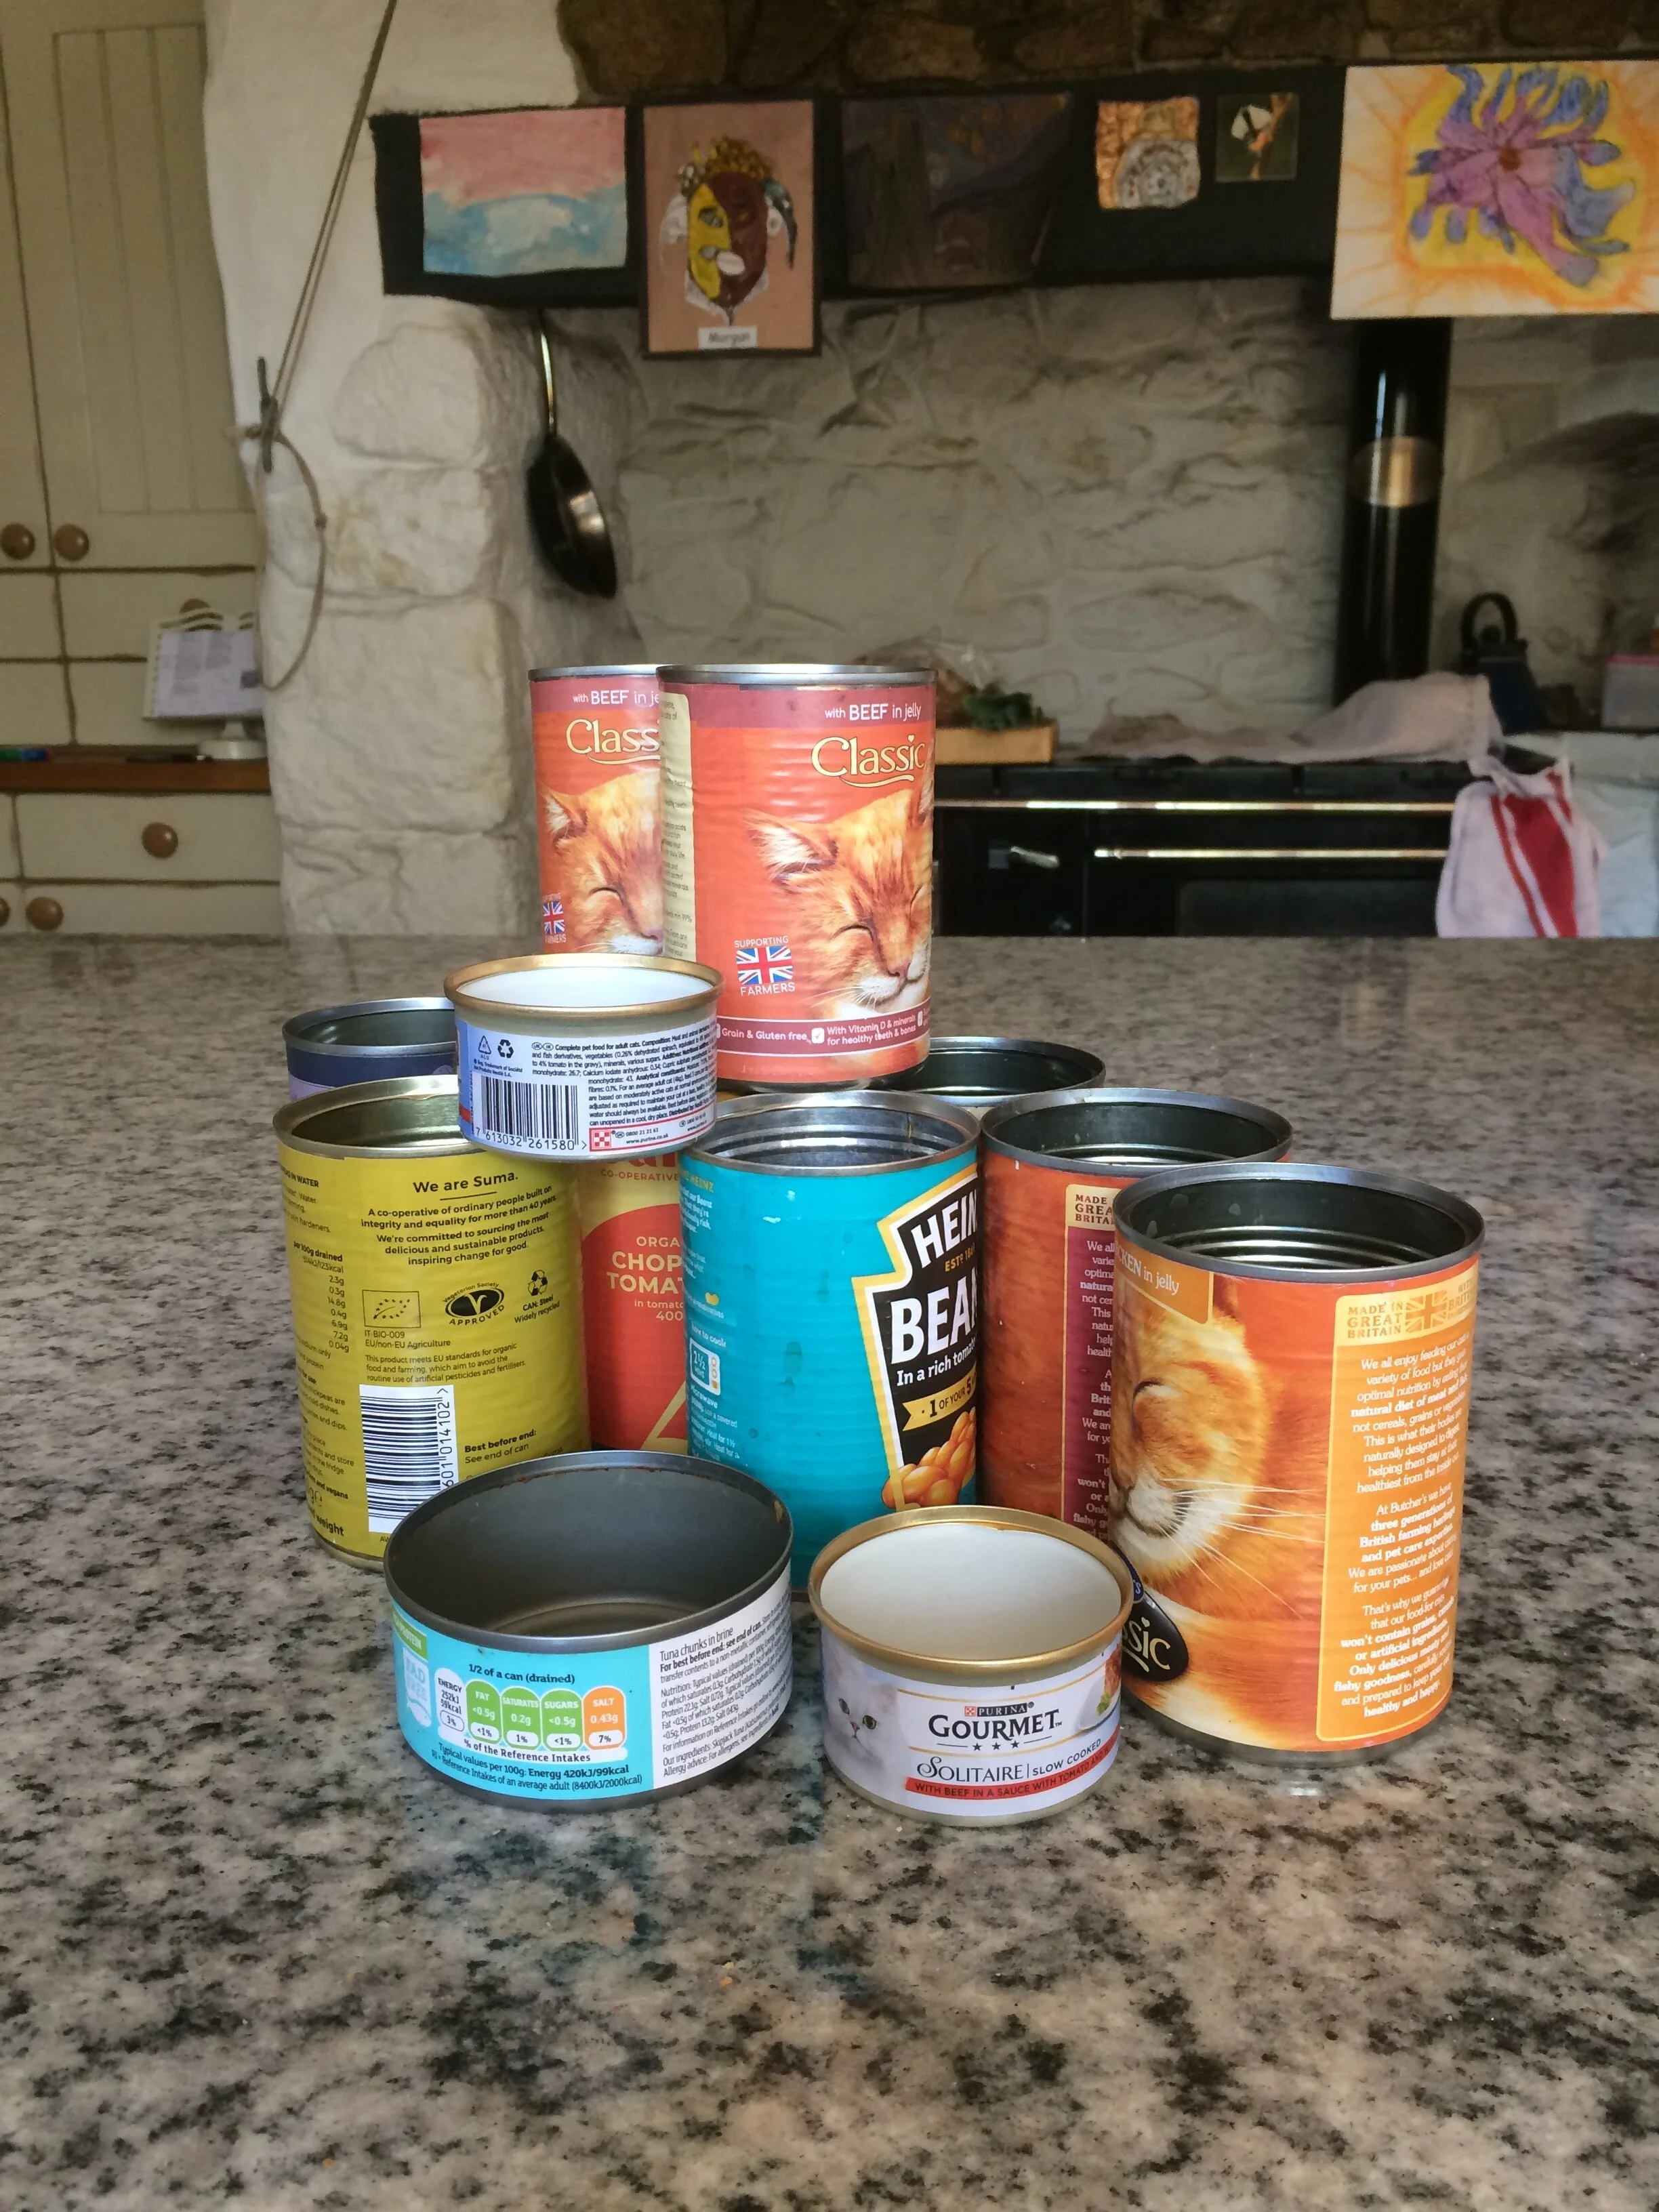
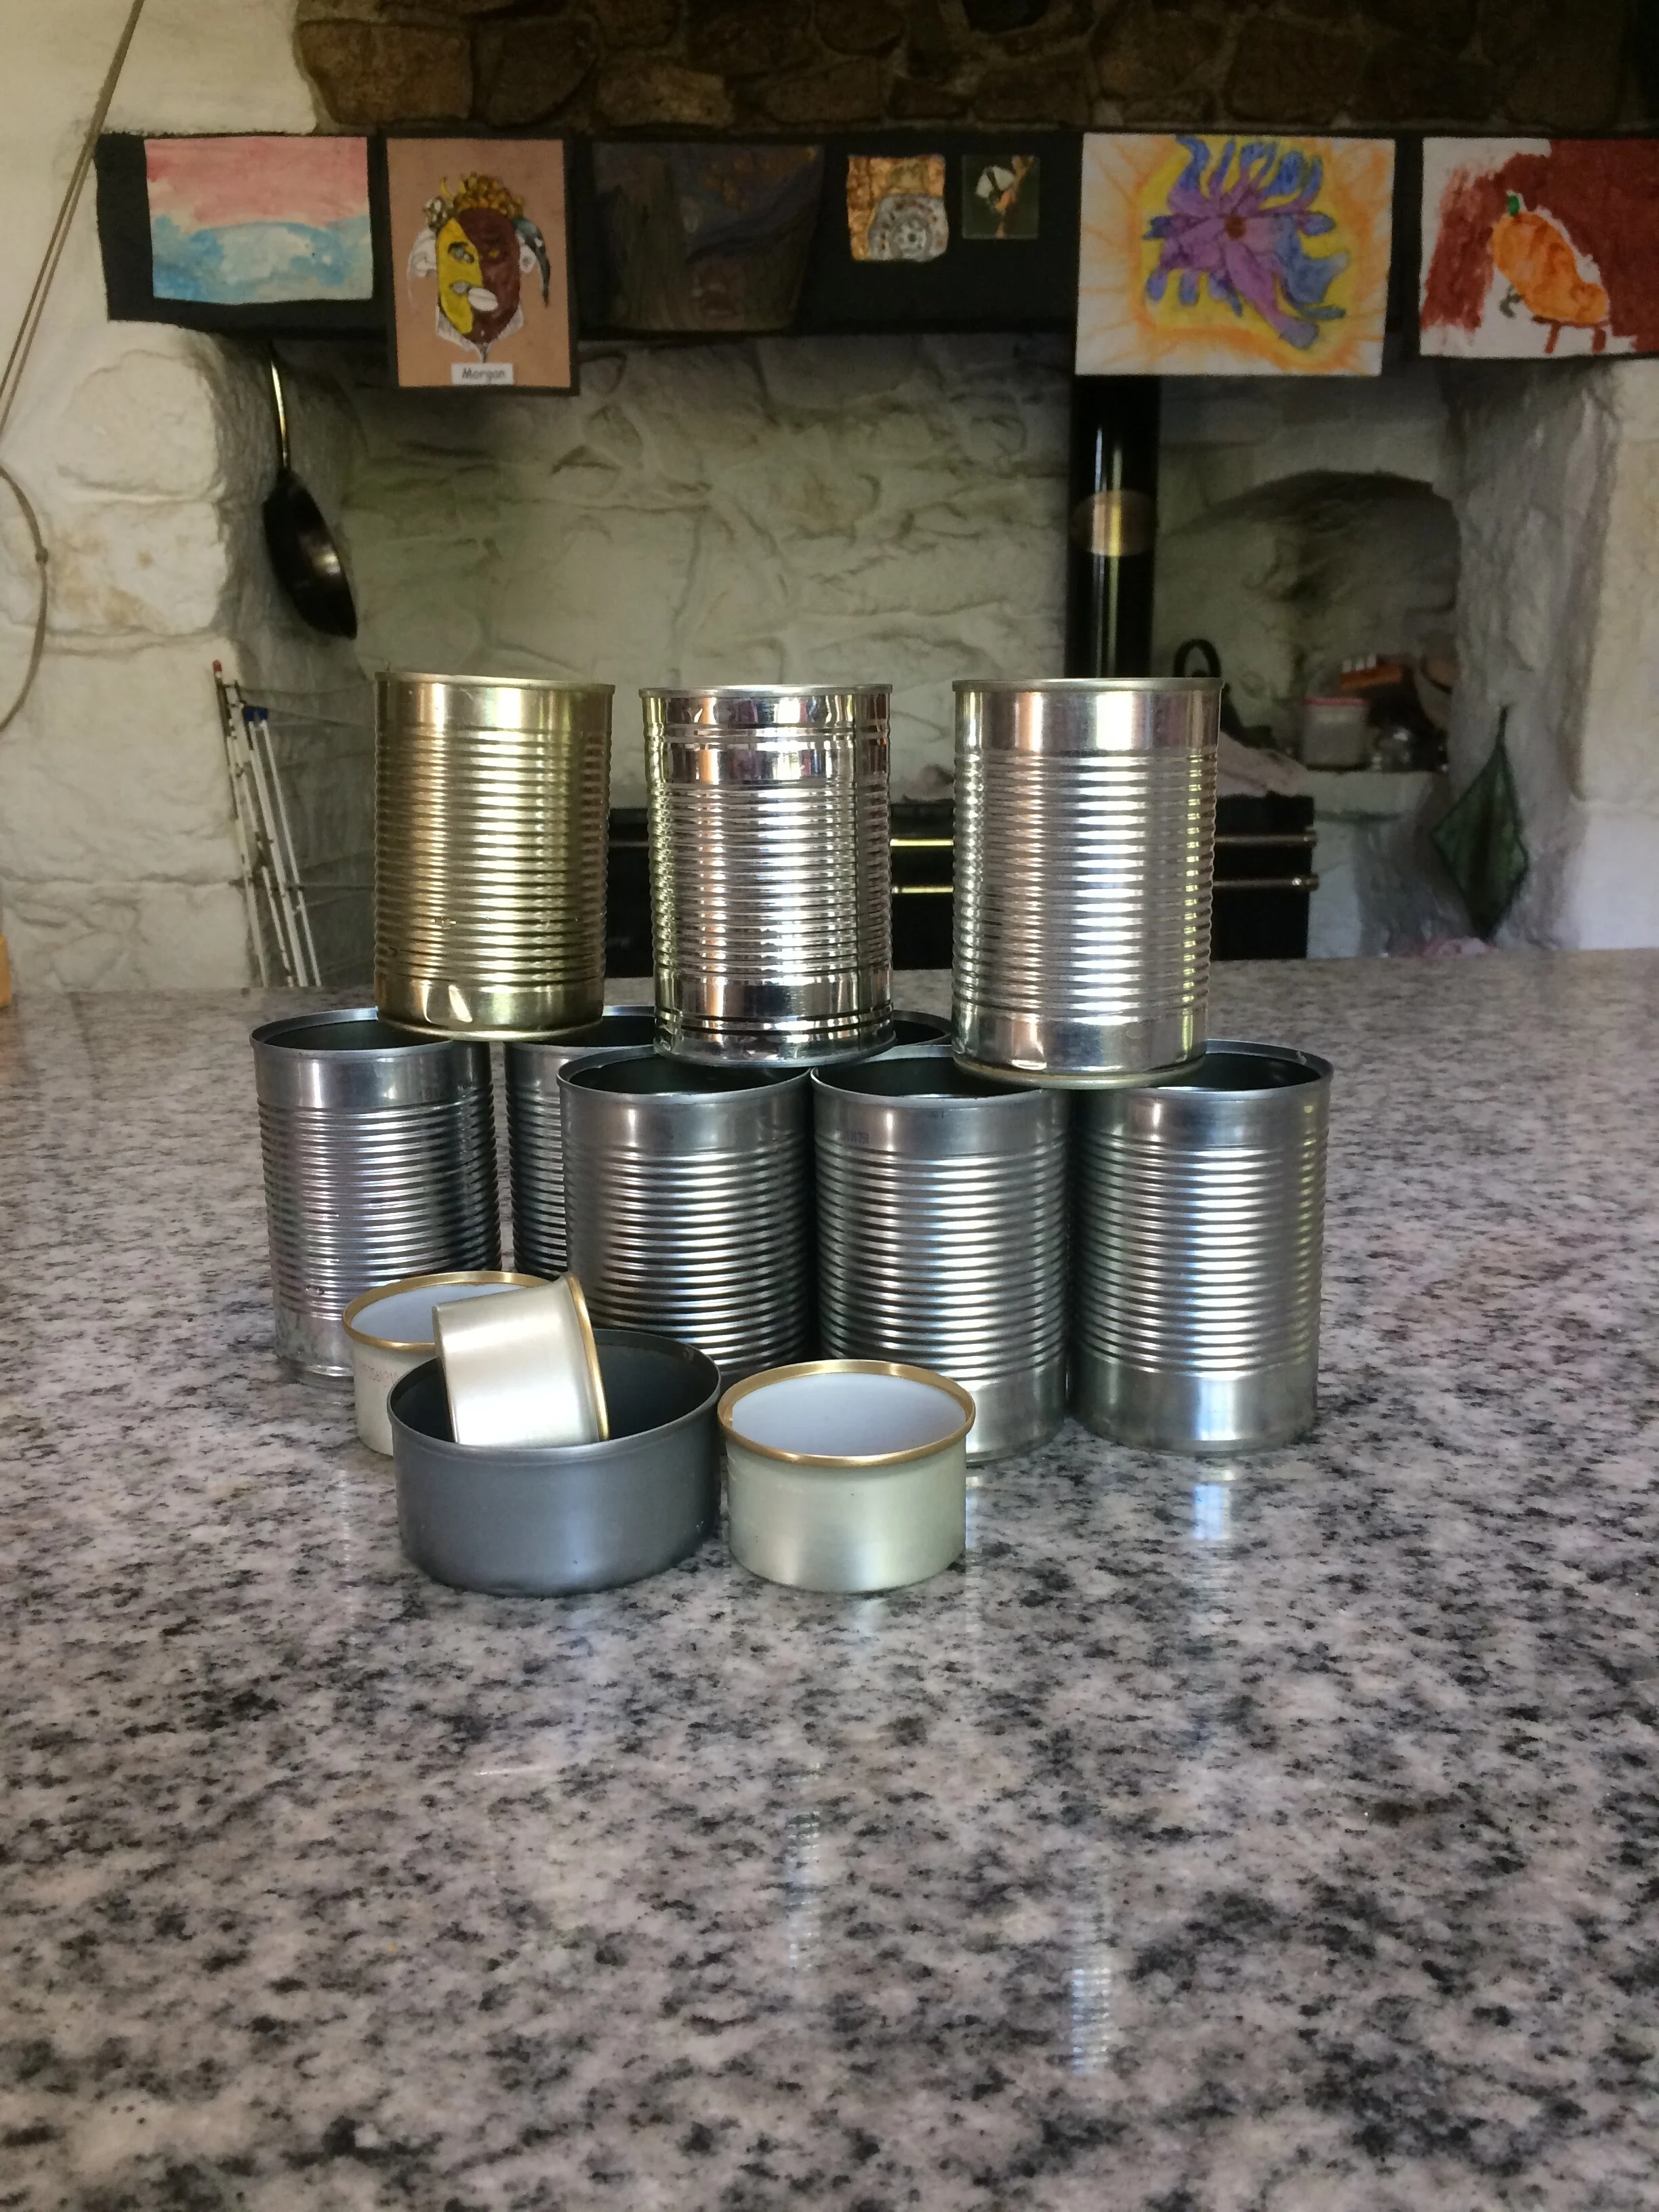
tin cans, washed and with the labels taken off
old candle stubs
pliers for holding the wicks and pouring the wax
cotton pipe-cleaners (for floating wicks) OR other wicks, such as string, balsa wood
optional tin decorations such as wrapping paper, ribbons, twine, beads.
1. Clean the cans and remove the labels
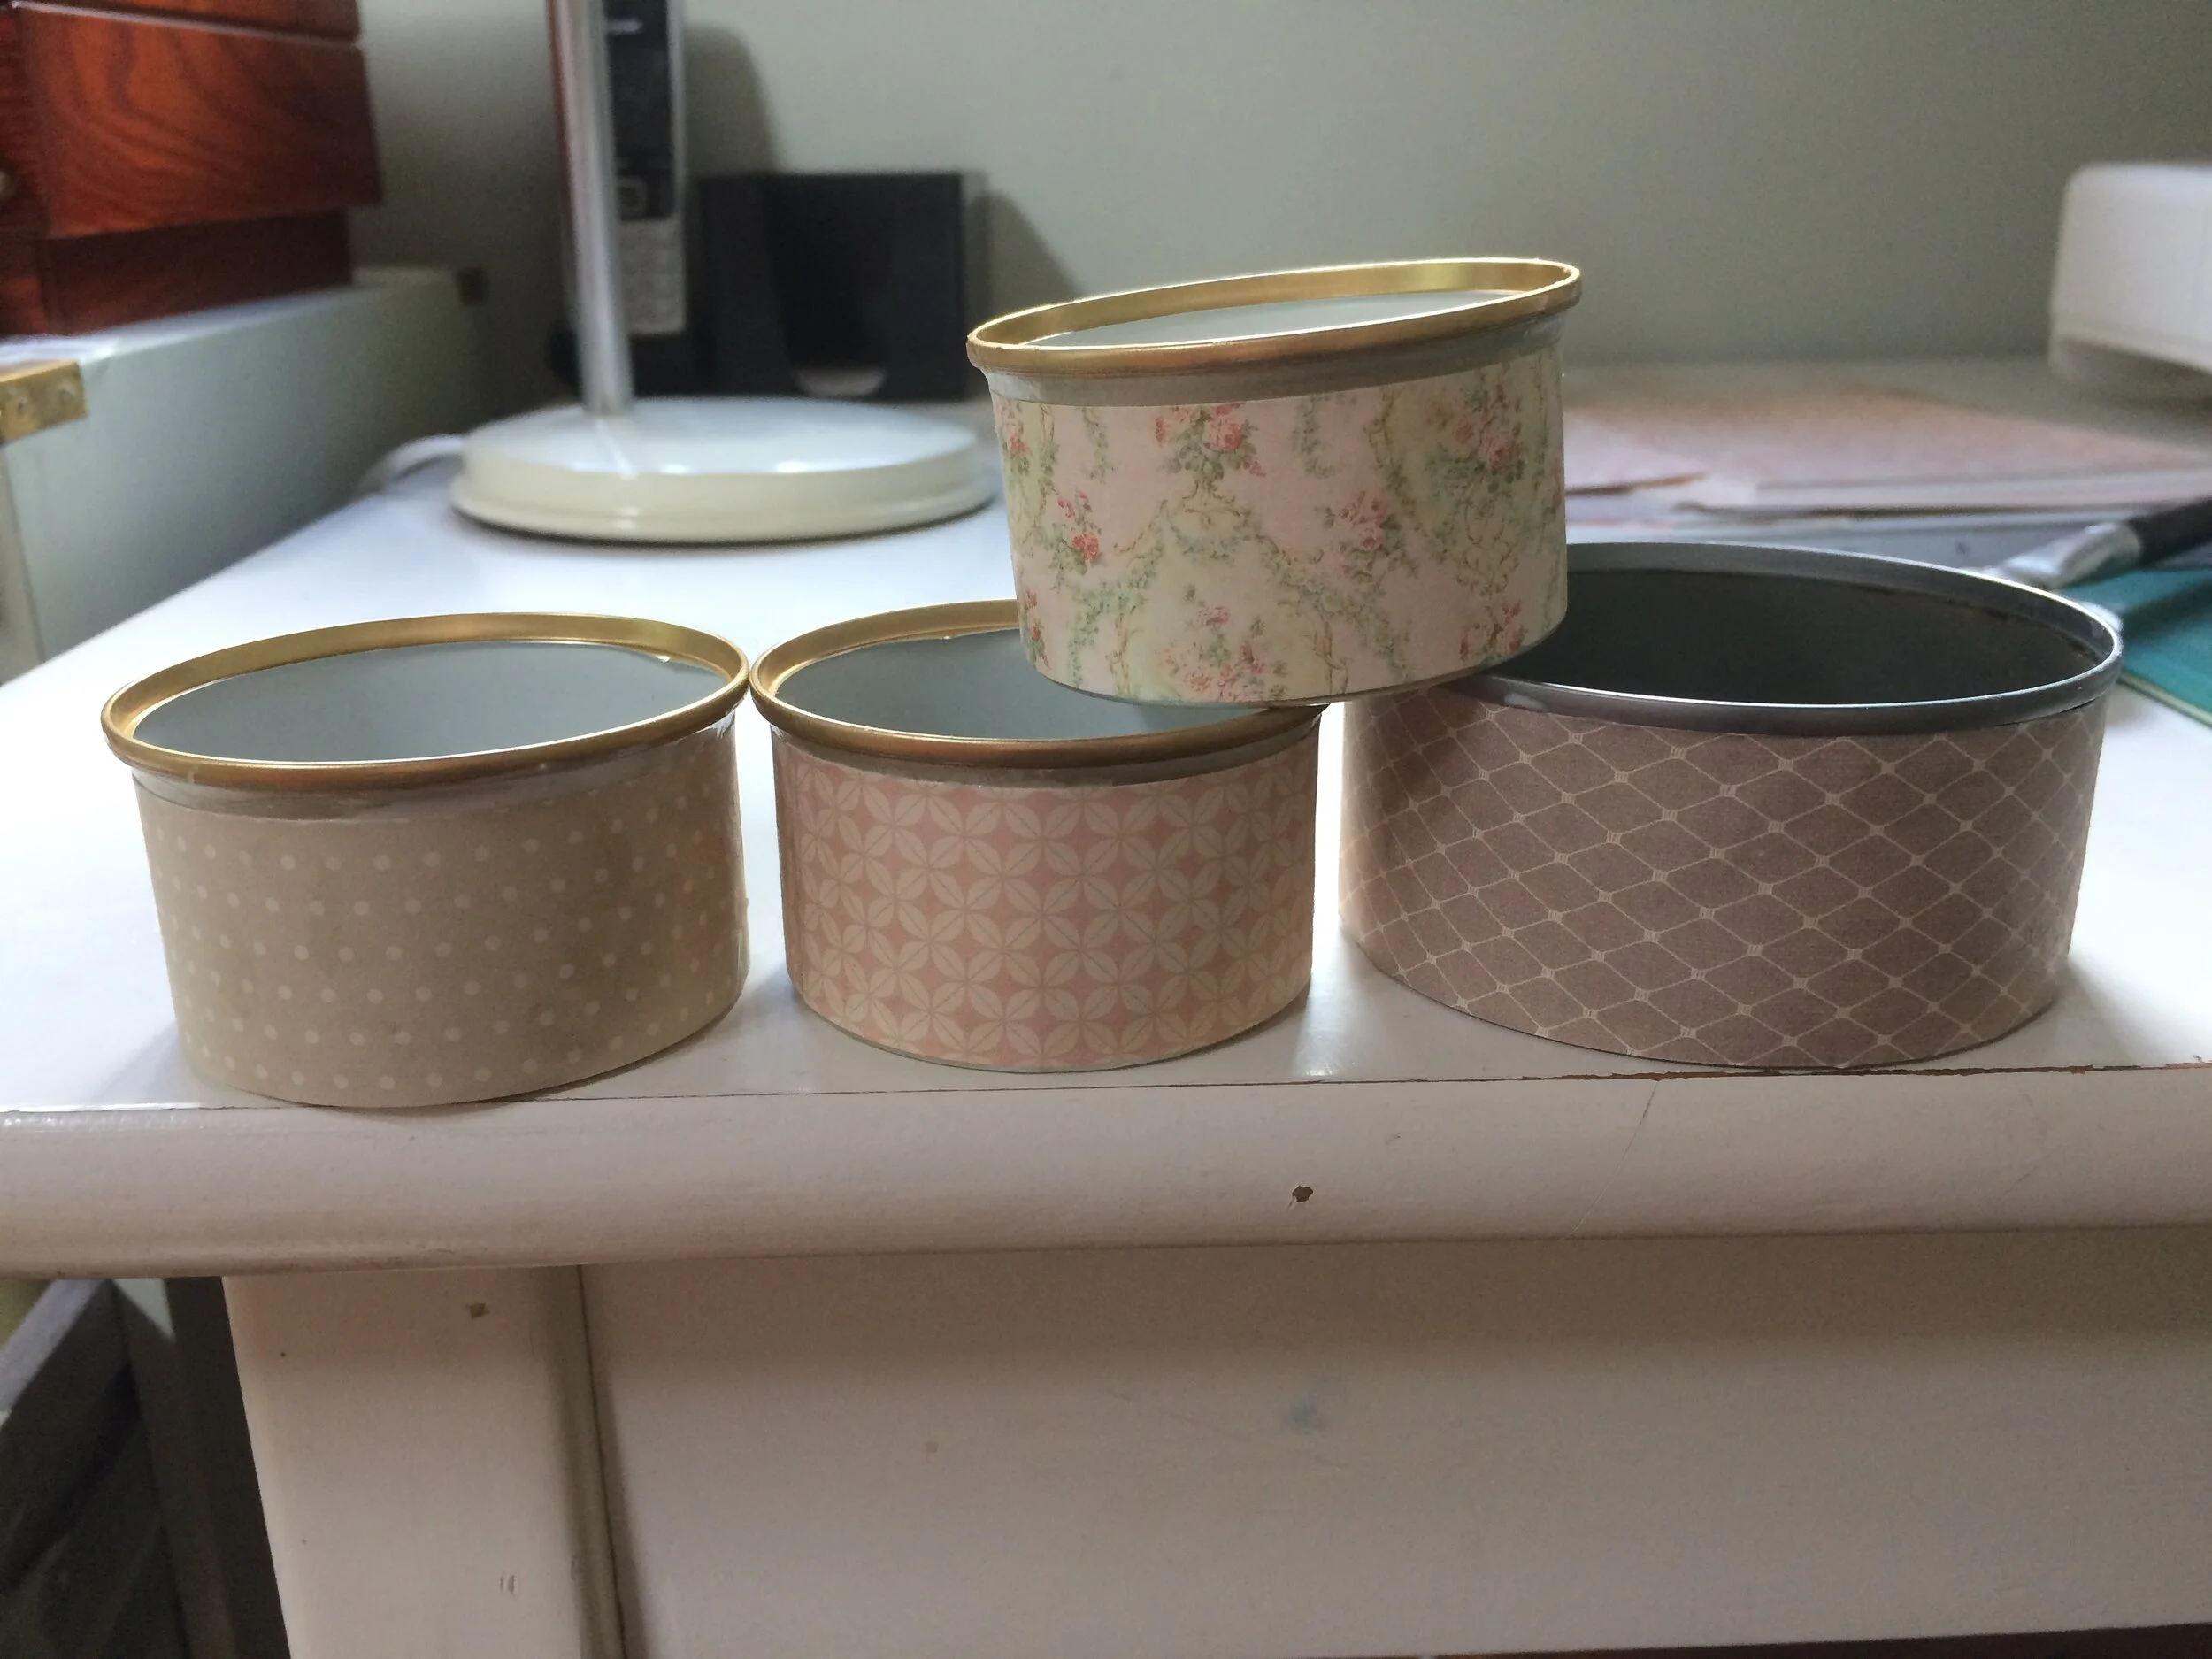
Small and shallow cans make good candles; I used gourmet cat food and one tuna can for mine. Clean them thoroughly and remove the label (which should come off cleanly if you hold the can under hot water). Smooth down any sharp or rough edges where the lid was removed by pinching them down towards the inside of the can with pliers.
2. Decorate the cans
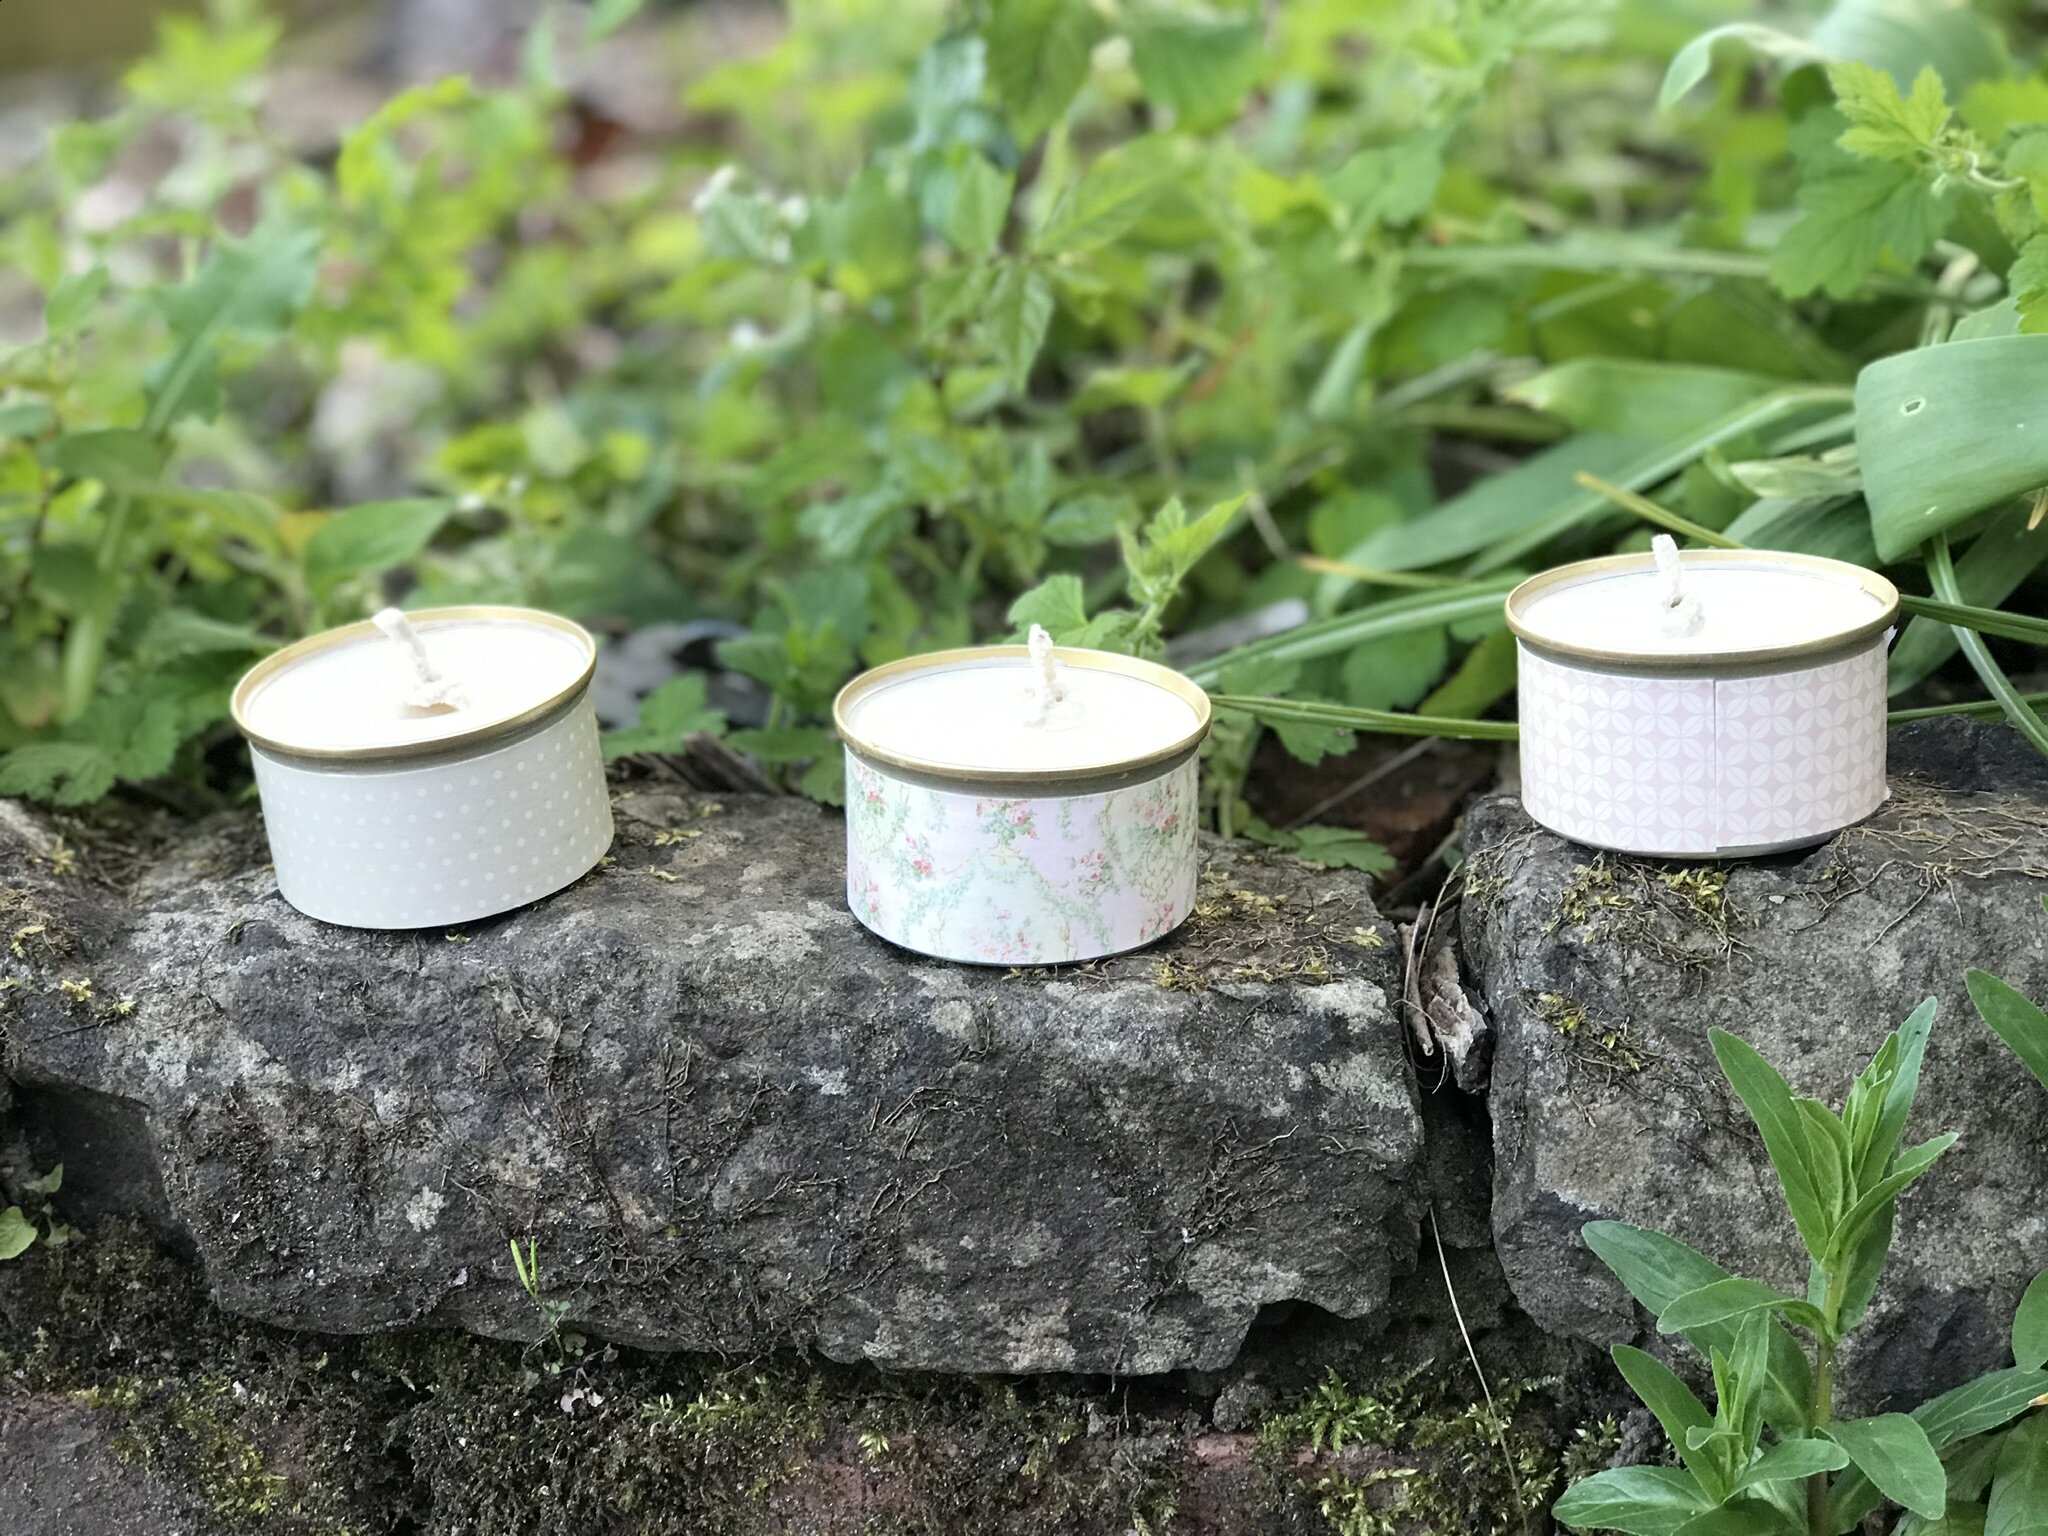
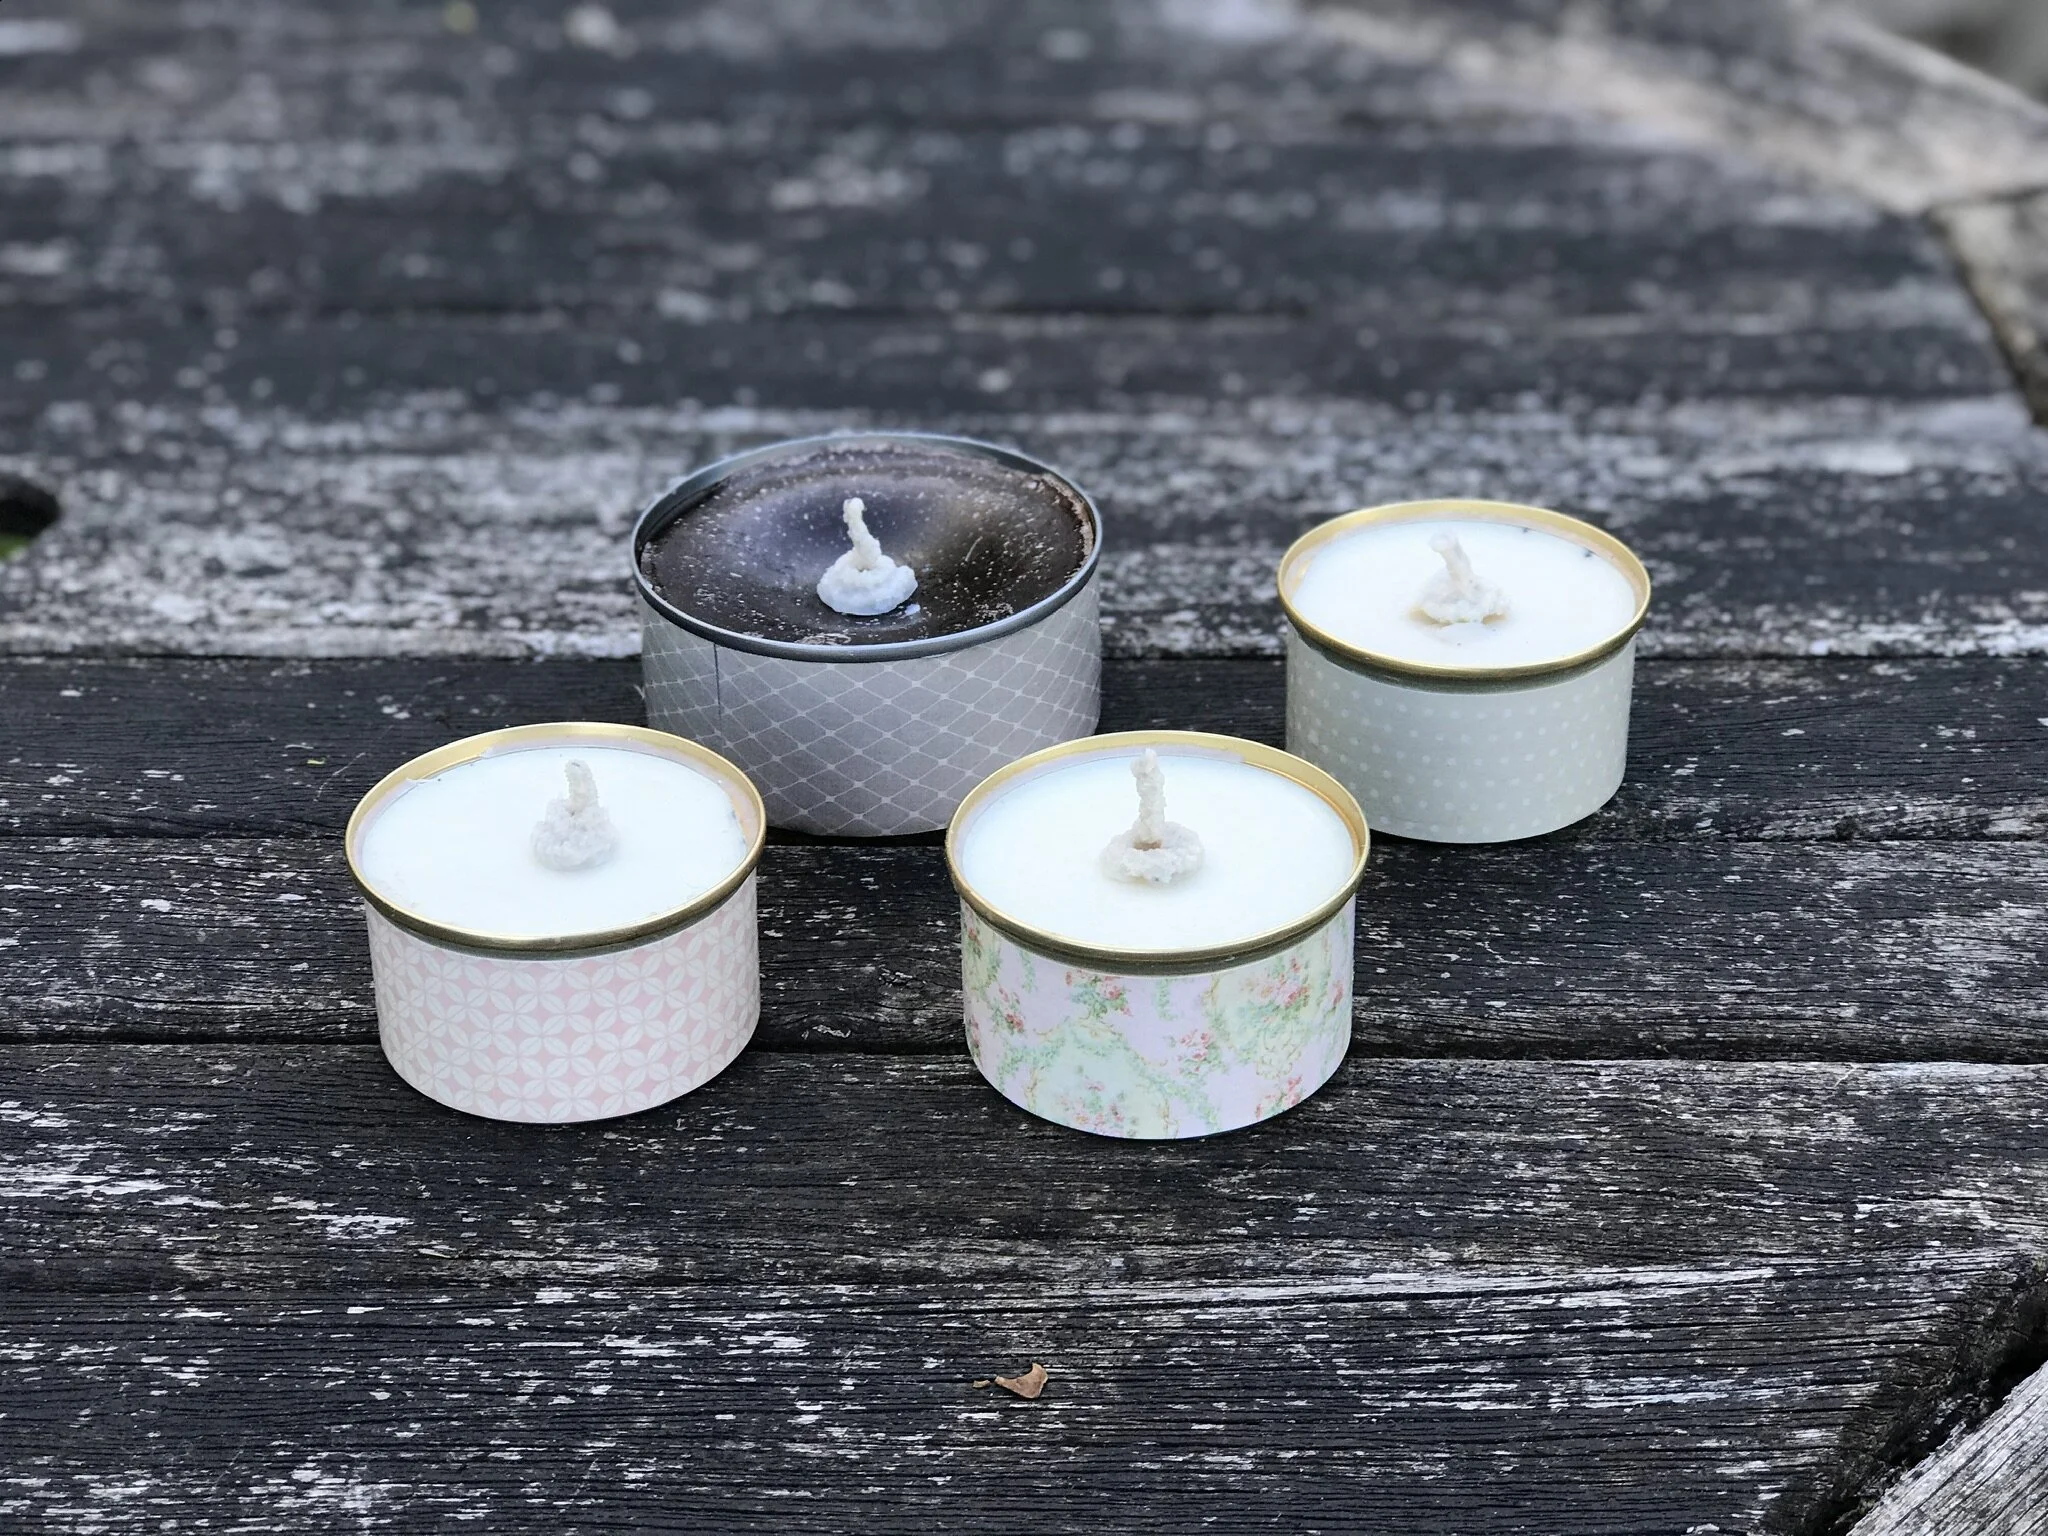
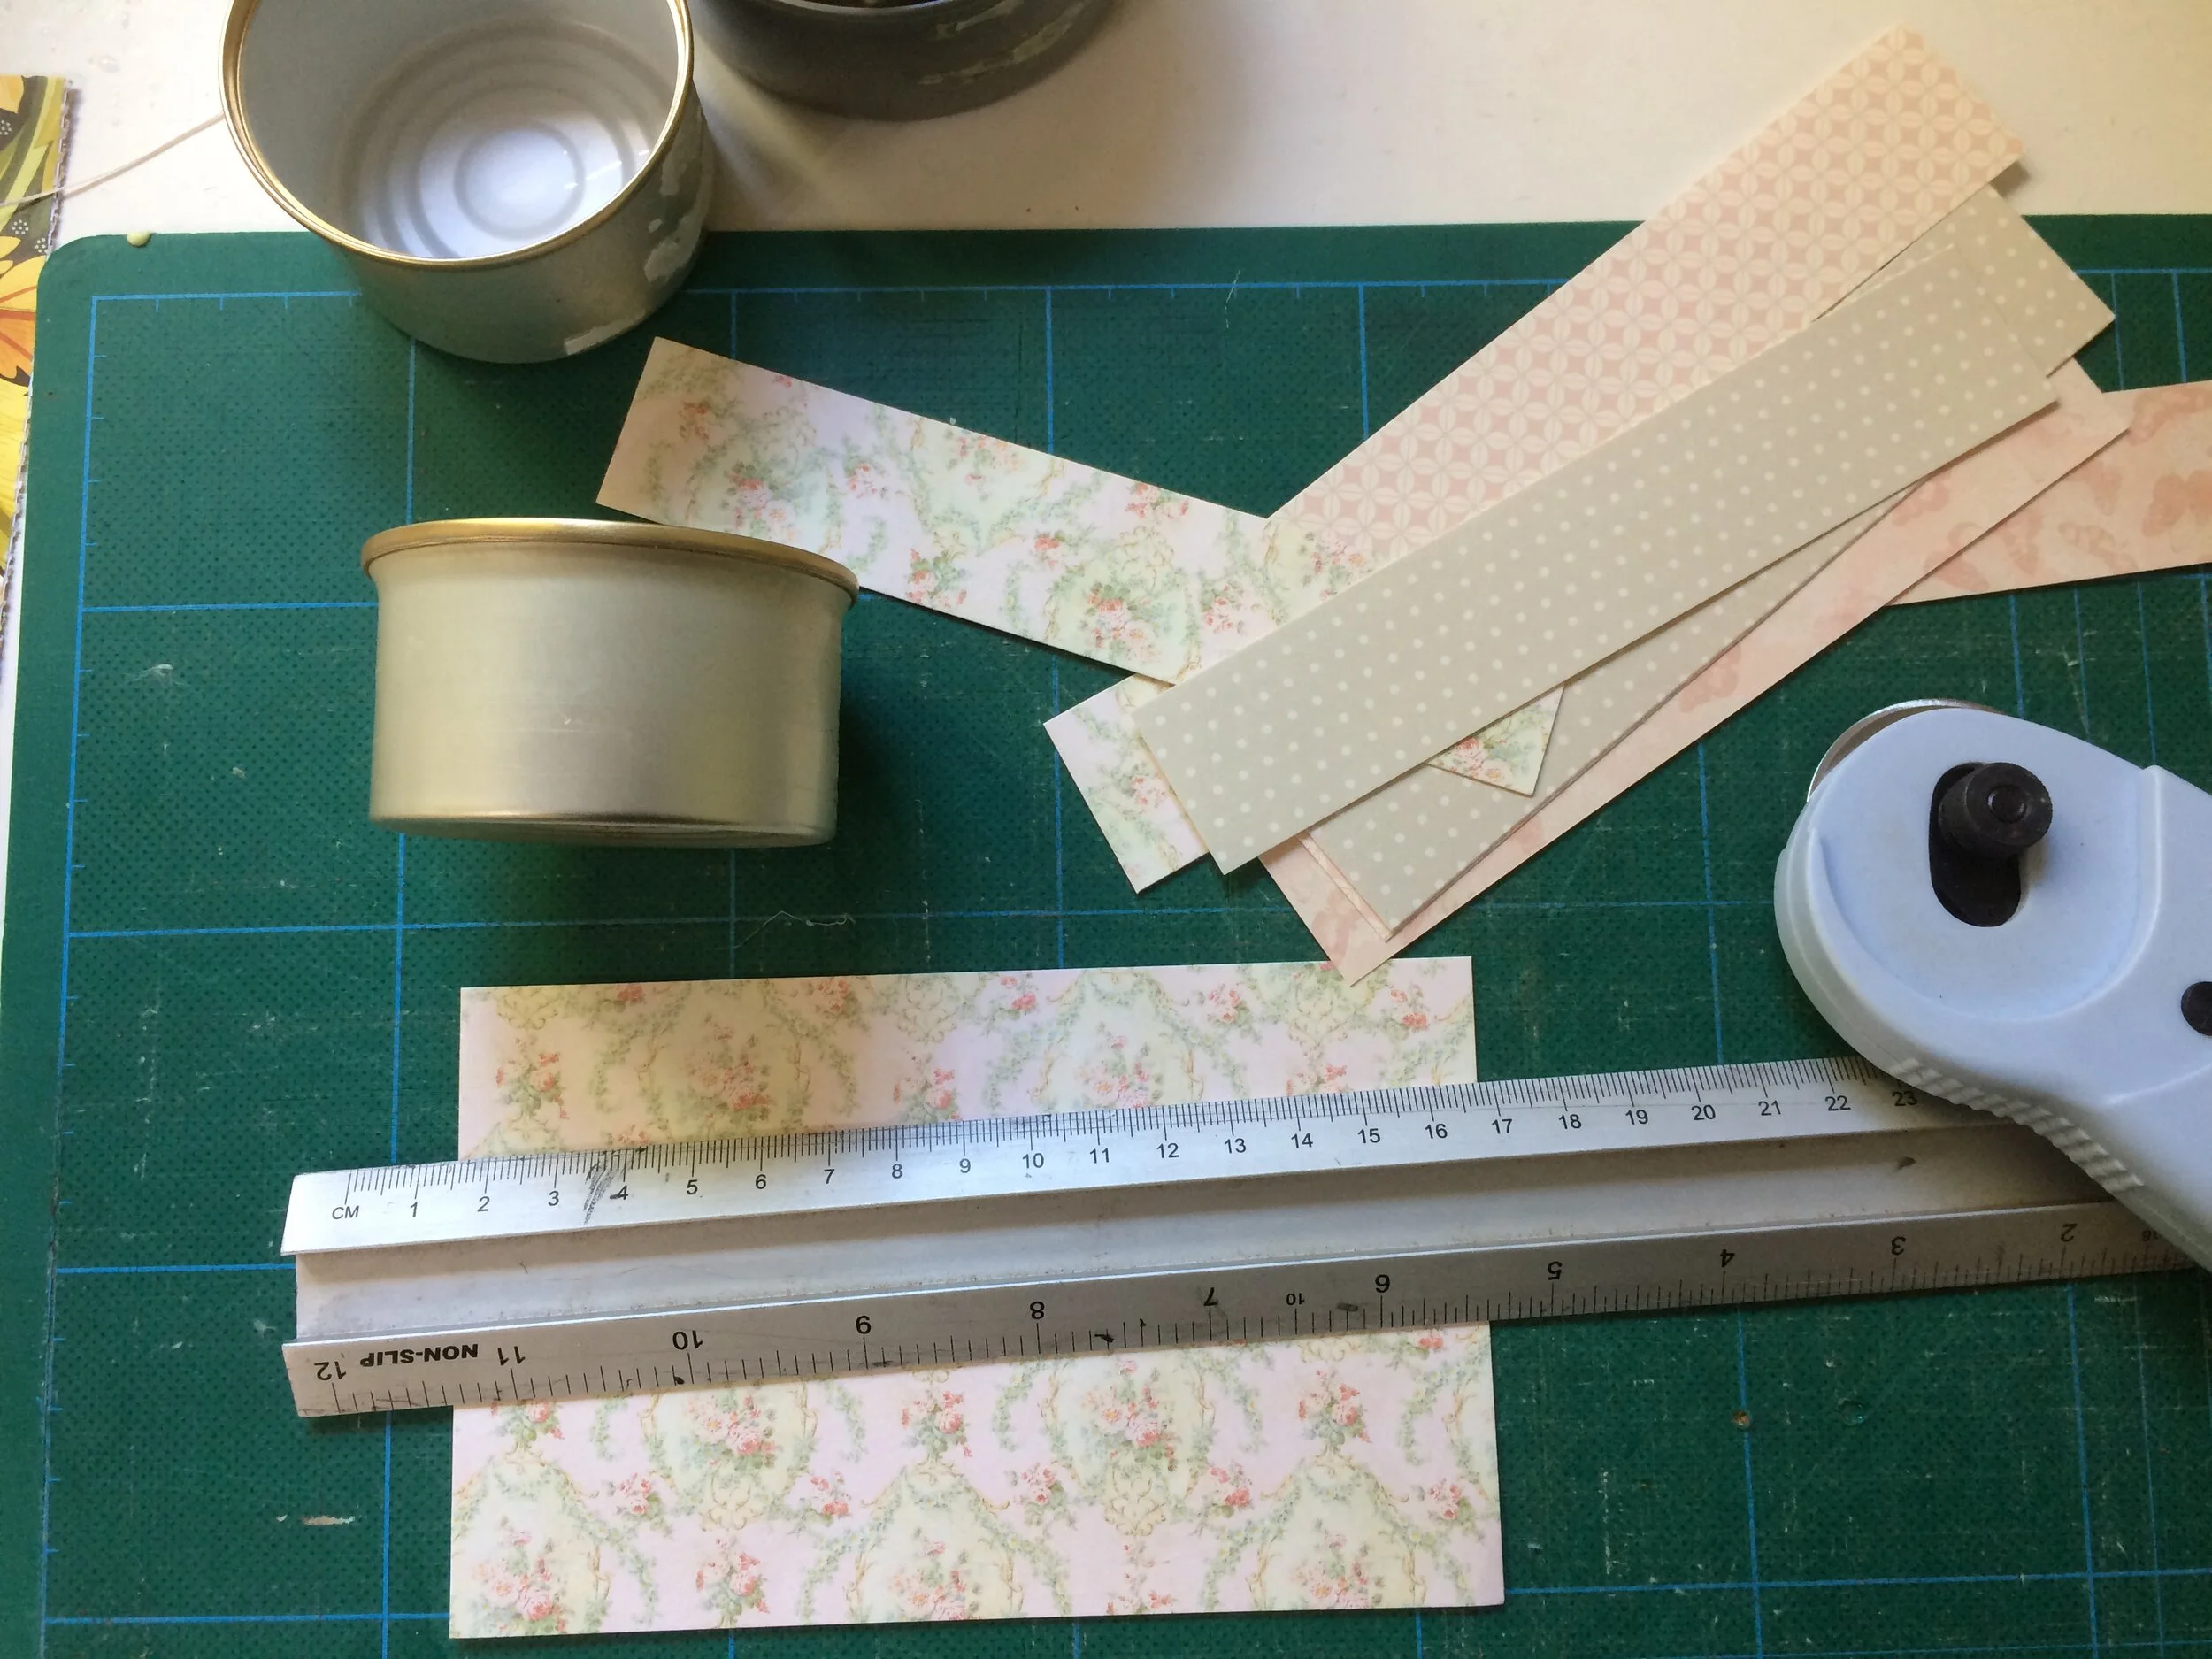
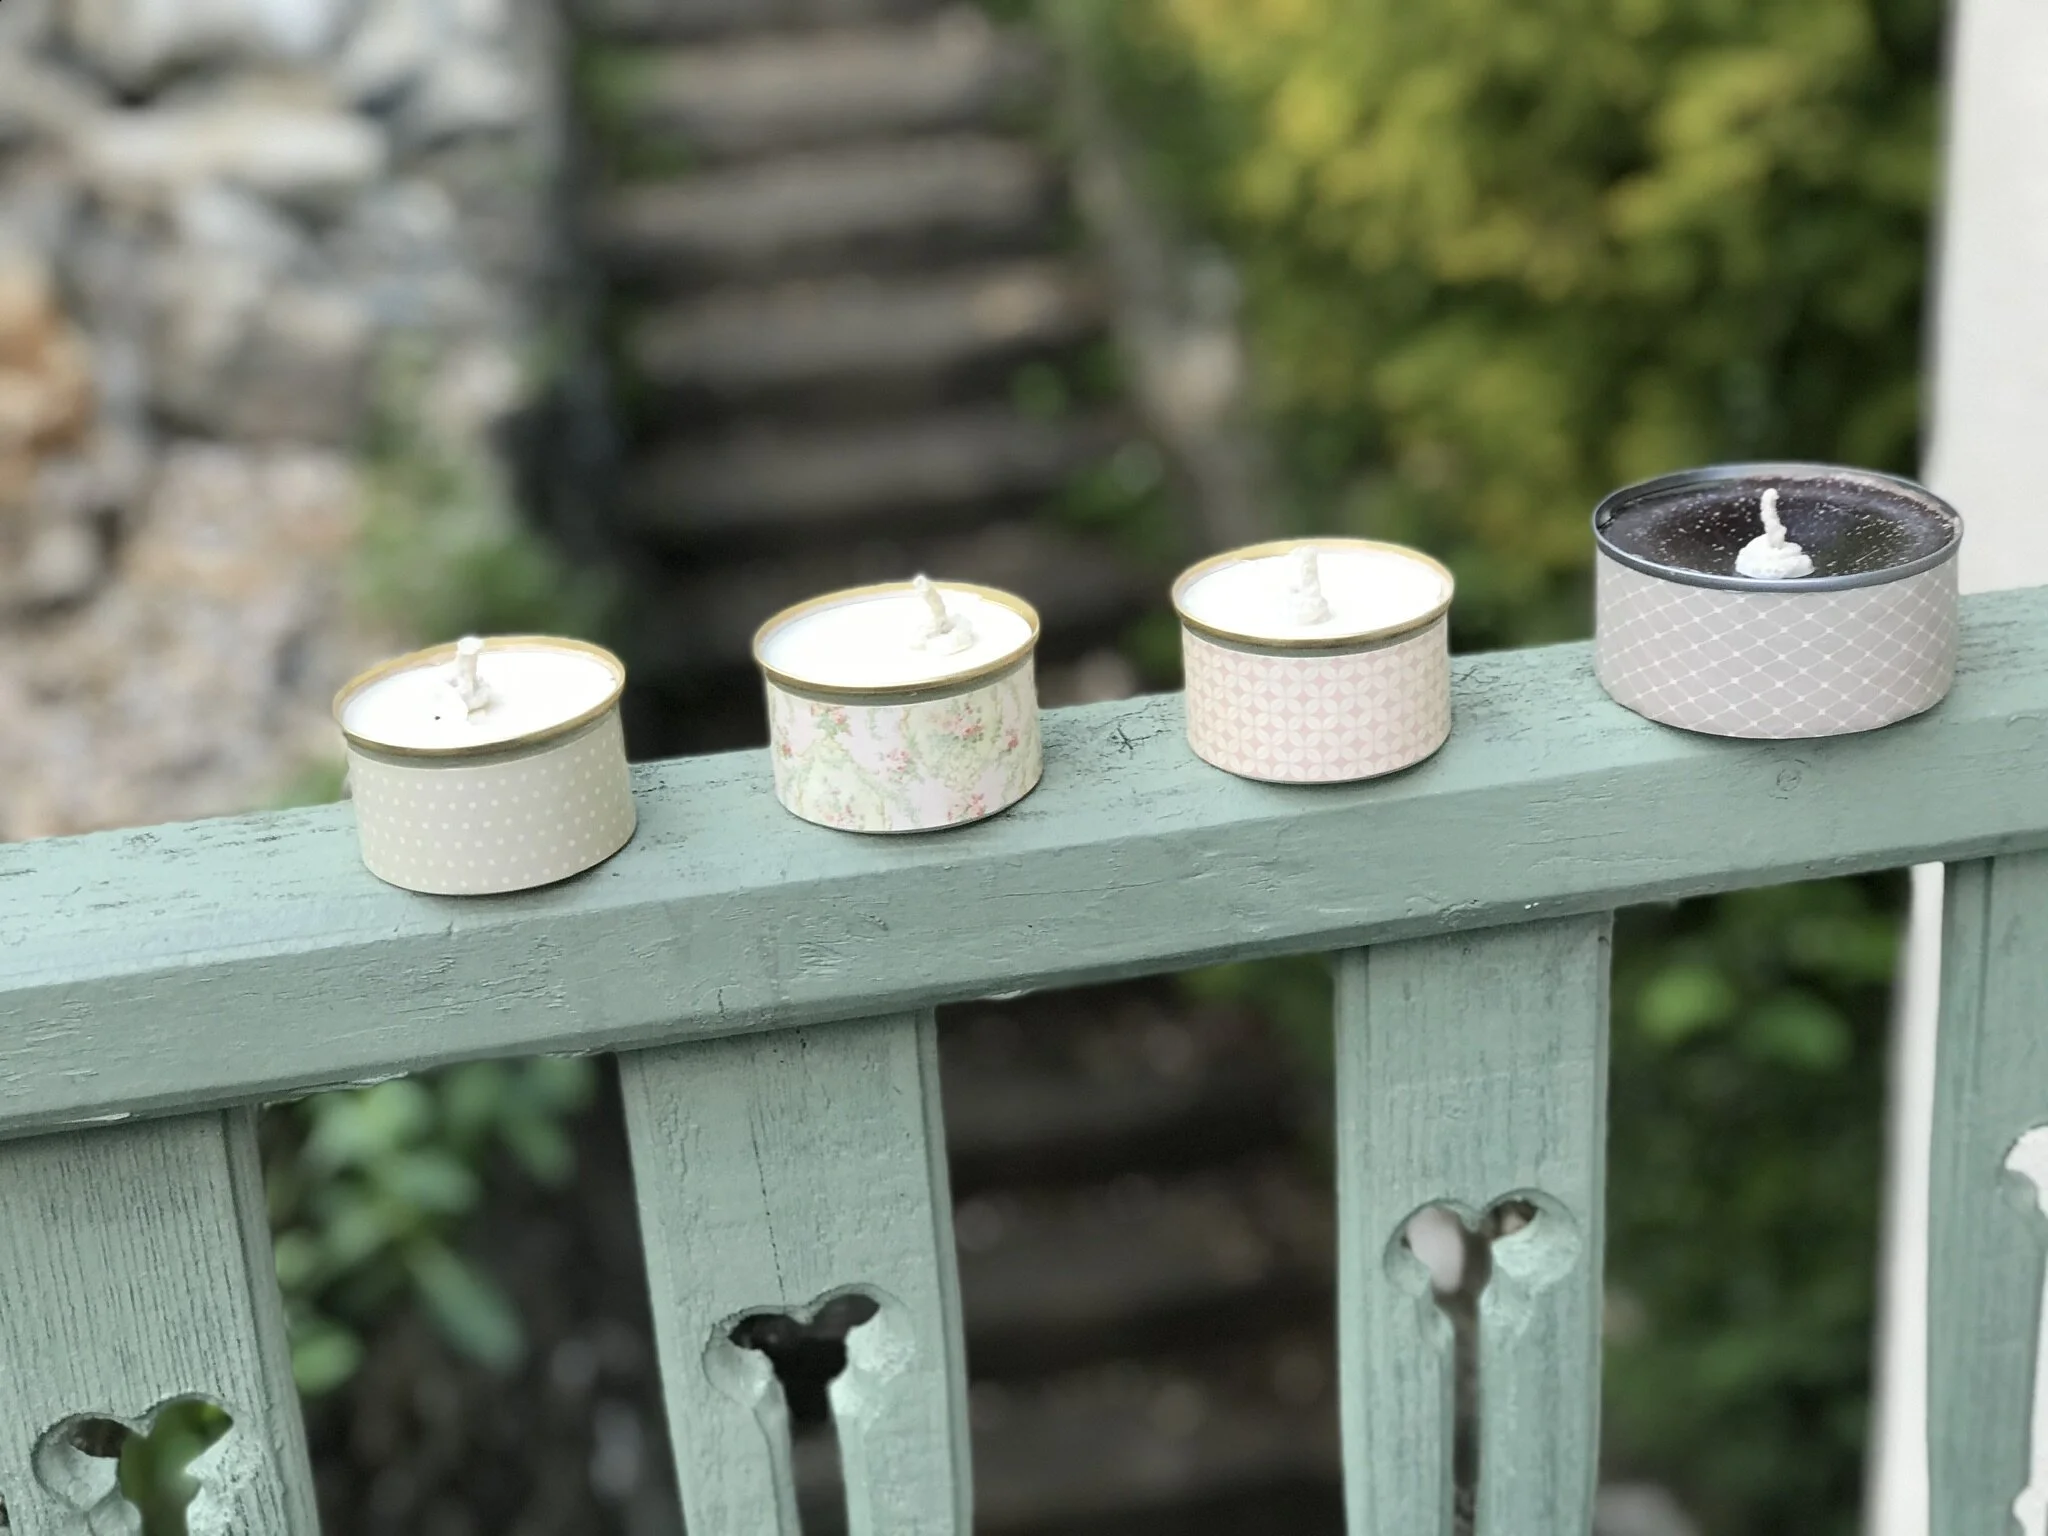
I used decorative paper to cover the outside of the cans.
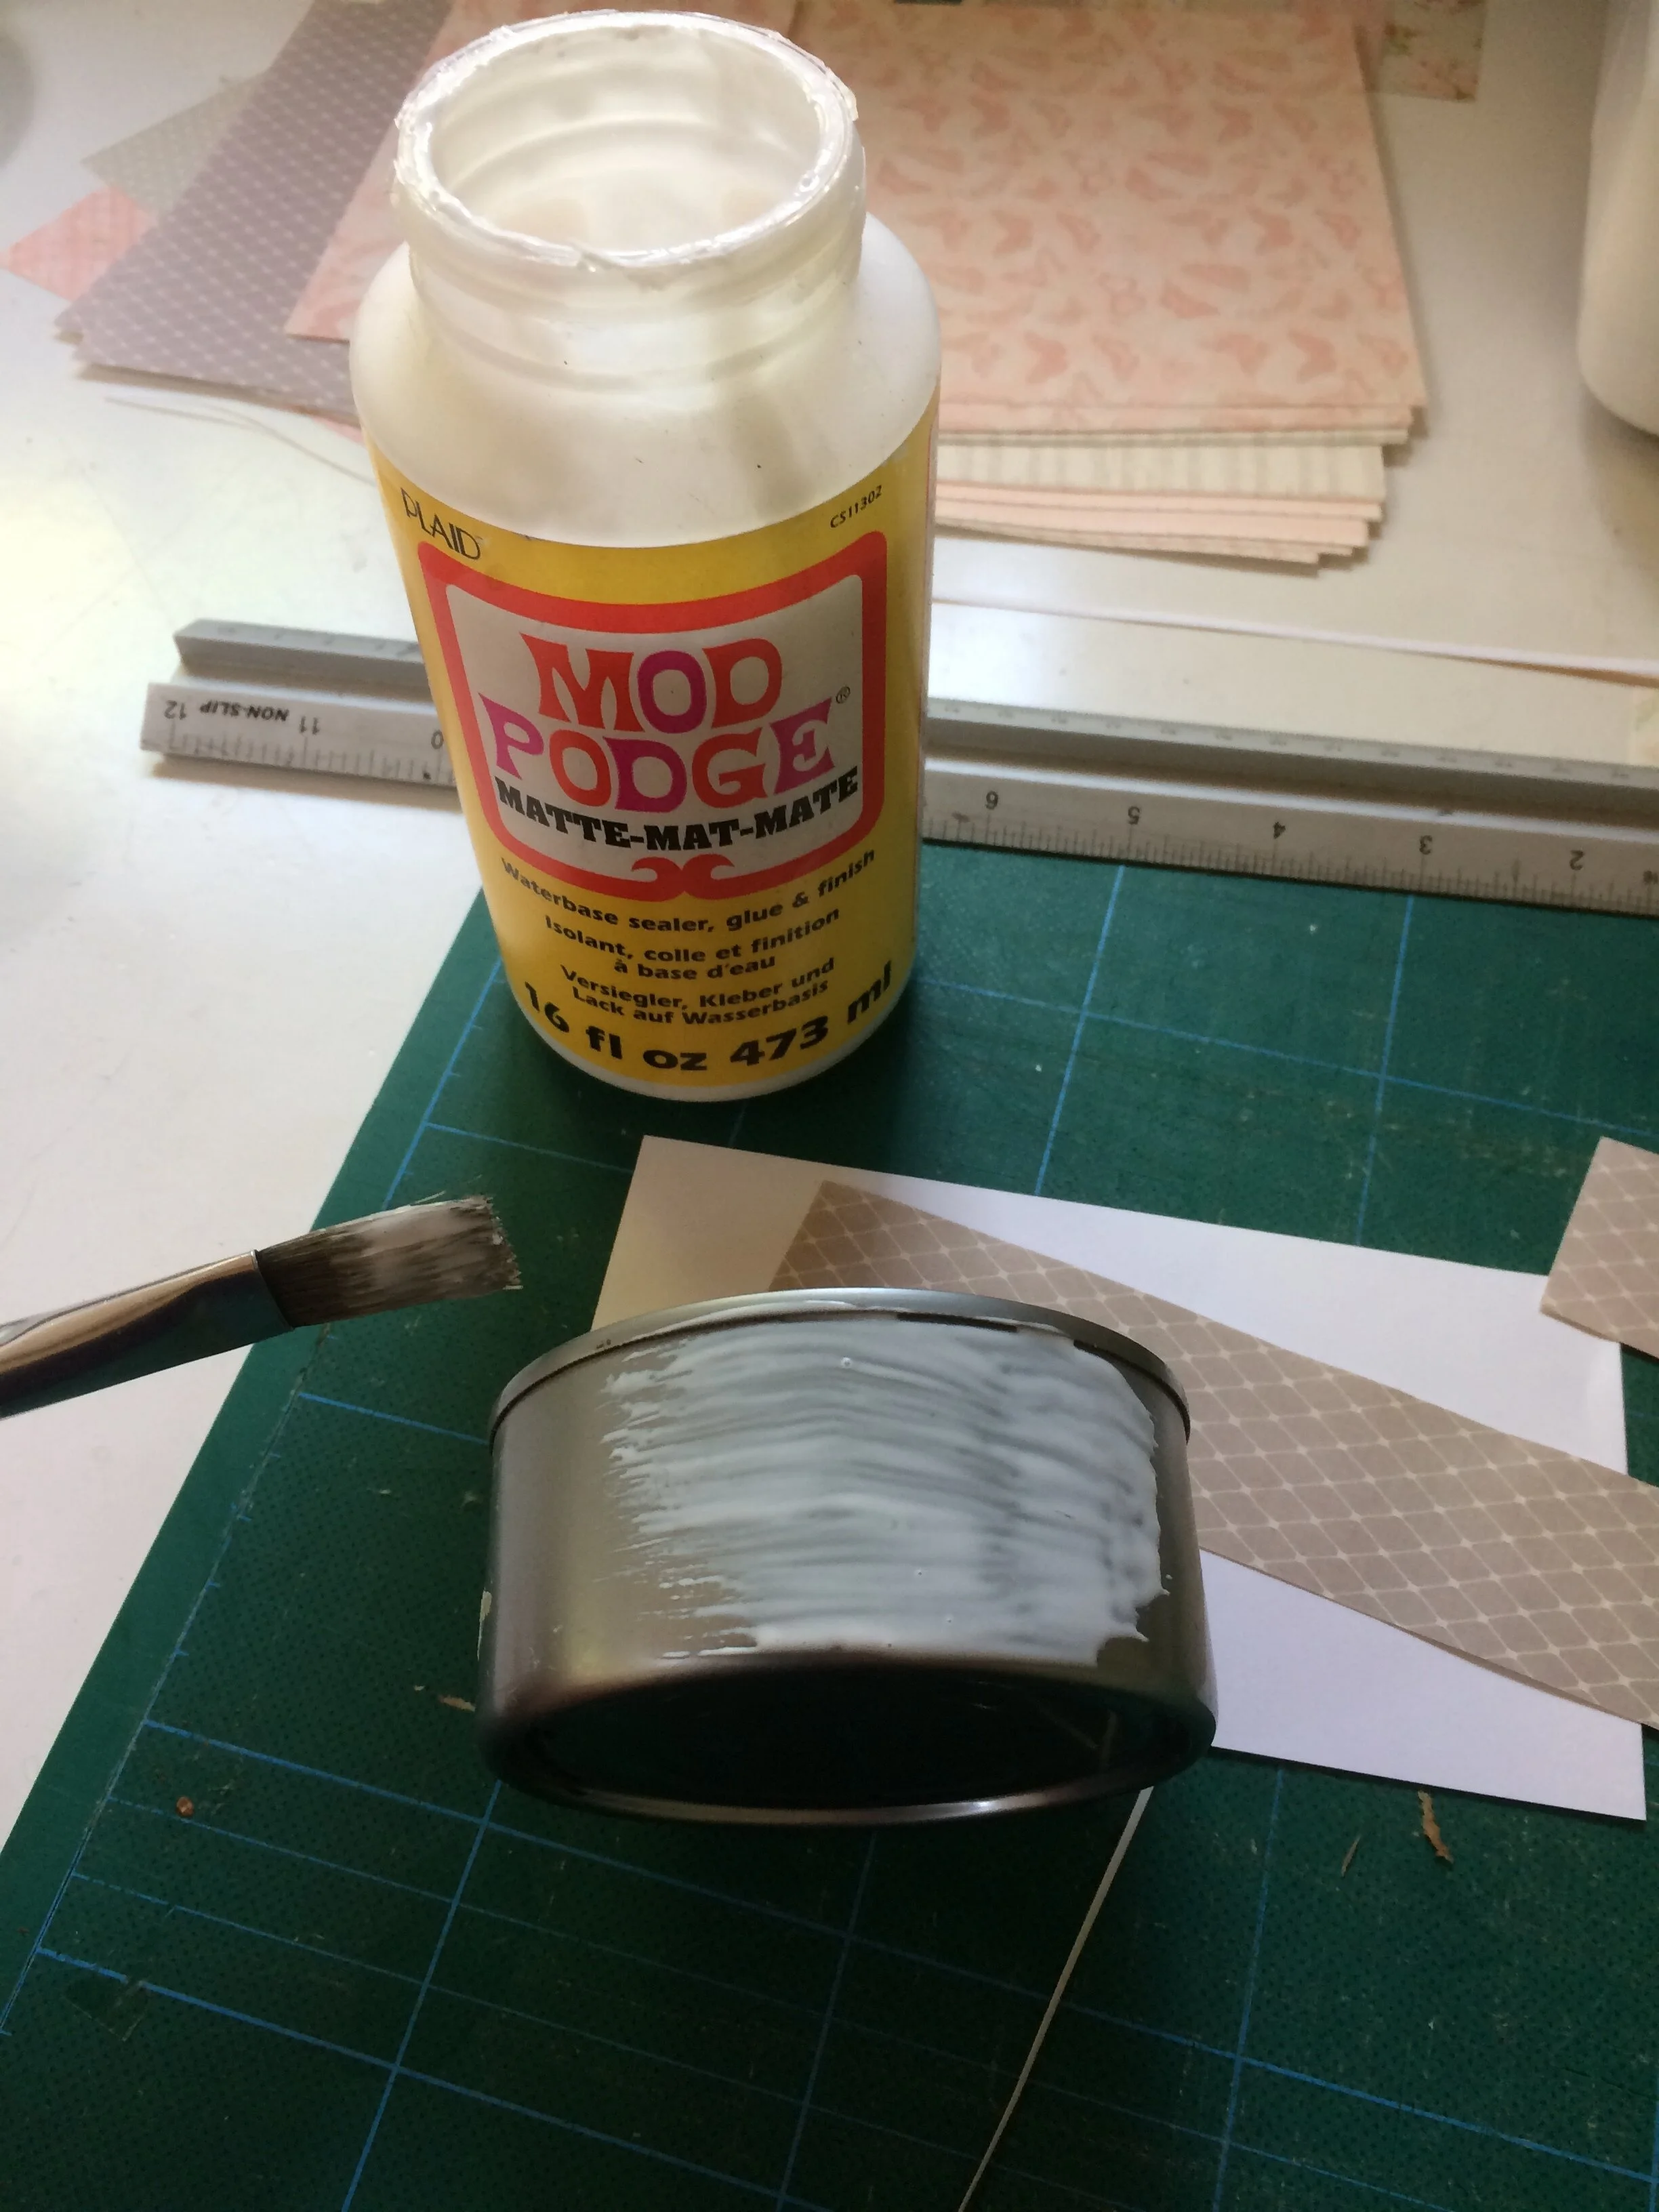
Measure the can and cut the paper using a cutting mat and a rotary cutter or scissors to get a strip of paper. Paint the can with Mod Podge or another clear-drying glue and carefully stick the paper around the can. I had some fancy paper left over from another project, but you can get all sorts of lovely effects by using wrapping paper, newspaper, children’s art, pages from an old book…
If you don’t have clear-drying glue then you can use a few spots of any sort of glue to hold one end of the paper strip to the can, and a few more to hold the other end (which is how the original label was likely attached).
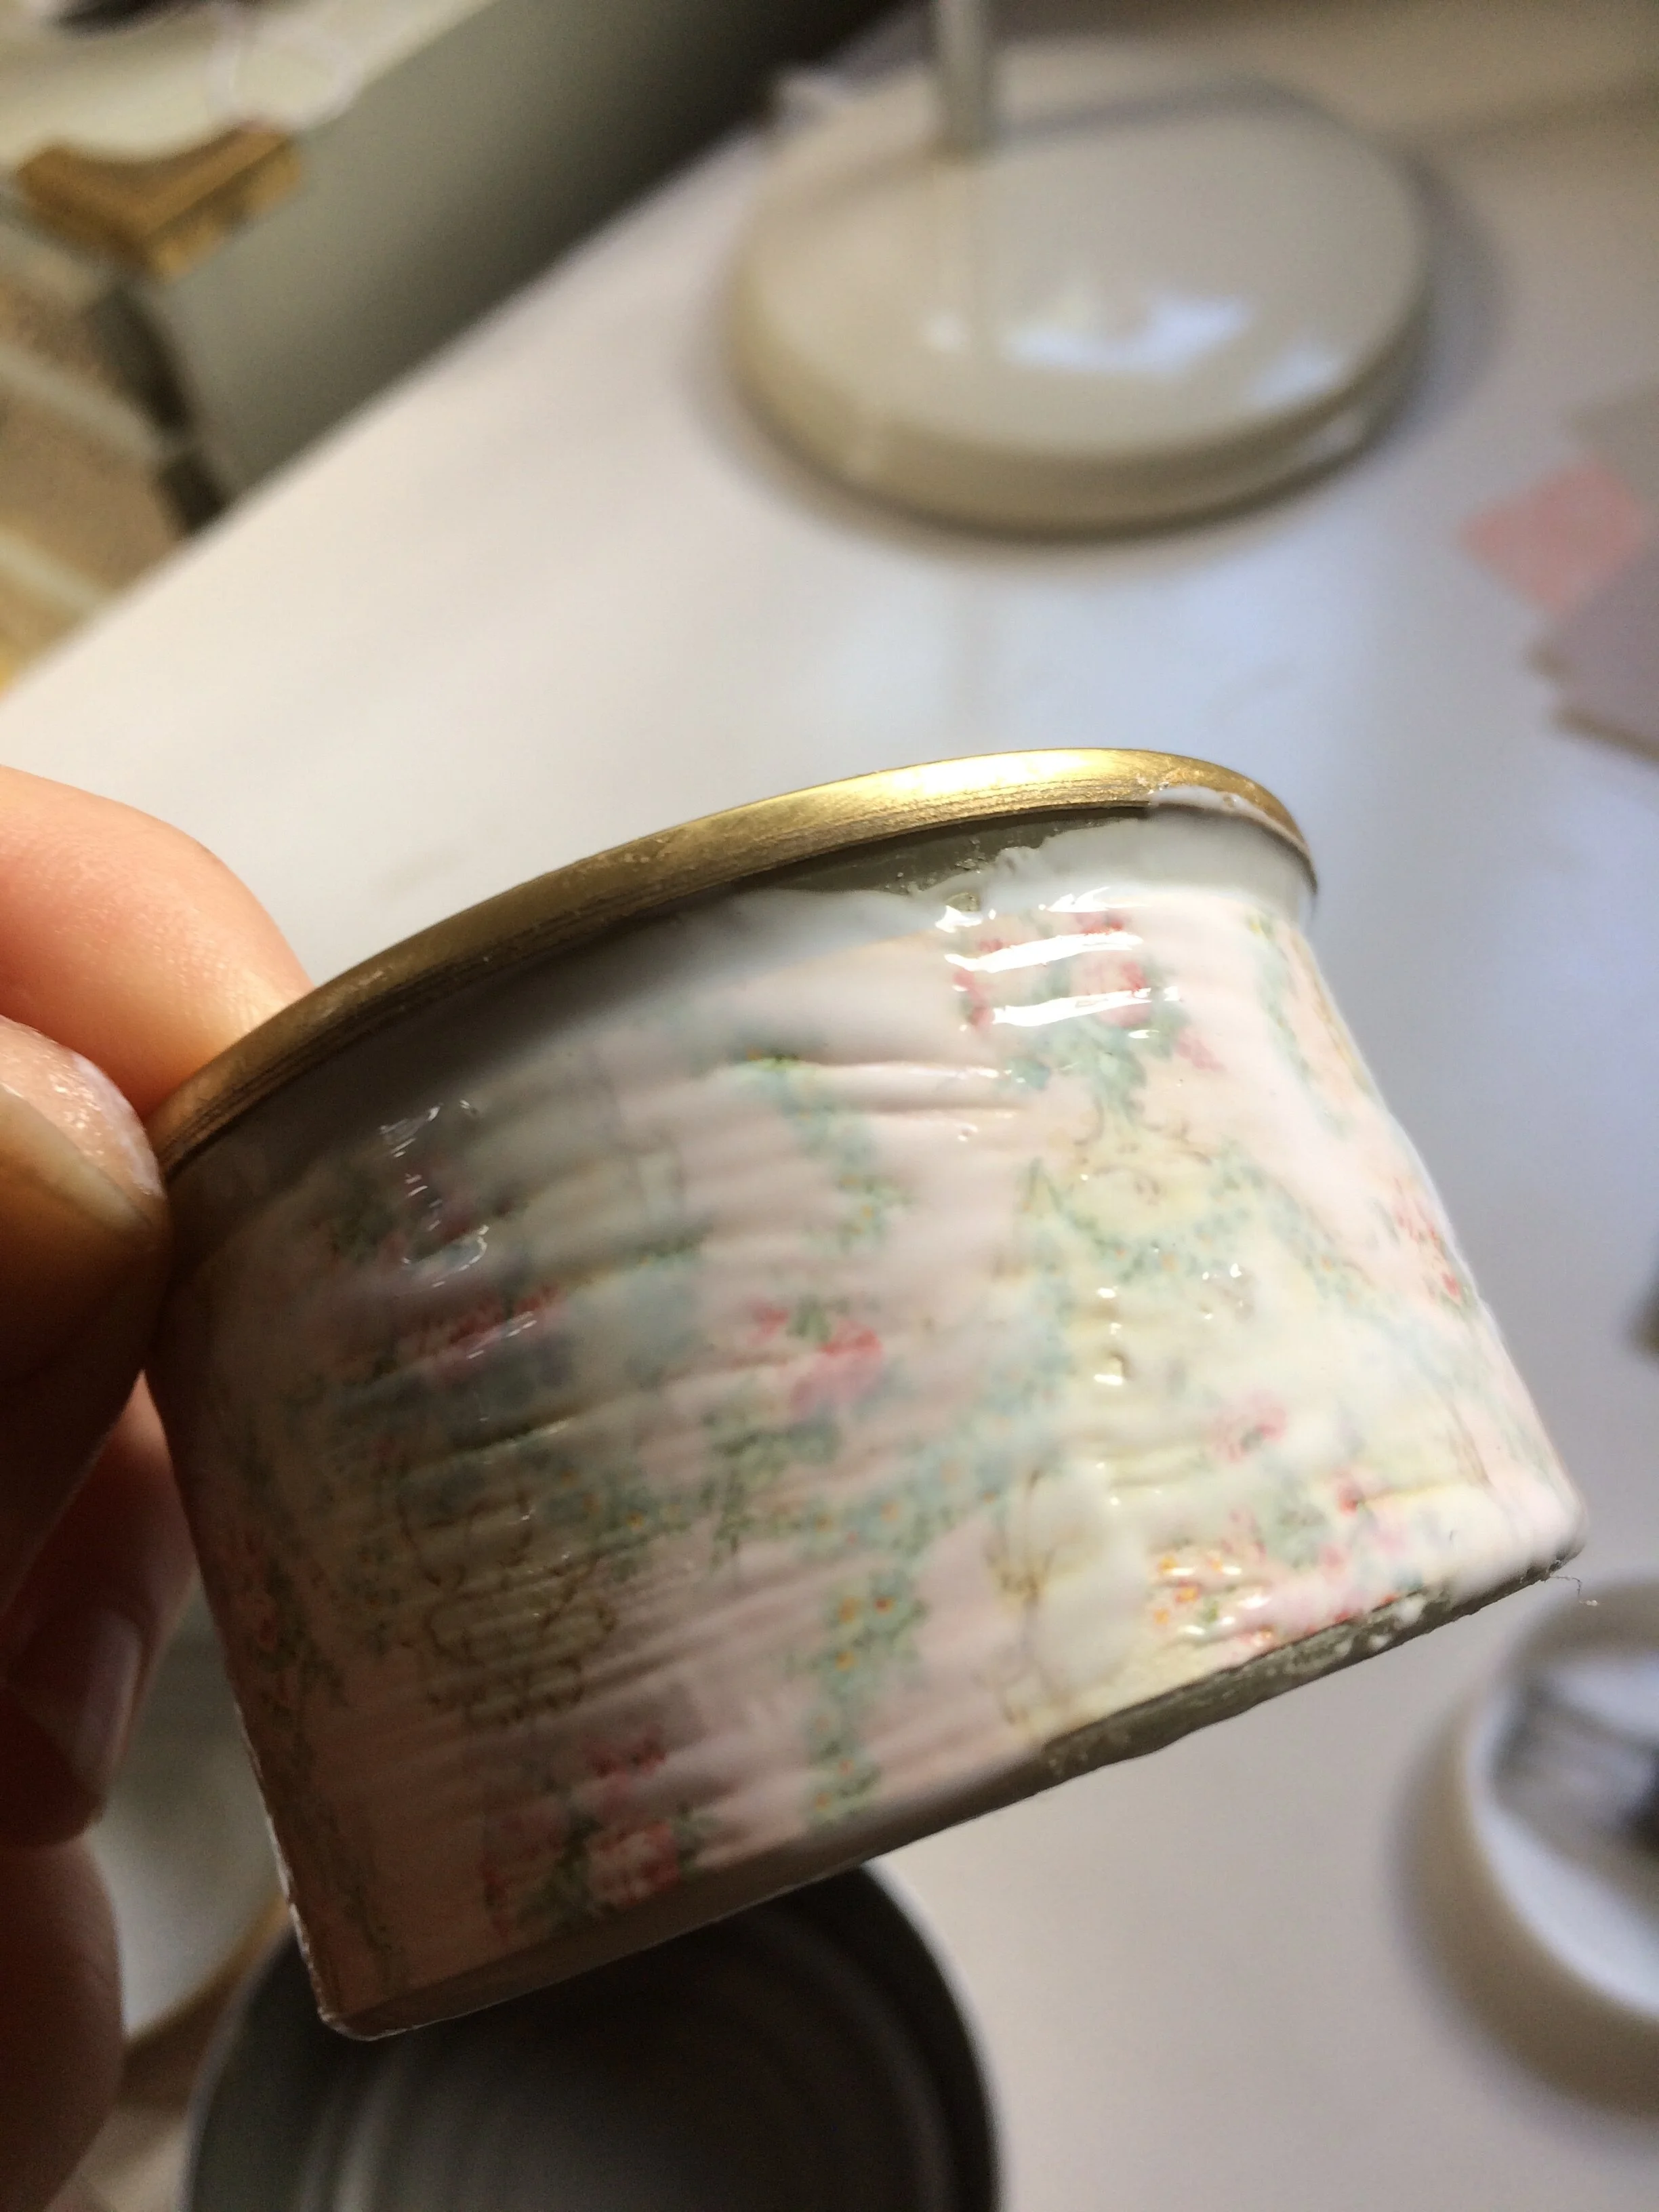
After sticking the paper down, paint over it with a layer of clear-drying glue to protect the surface. This looks terrible when you first do it - but it will tighten and clear as it dries.
3. Make the wicks
You can buy candle wicking, or make your own out of string or balsa wood. However, doing this as a lockdown project I didn’t have any wick holders to fix the wicks to the bottom of the cans.
Floating wicks are a brilliant alternative that you can make from pipe-cleaners. You just lay them on top of the candle, and as they burn they melt a small puddle of wax below them and float on it. For small candles you just need one wick per candle, or for larger candles add more wicks.
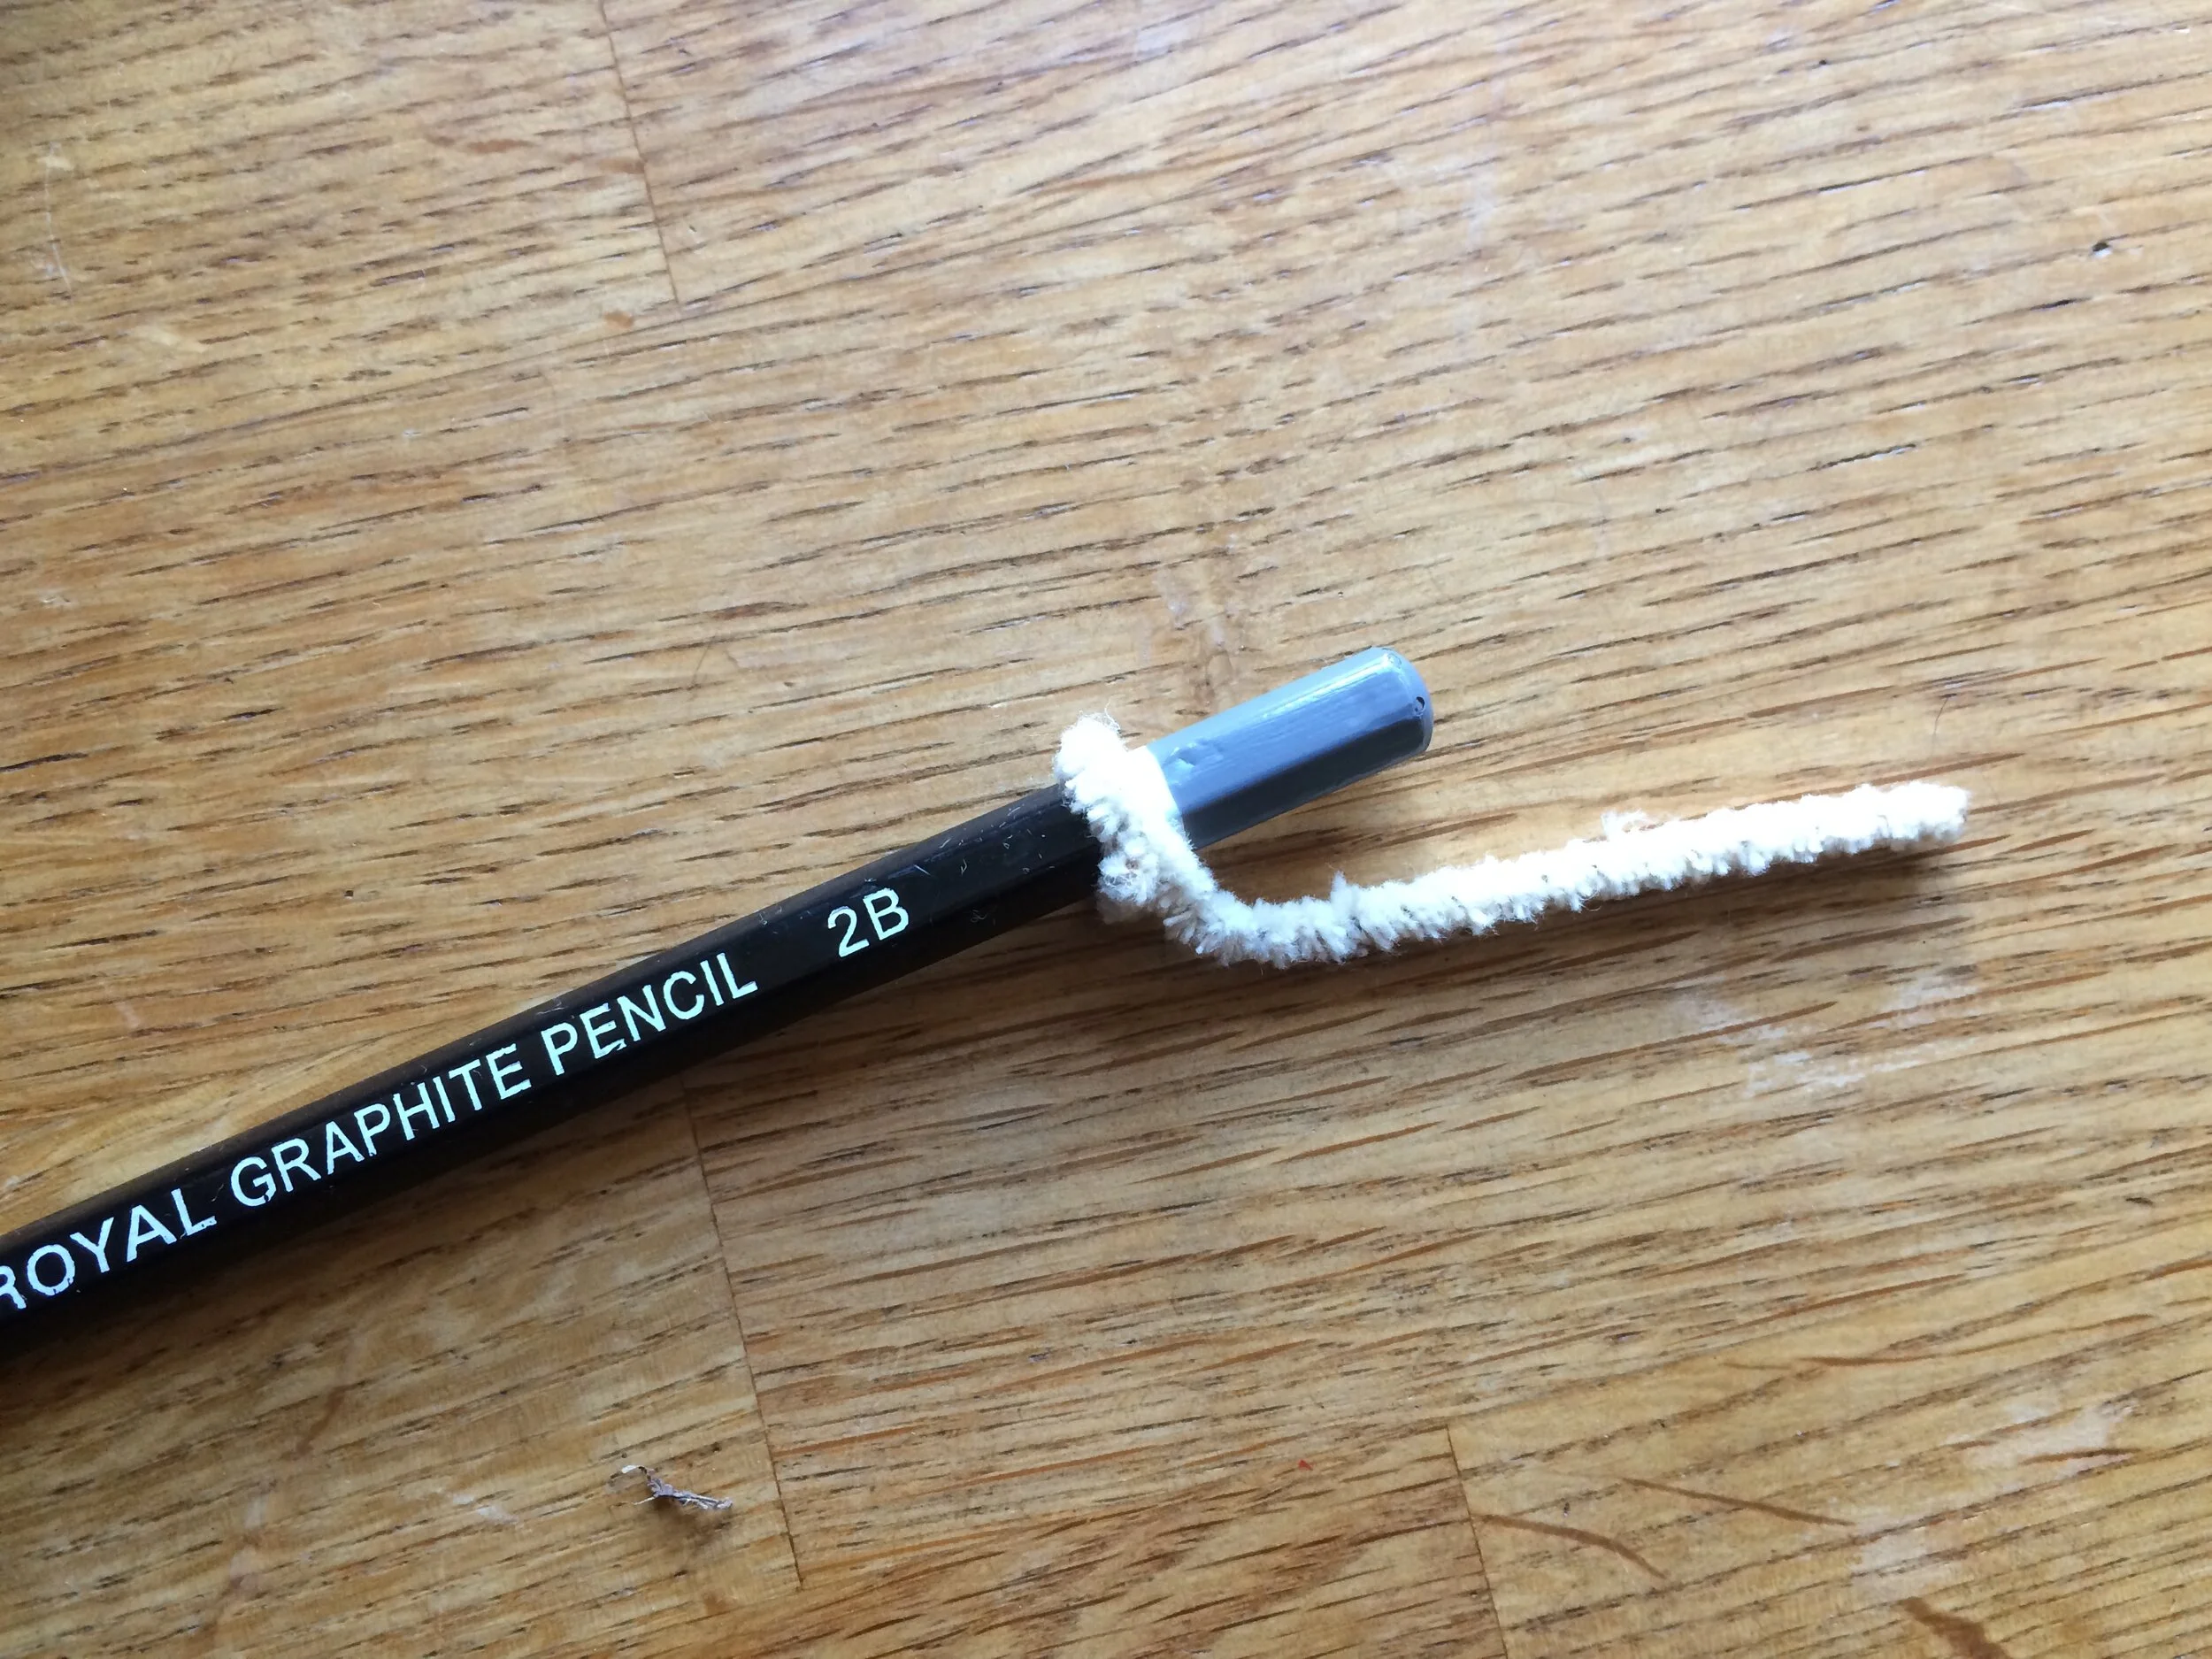
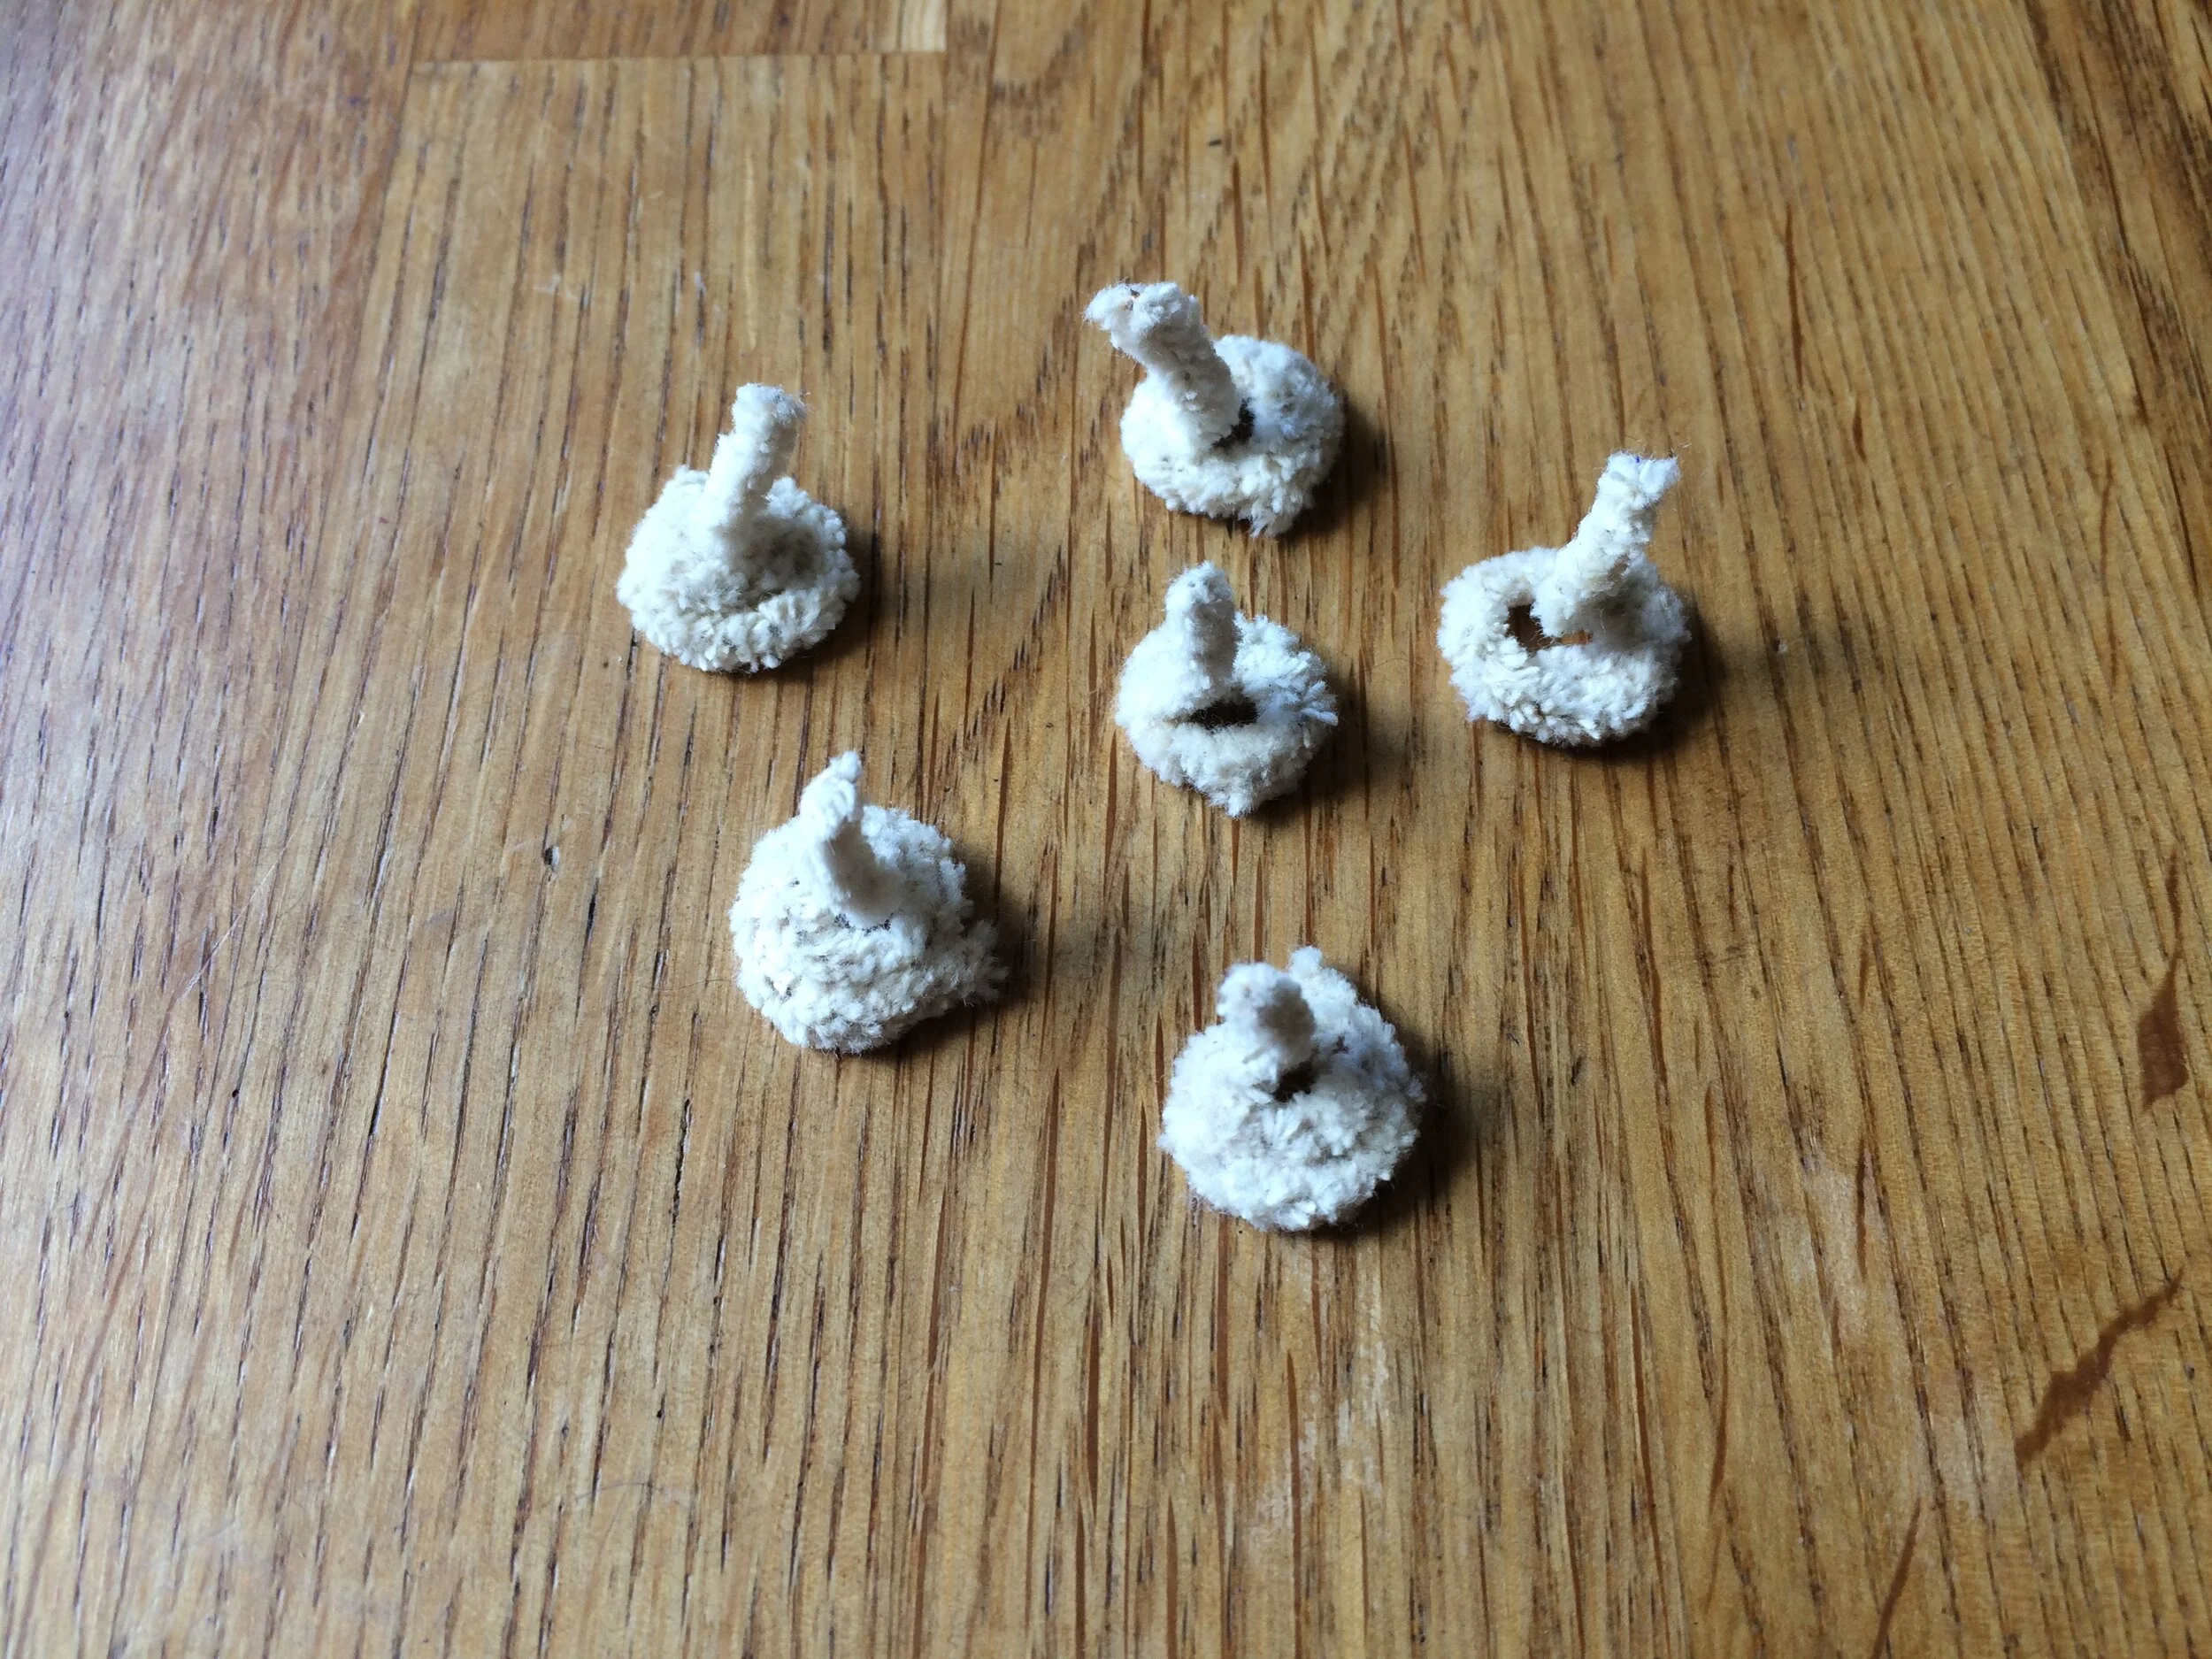
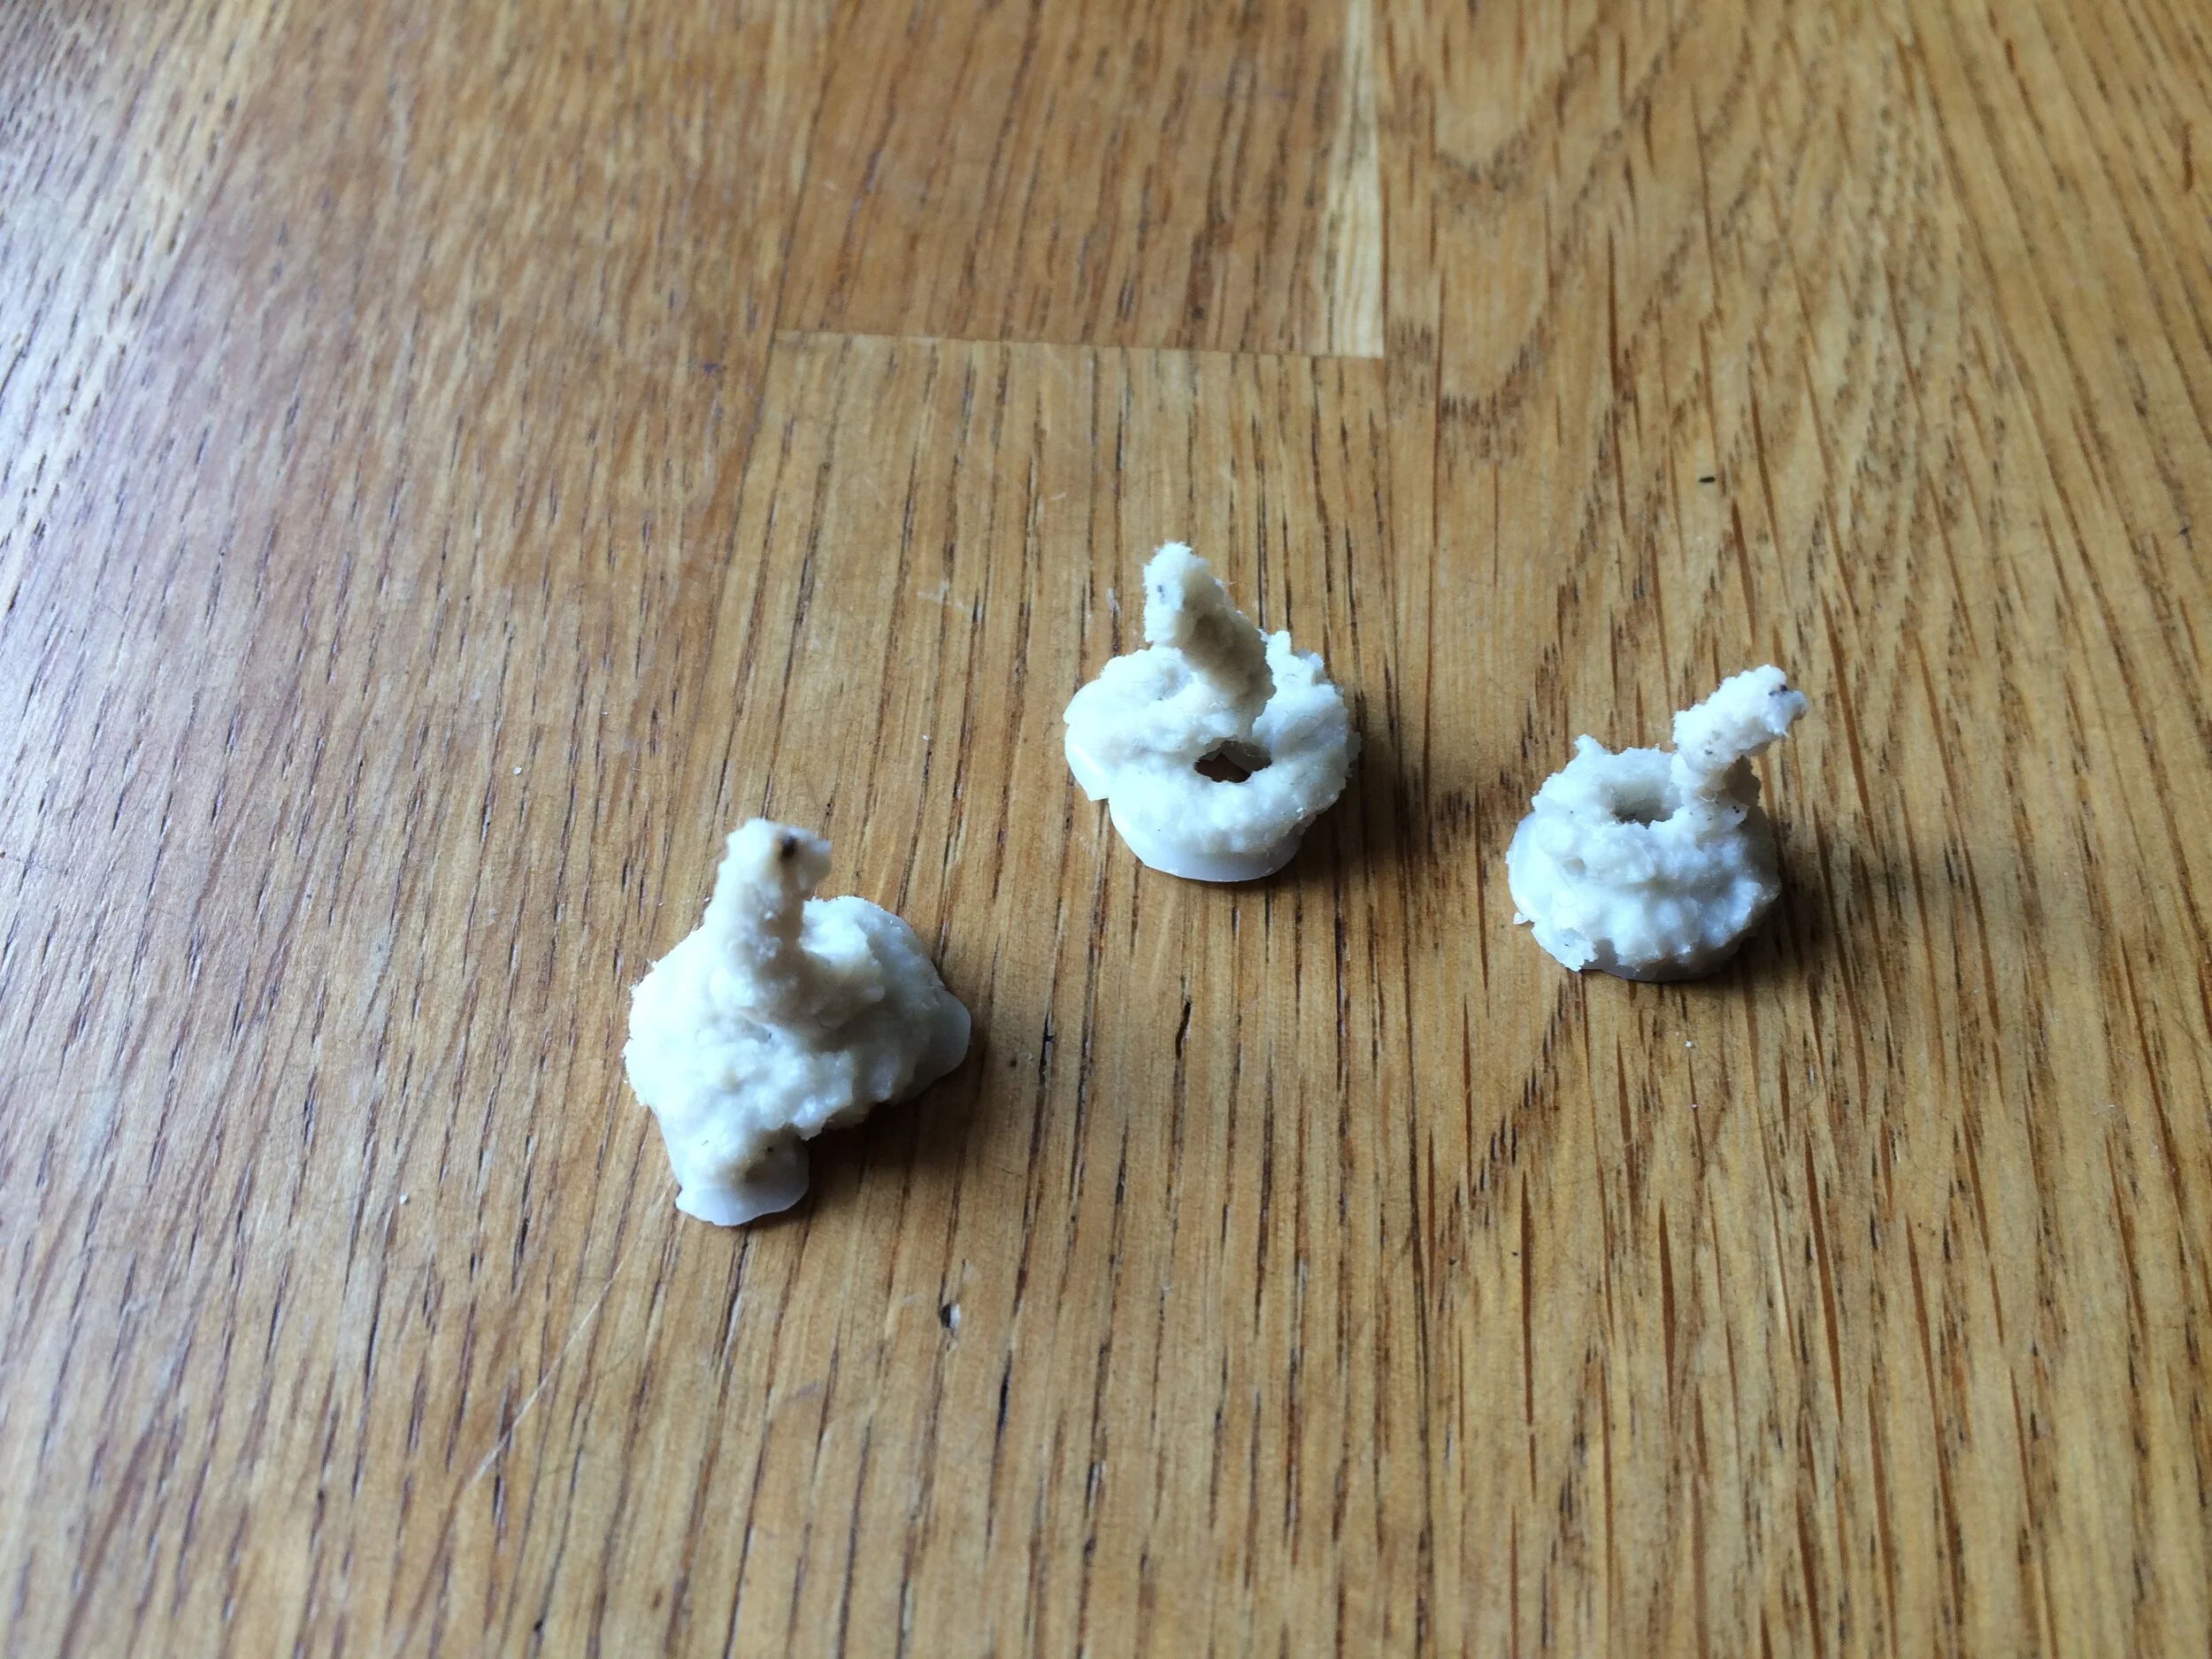
Use natural cotton pipe-cleaners if possible, and coil them into a little snake-shape. An easy way to do this is to wrap them around a pencil twice and then fold them up, before snipping off the rest of the pipe-cleaner.
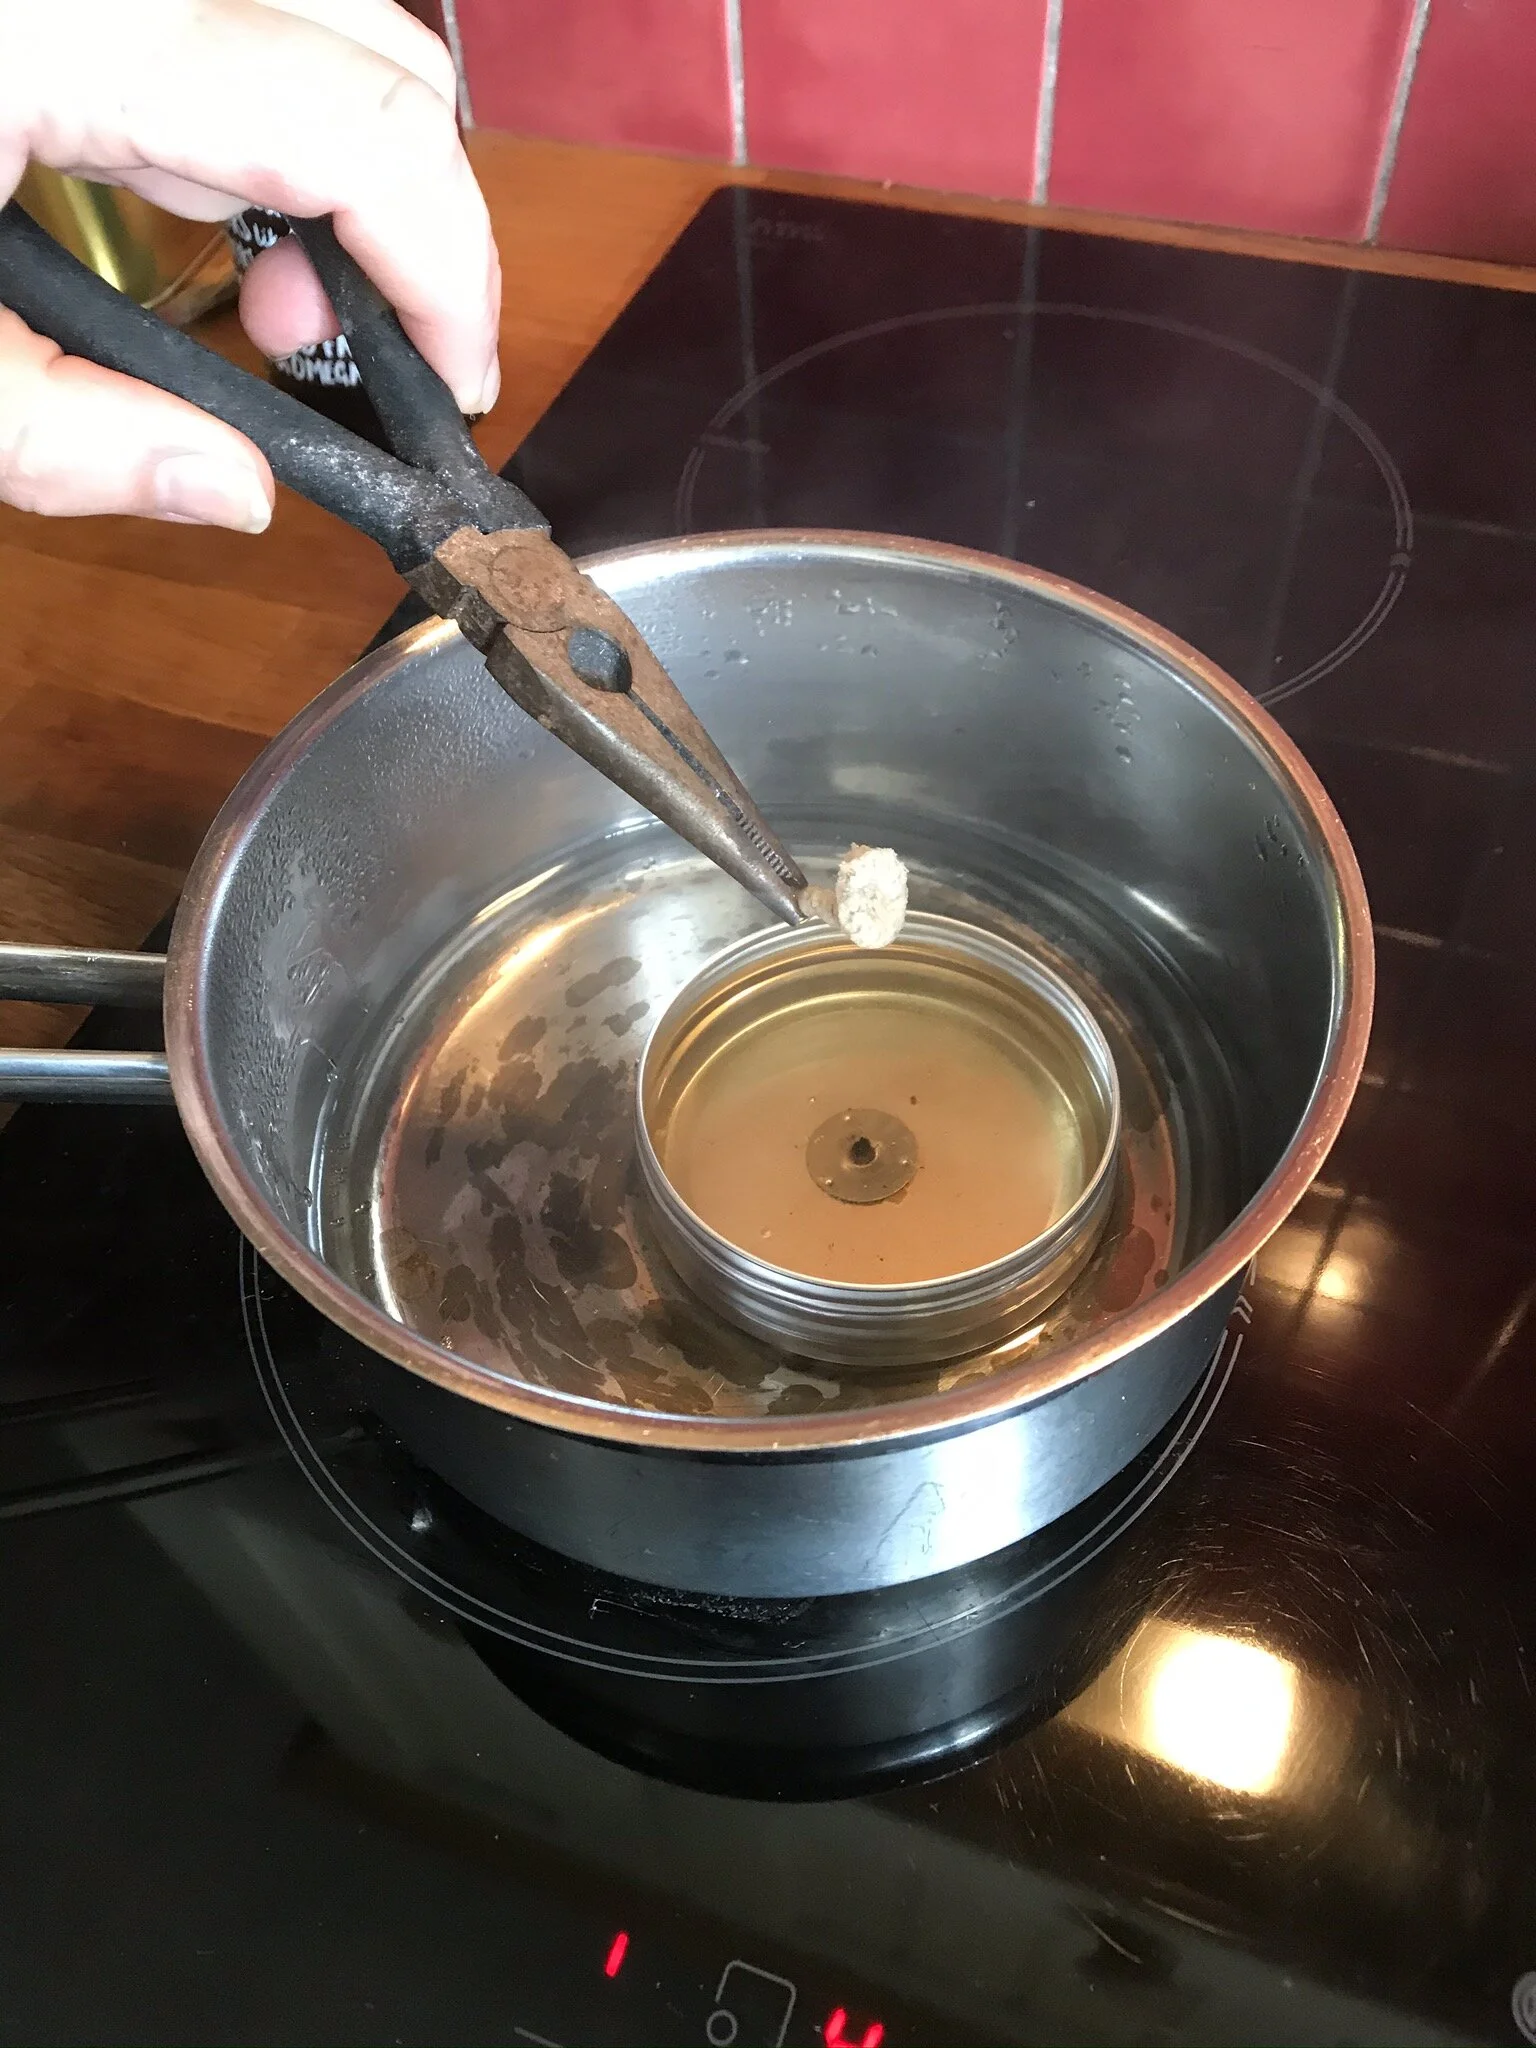
Melt some wax from your old candle stubs. You can use one of your tin cans for this, lay it in a saucepan with a small amount of water and heat it gently. Then use pliers to dip each of your wicks into the wax and then let them dry. I dipped mine four times in total. They end up looking very sweet, and slightly edible.
4. Melt your wax and fill the cans
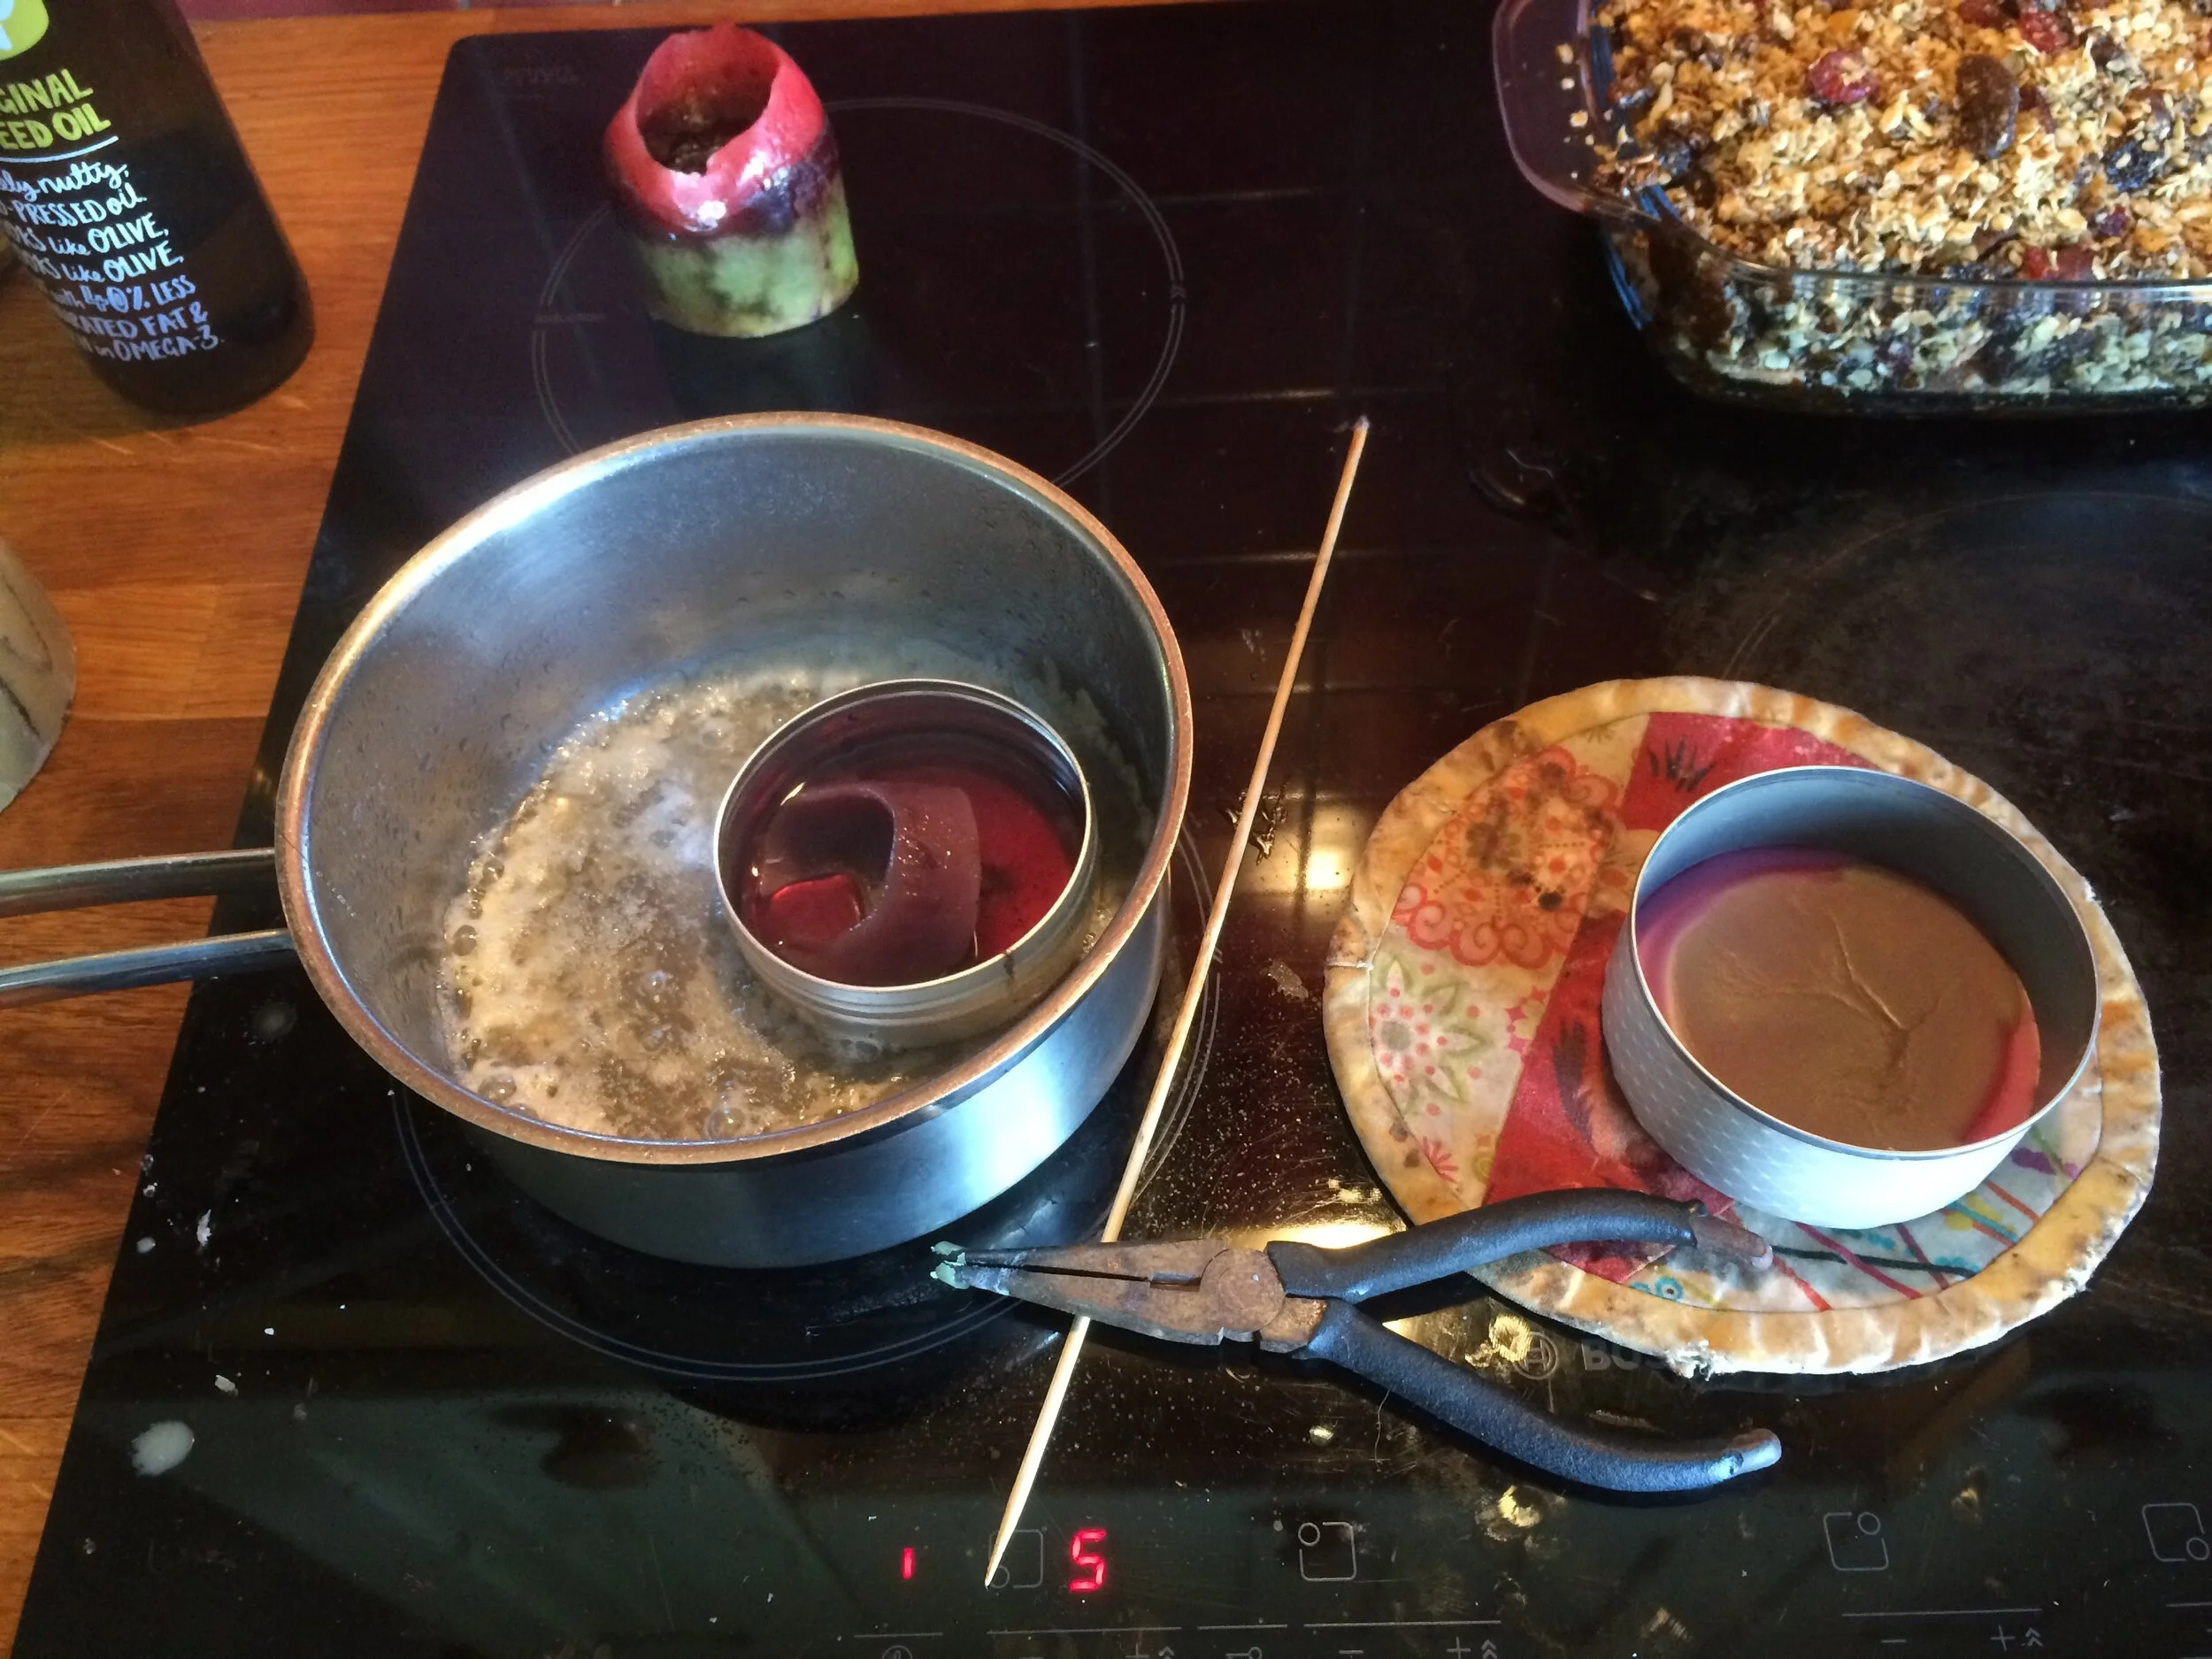
Use a double-boiler if you have one, or if not then use a can in a saucepan of water. Add the wax from all your old candle stubs, candles with lost wicks and any weird dribbley bits. When the wax is completely melted, pour it carefully into your decorated cans. If you have heated the wax in a can, then use pliers to pick it up as it’ll obviously be very hot.
If you are using embedded wicks and wick holders then make sure they are in position before you pour the wax - if you are using floating wicks then just pour the wax directly into the can.
I had a lot of white wax and a few red and green bits, so I kept all of the white to make pure white candles, and mixed the rest together for a rather murky red one.
5. Enjoy your new candles
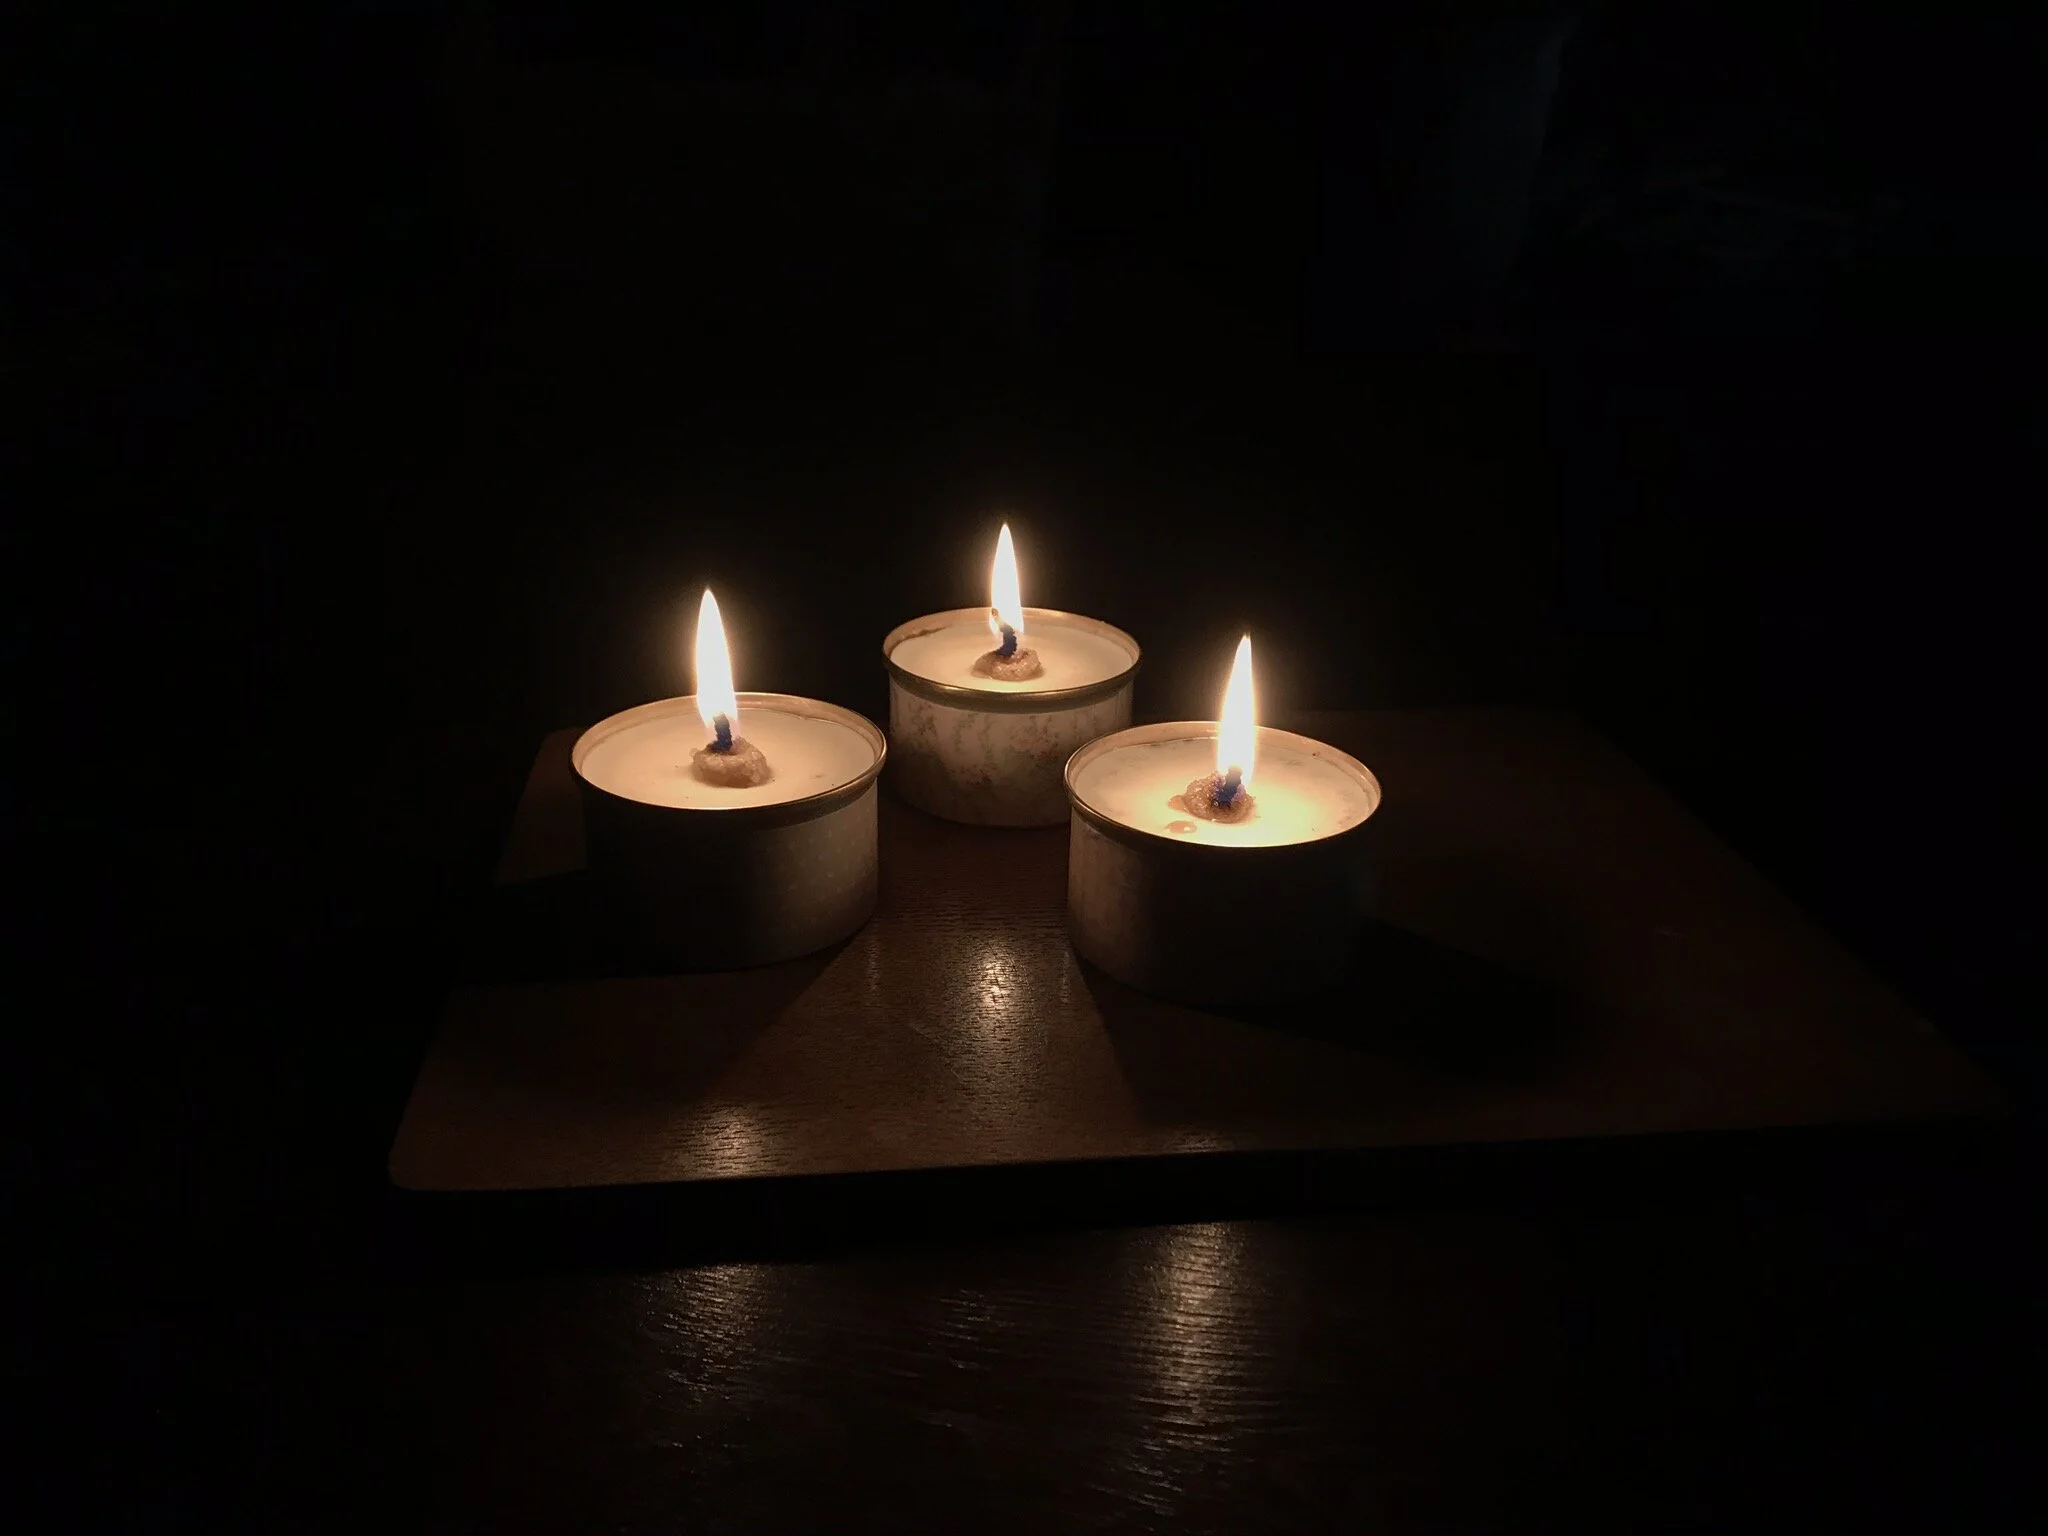
If you have made floating wicks, just pop one or more wicks on top of the candle, light them and and admire your candles.

