Simple Quilts

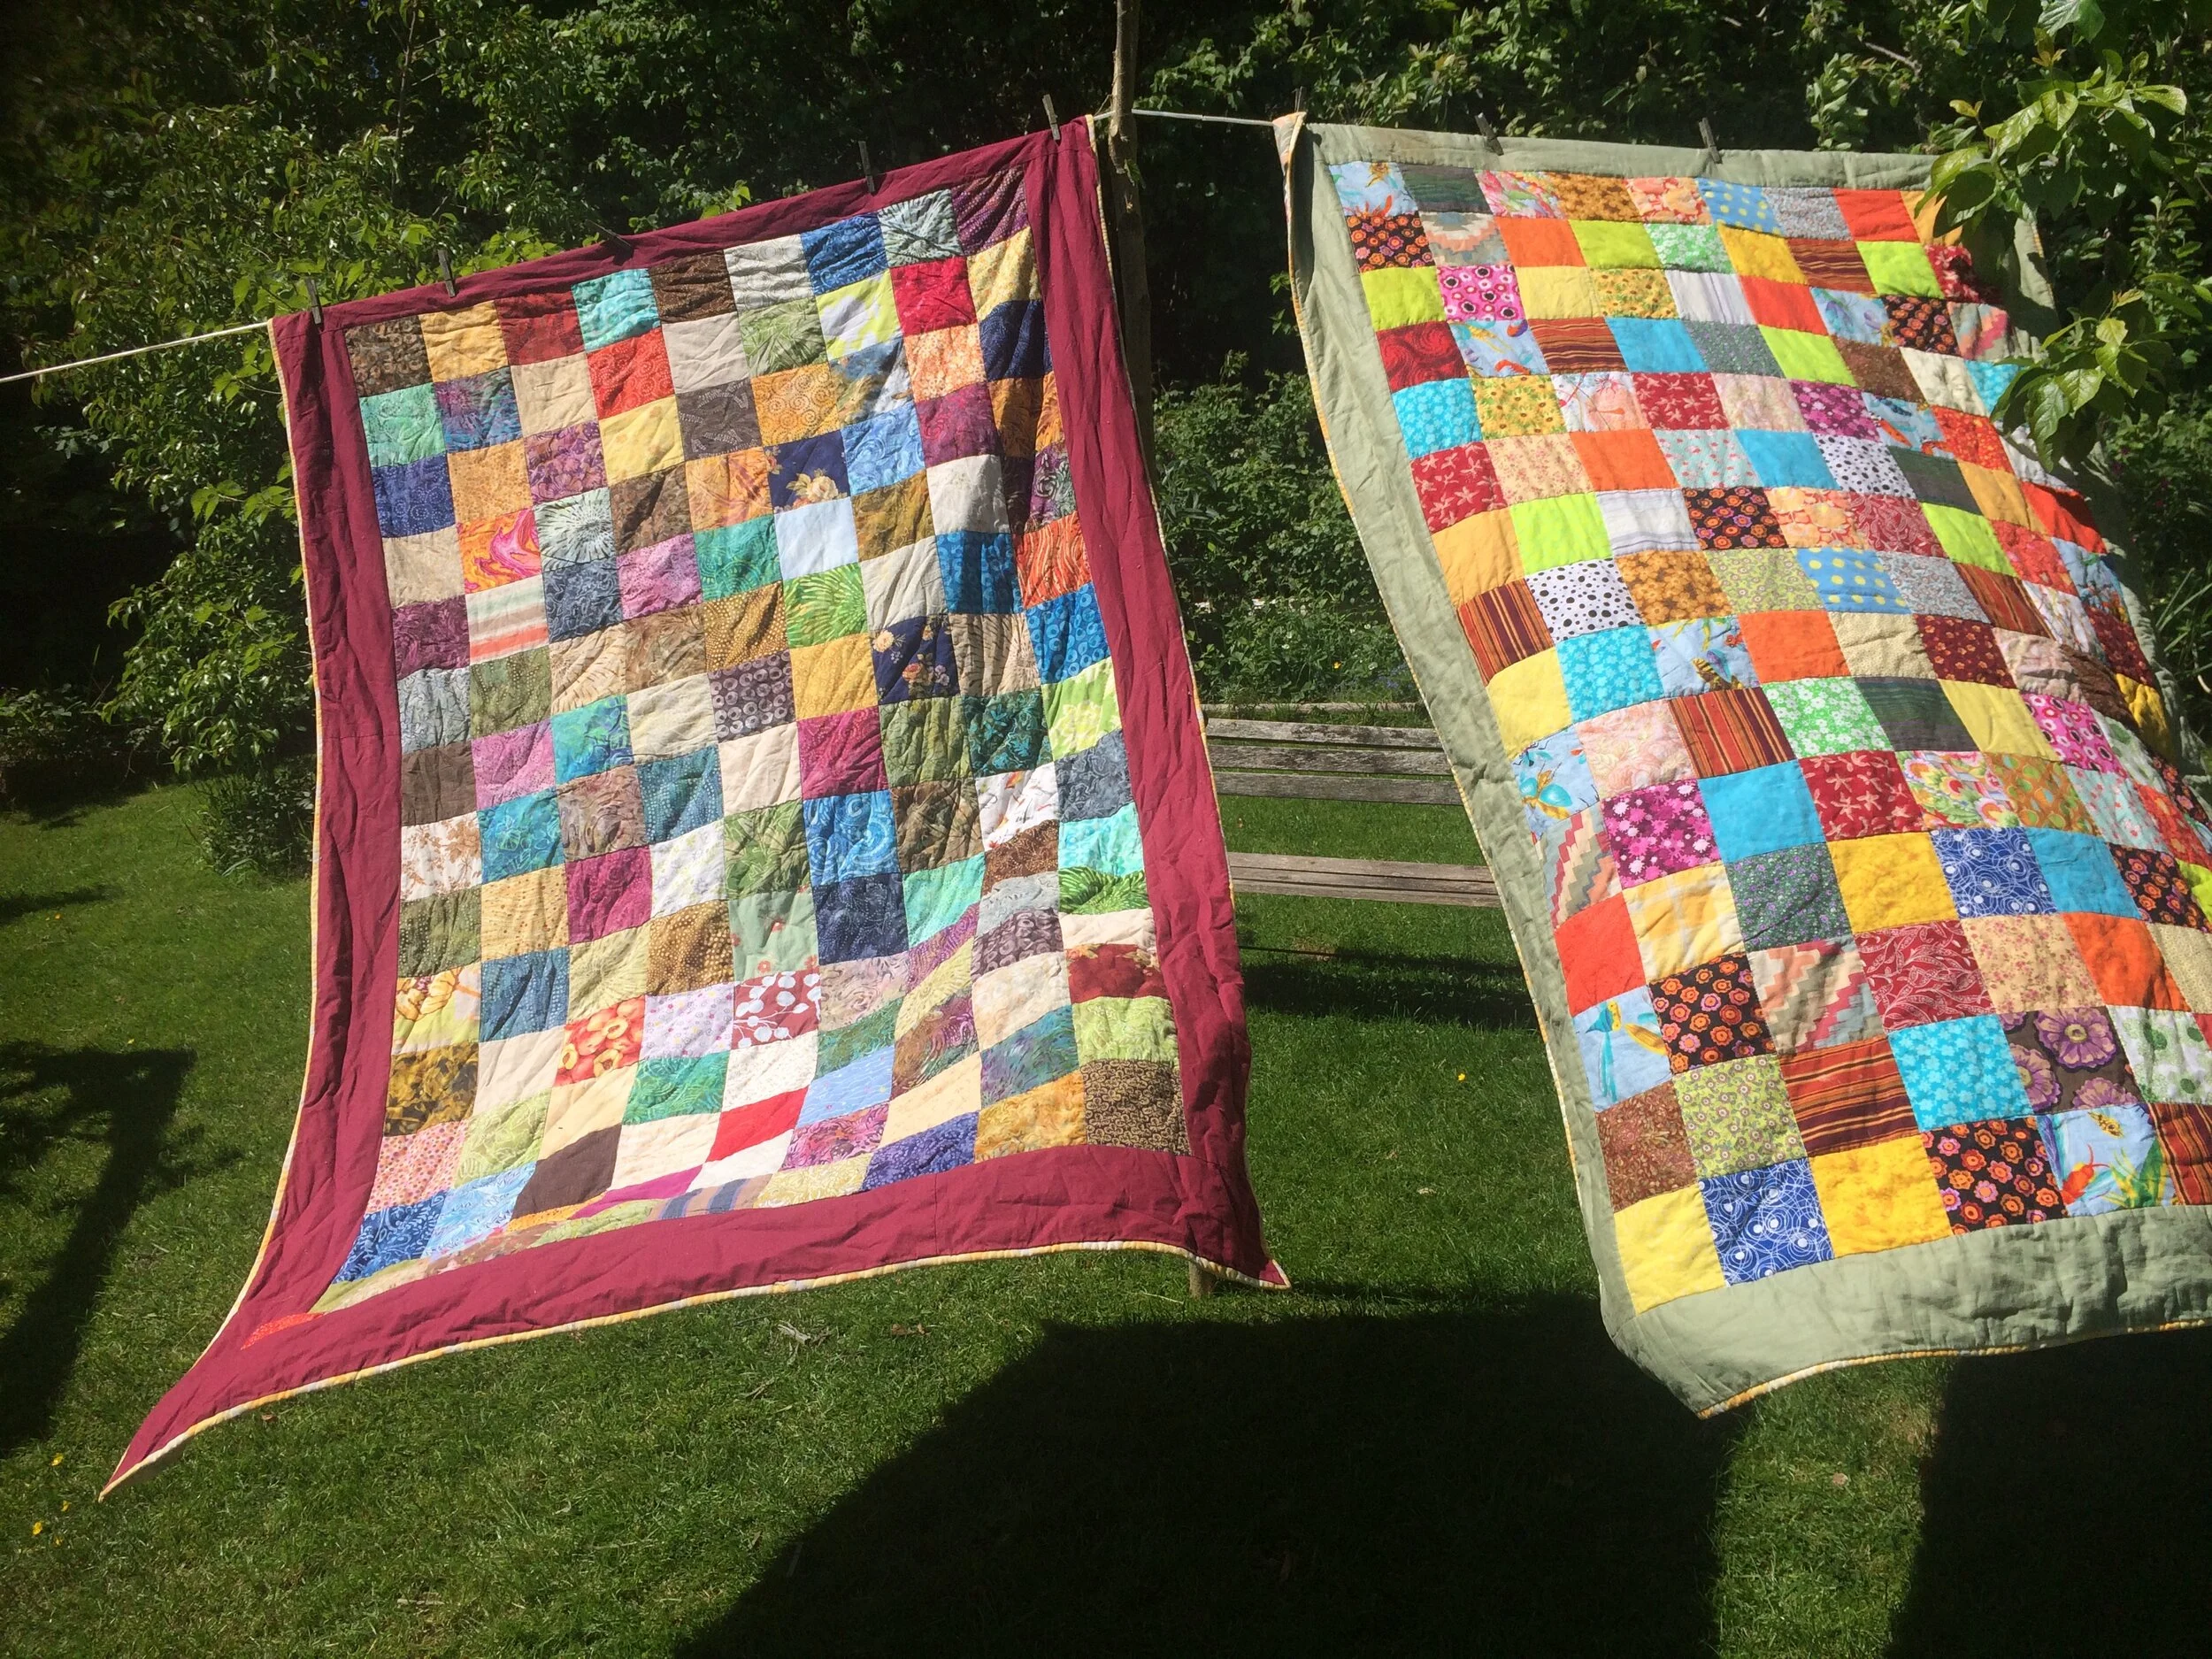
I love making patchwork quilts, and there are so many amazing patterns to try. Recently, though, I have decided that a simple chequerboard of squares is one of the most effective and cosy quilt patterns. I made a quilt for each of my sons, and the boys actually like these! I don’t think they are so bothered about the pattern, but the single-bed sized quilts are being used a lot - as bed coverings, to wrap up in while watching TV, to take into the garden for picnics, to make dens…
Making a patchwork quilt is a great quarantine activity; the only essentials are some fabric, some scissors and a sewing machine or needle and thread.
Prepare the patchwork
Decide on the size of your quilt and the size of the squares.
To get a single-bed sized quilt I used 5 inch squares, 9 columns of 15, so a total of 135 squares. I also added a 5 inch border around the quilt. The total finished size is roughly 6 foot by 4 foot (190 * 122cm). I find that using an odd number of squares in both rows and columns seems to give a more balanced final look.
Cut the squares:
Lots of fabric shops and online shops offer ‘charm packs’ of pre-cut squares. These are a massive time saver, and you can get some lovely fabric mixtures. These are commonly offered in 2.5, 4 and 5 inch sizes.
Use old clothes, bedding, scraps of fabric from other projects. Press the fabric before cutting it. For large amounts of fabric, it’s easiest to cut it into strips first, then cut the strips into squares.
If you are doing a lot of cutting then a cutting mat and rotary cutter make the job much easier.
Try not to mix different weights of fabric together in one quilt.
To get a balanced affect for your quilt, divide your squares roughly into lights and darks. A good way to do this is to squint at the squares or back away and look at them from a distance - this really helps to ignore the colour and gauge the relative darkness of the squares. You might find that a lot of your squares are in the middle, and will be either ‘light’ or ‘dark’ depending on their neighbours when you lay them out.
Lay the squares out in a chequerboard pattern on a flat surface, alternating your lights and darks. Take your time with this - lay them out, back away as far as you can, squint, leave them for a cup of tea then come back and look at them again. Arrange and re-arrange, until you are happy with the layout.
Make the Patchwork
Sew the squares into rows first, and press all of the seams. Then sew the rows together, and again press the seams.
To add a border, cut two strips of fabric that are the length of a row, and sew one to the top and bottom rows. Then cut two more strips for the sides of the quilt.
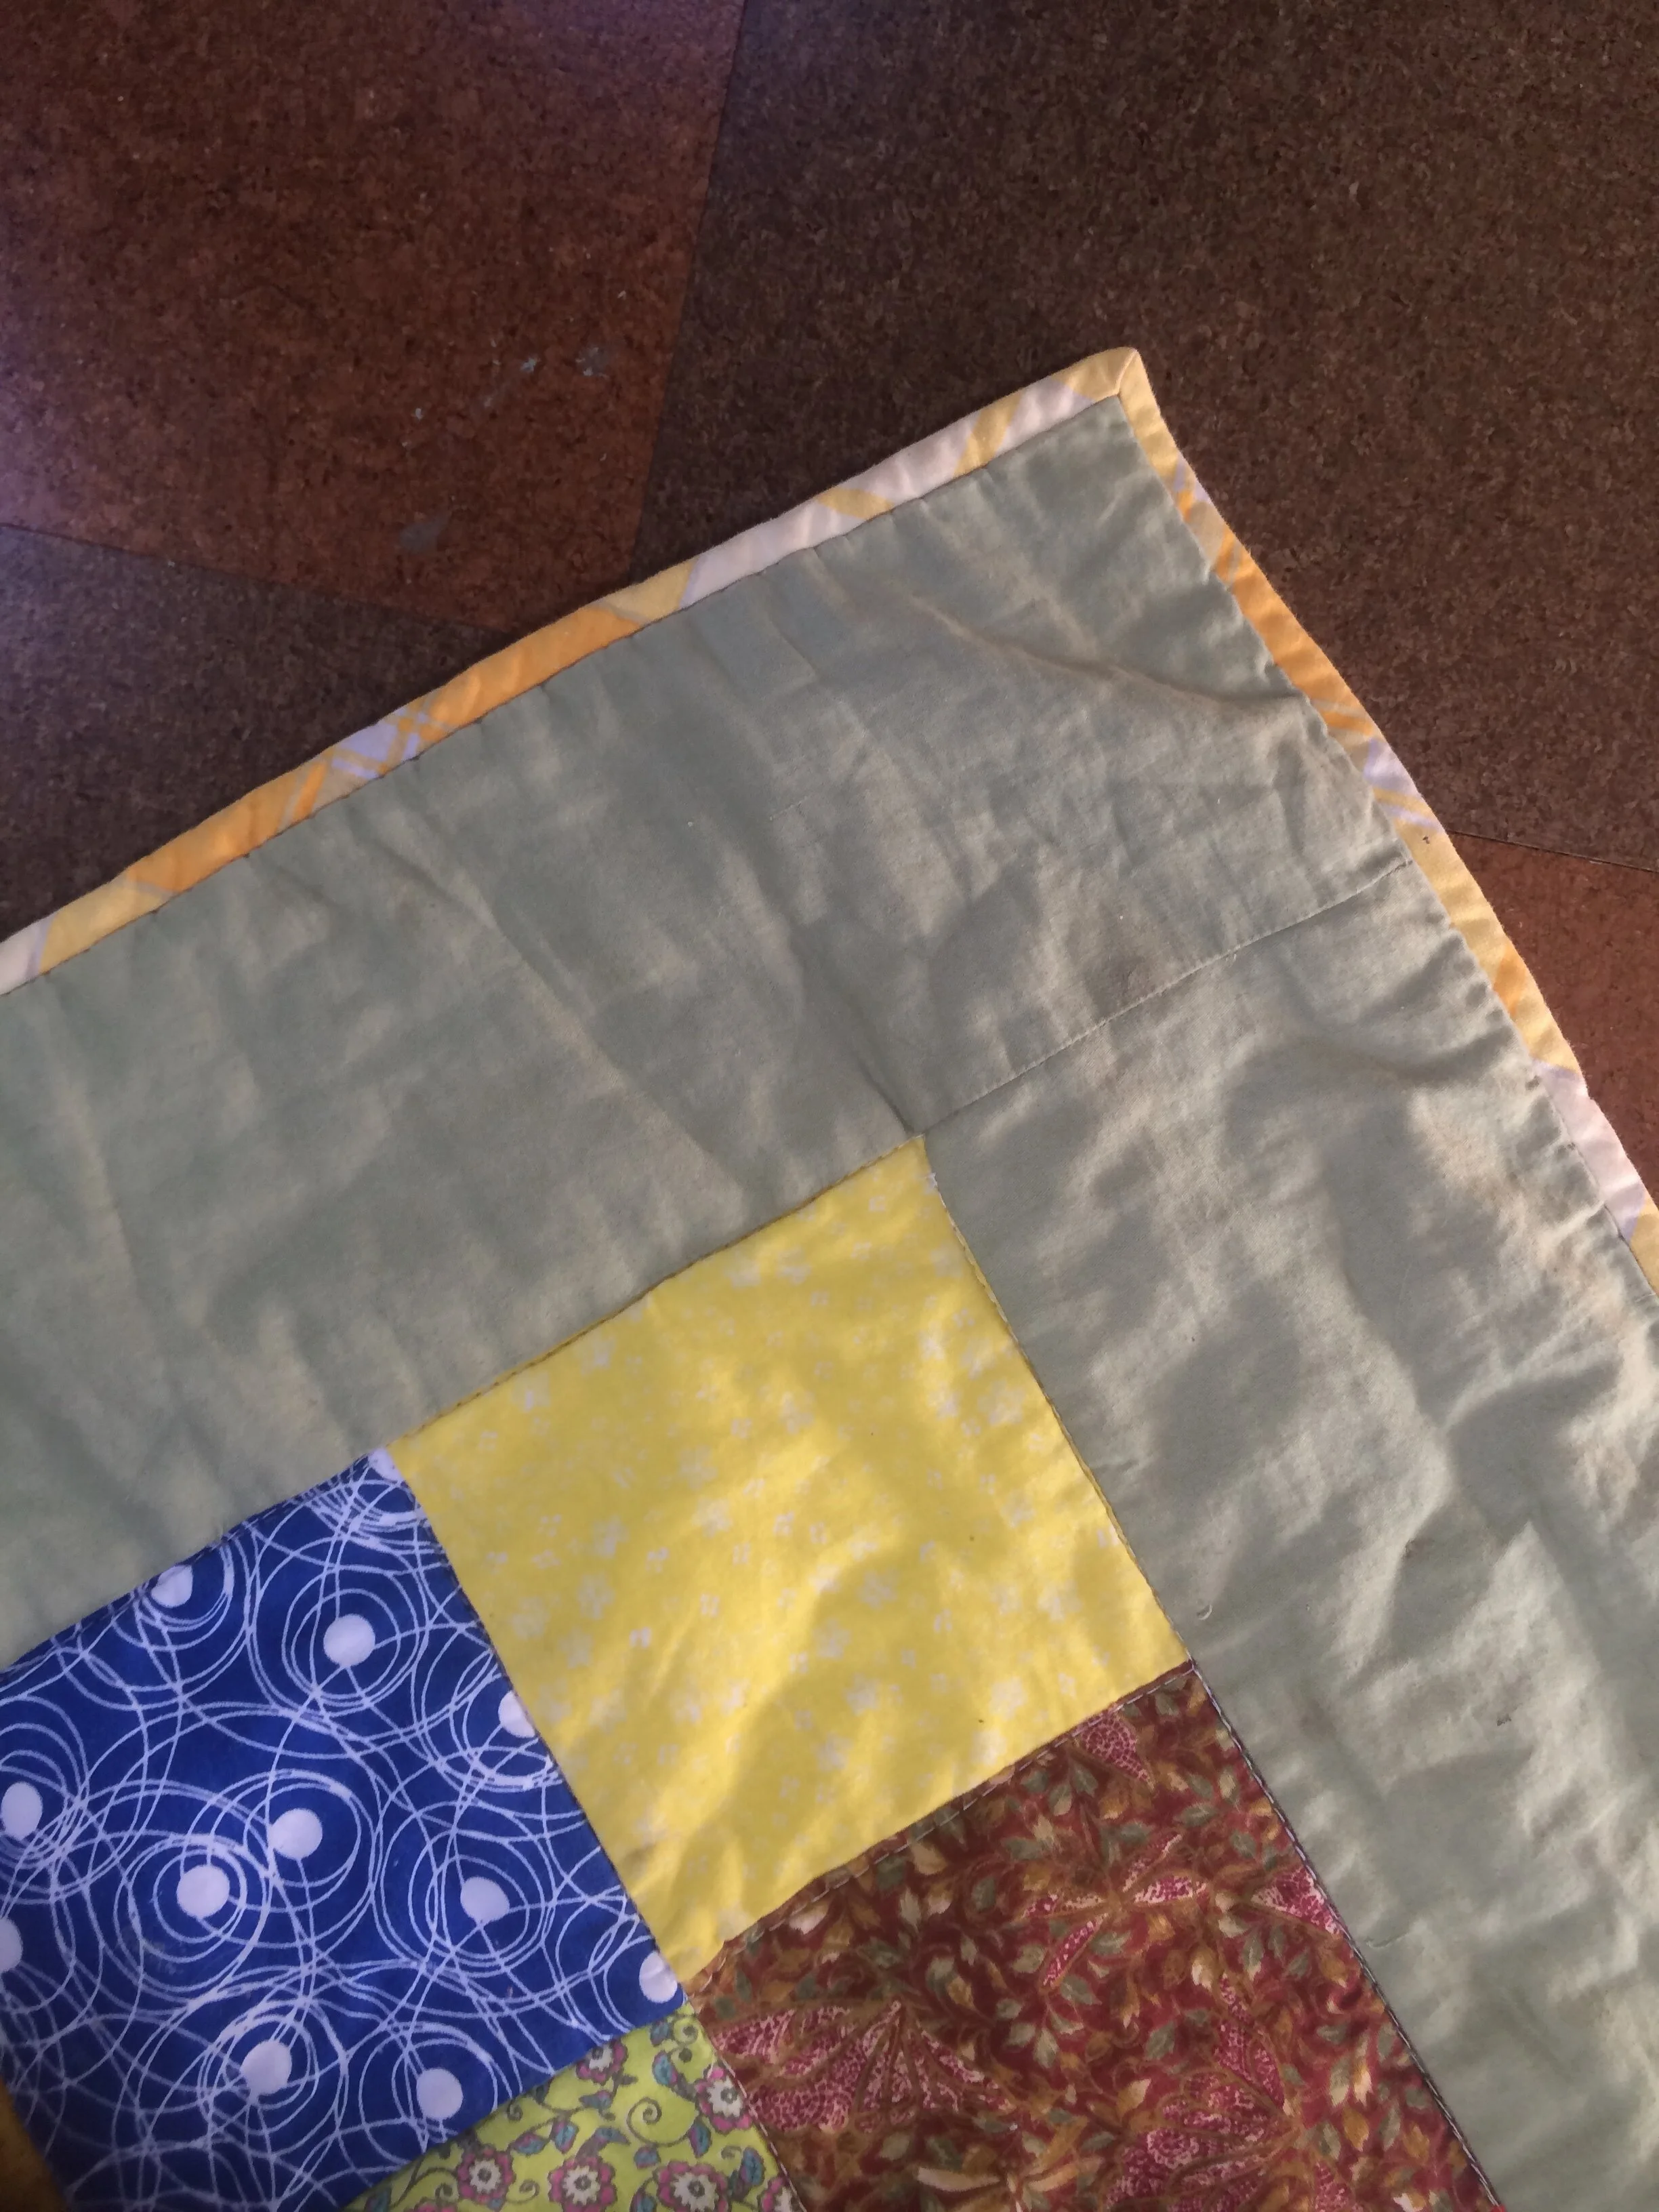
Assemble the quilt sandwich
Traditionally a patchwork quilt consists of three layers; a patchwork top, a middle layer of padding or wadding which gives warmth, and then a bottom layer of cotton. These layers would be pinned or basted together, and then hand-sewn through all three layers.
For a home made quilt, there are lots of options for the middle layer. You can buy specialist quilt wadding from fabric shops, which is warm and lightweight, and comes in a range of different sizes and options. You could also use an old blanket, which will give a heavier quilt, or another fabric such as flannel, fleece or towels. You can also decide not to use a middle layer - this will give a very lightweight quilt, which will still look lovely as a bedspread or a summer quilt.
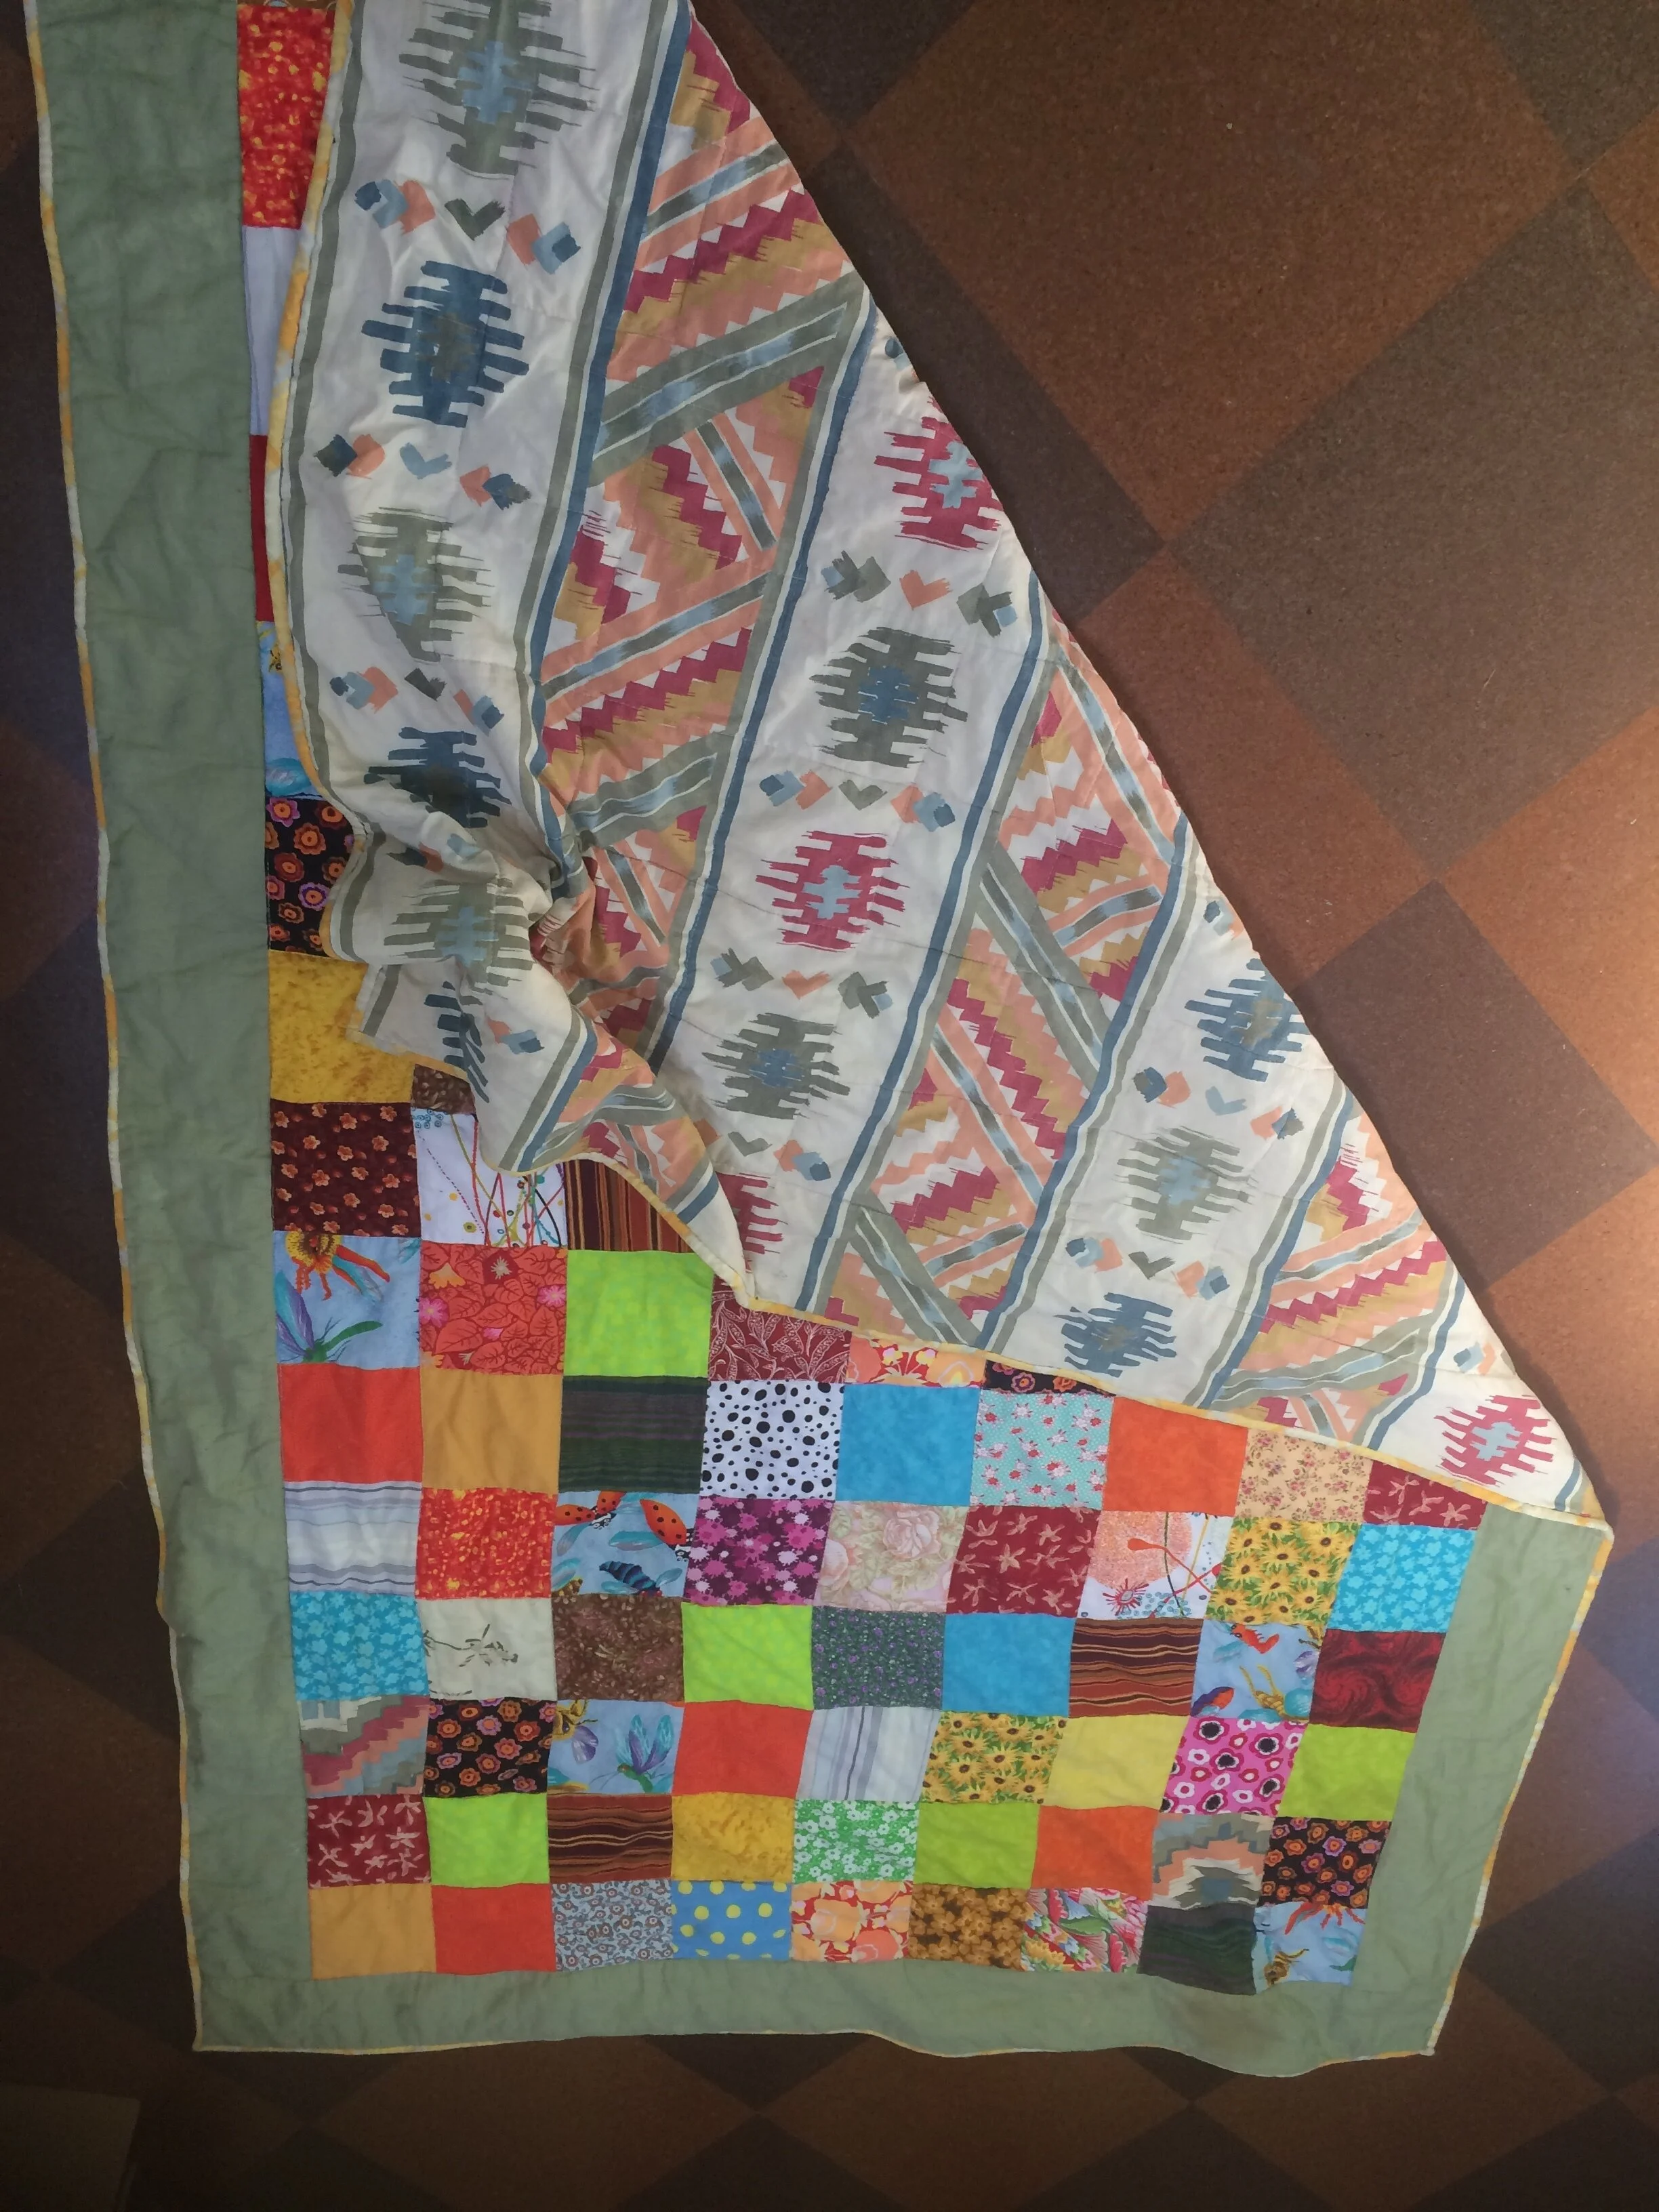
You will need a bottom layer. Old sheets or duvet covers are great for this, and if you have any brushed cotton this gives a very cosy bottom layer. You could also make a double-sided quilt by making the bottom layer patchwork as well as the top.
Lay your quilt top face-down on a flat surface, and pull it as smooth as possible. Add the middle layer (if using) and then the top layer, pulling each of them smooth. Cut the middle and bottom layers generously so that they are bigger than the top - you can trim the excess of later.
Pin through all three layers to hold them together. You can also baste them, which means sewing large tacking stitches through all three layers, which you will later remove.
Now, sew through all of your layers. You can do this by hand or use a sewing machine. I used ‘stitch in the ditch’ and stitched along all of the seams where the squares are joined together.
Remove the basting or pins, and trim the edges of all the layers to match the top.
Bind and finish
Bind the edges of the quilt, using single-folded bias binding. You can buy this ready-made, or make your own using a bias binding maker - or make your own without a binding maker, which is what I have always done. Now I want a bias binding maker! A good tutorial on making your own bias binding can be found here, and here is a great step-by-step guide to binding a quilt.
Once you have finished the binding, make sure you sign your quilt, using a fabric pen or embroidery!