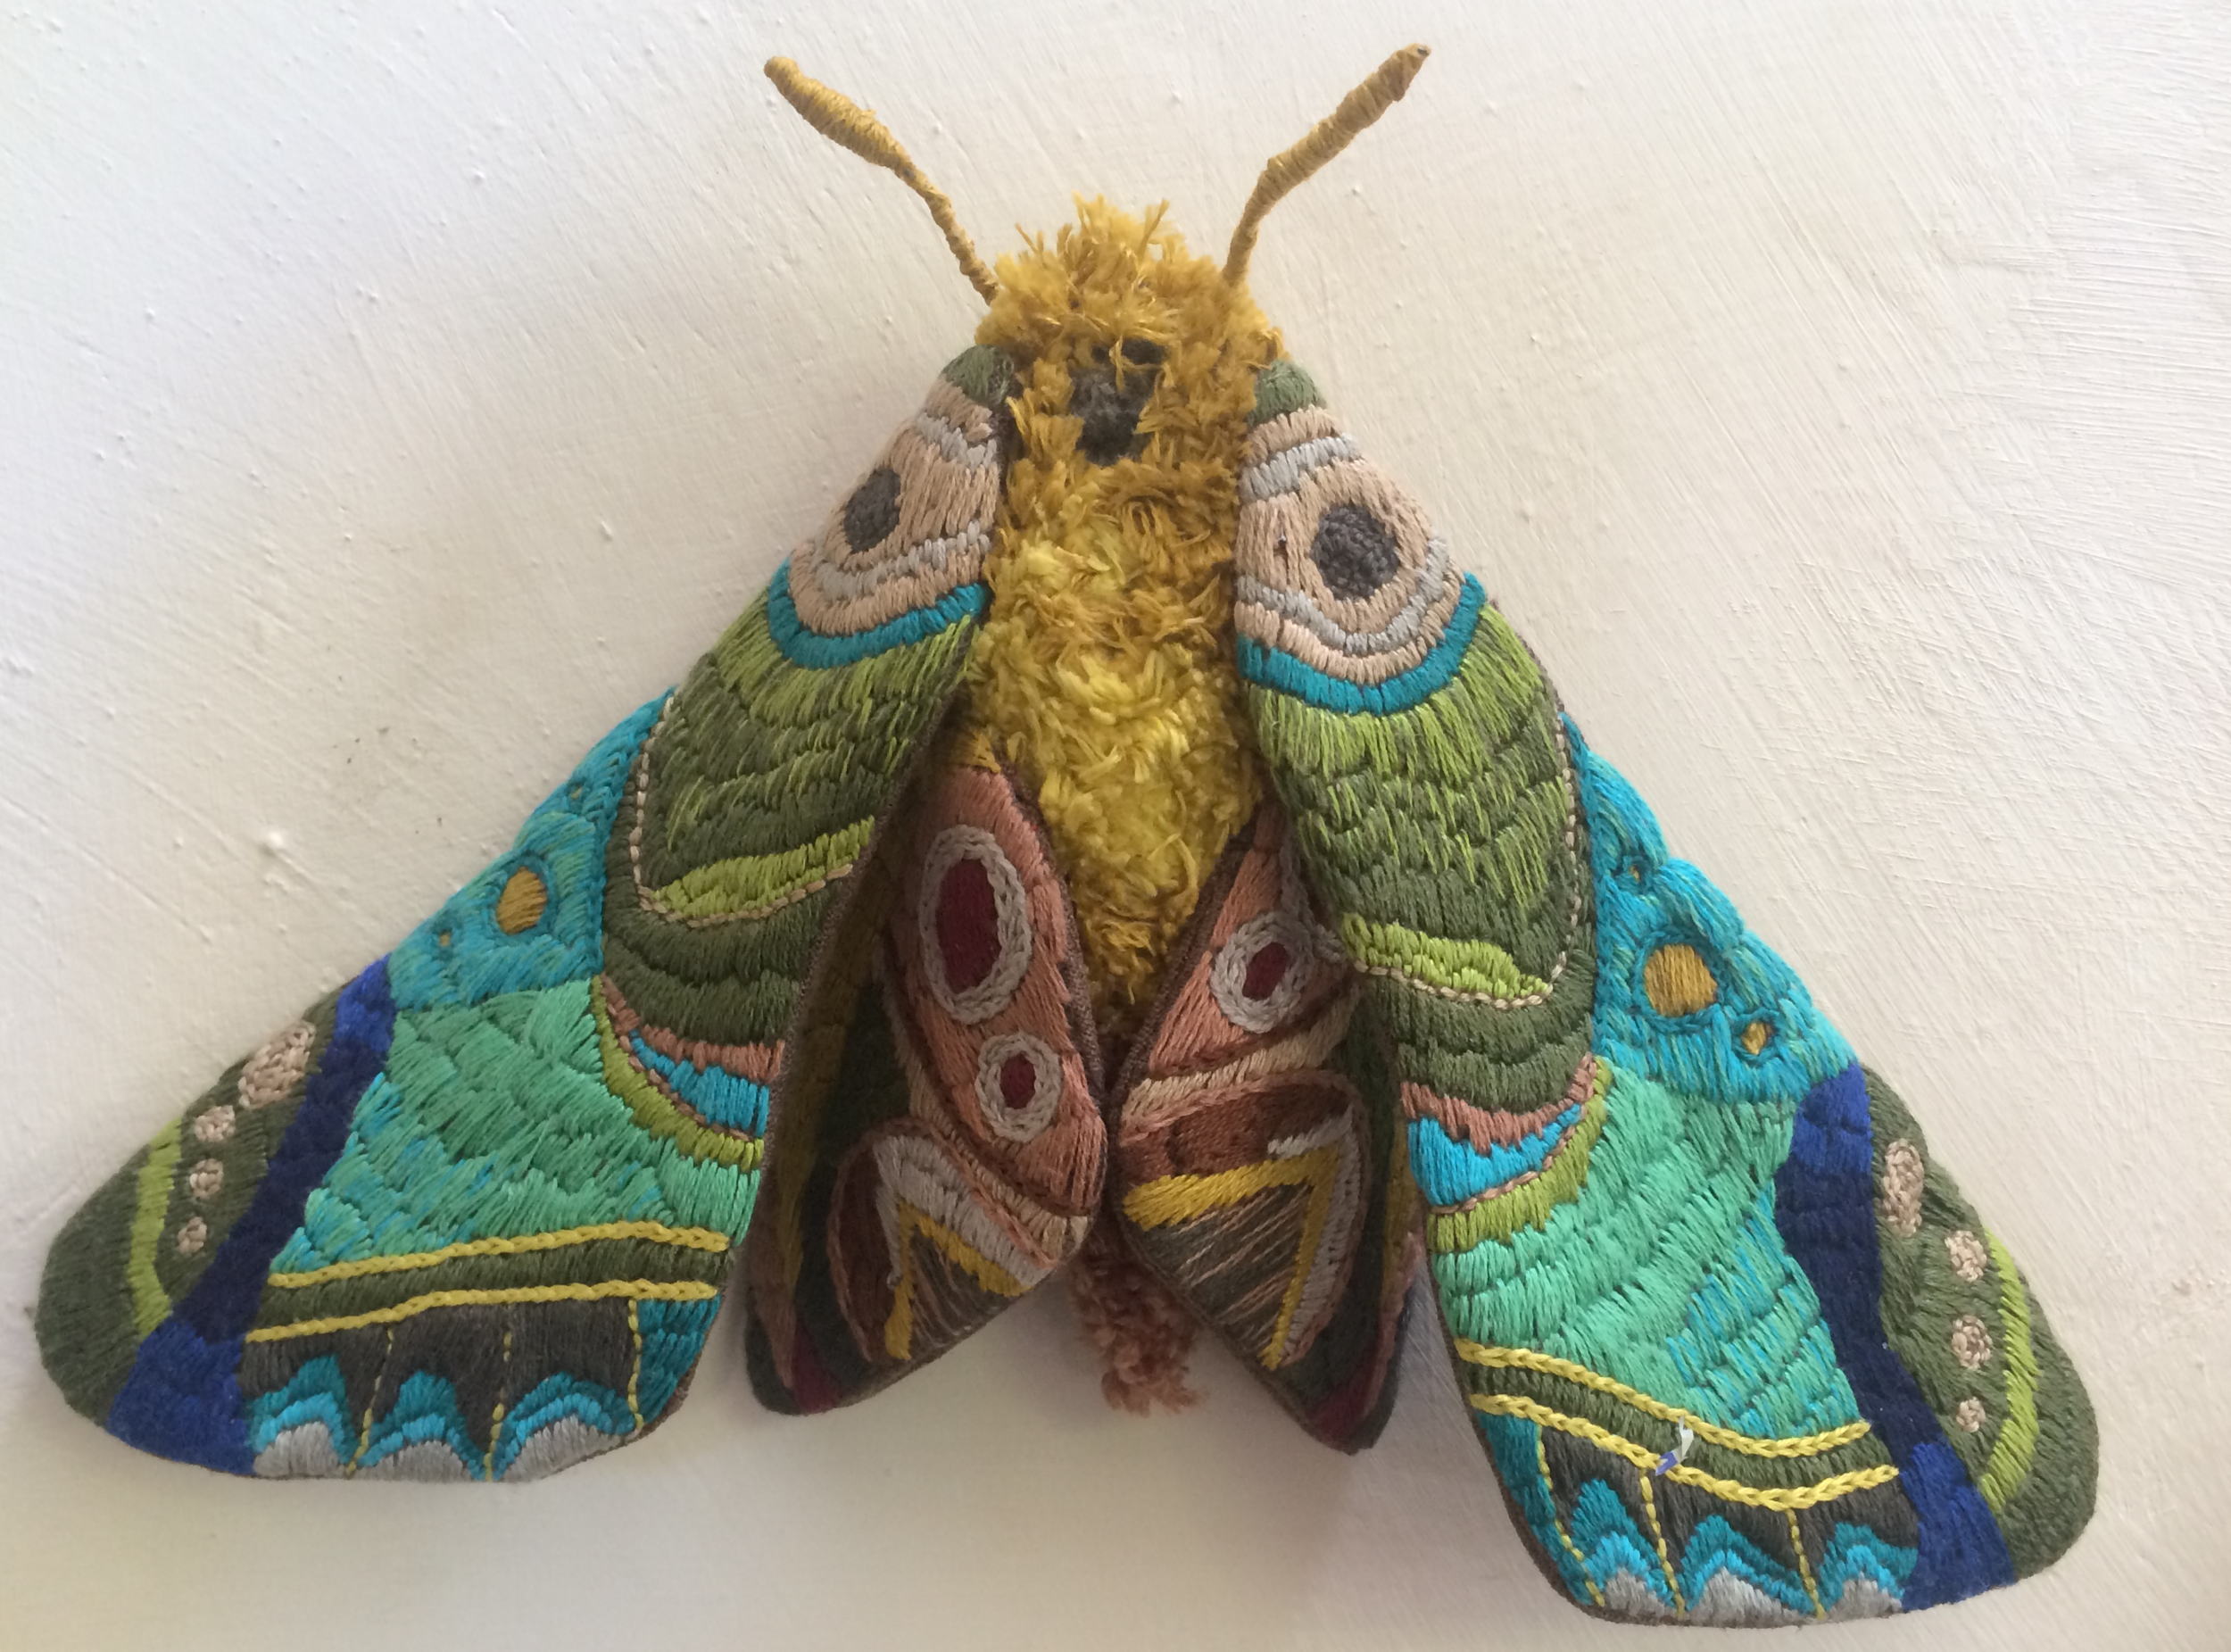
Embroidered Moth


This week I have made a moth. This one is for my Mum who really does not like moths, particularly their large squashy bodies. So I’ve made a pretty moth with a giant furry body just for her.
If you would like to use the patterns that I used they are moth pdf pattern.
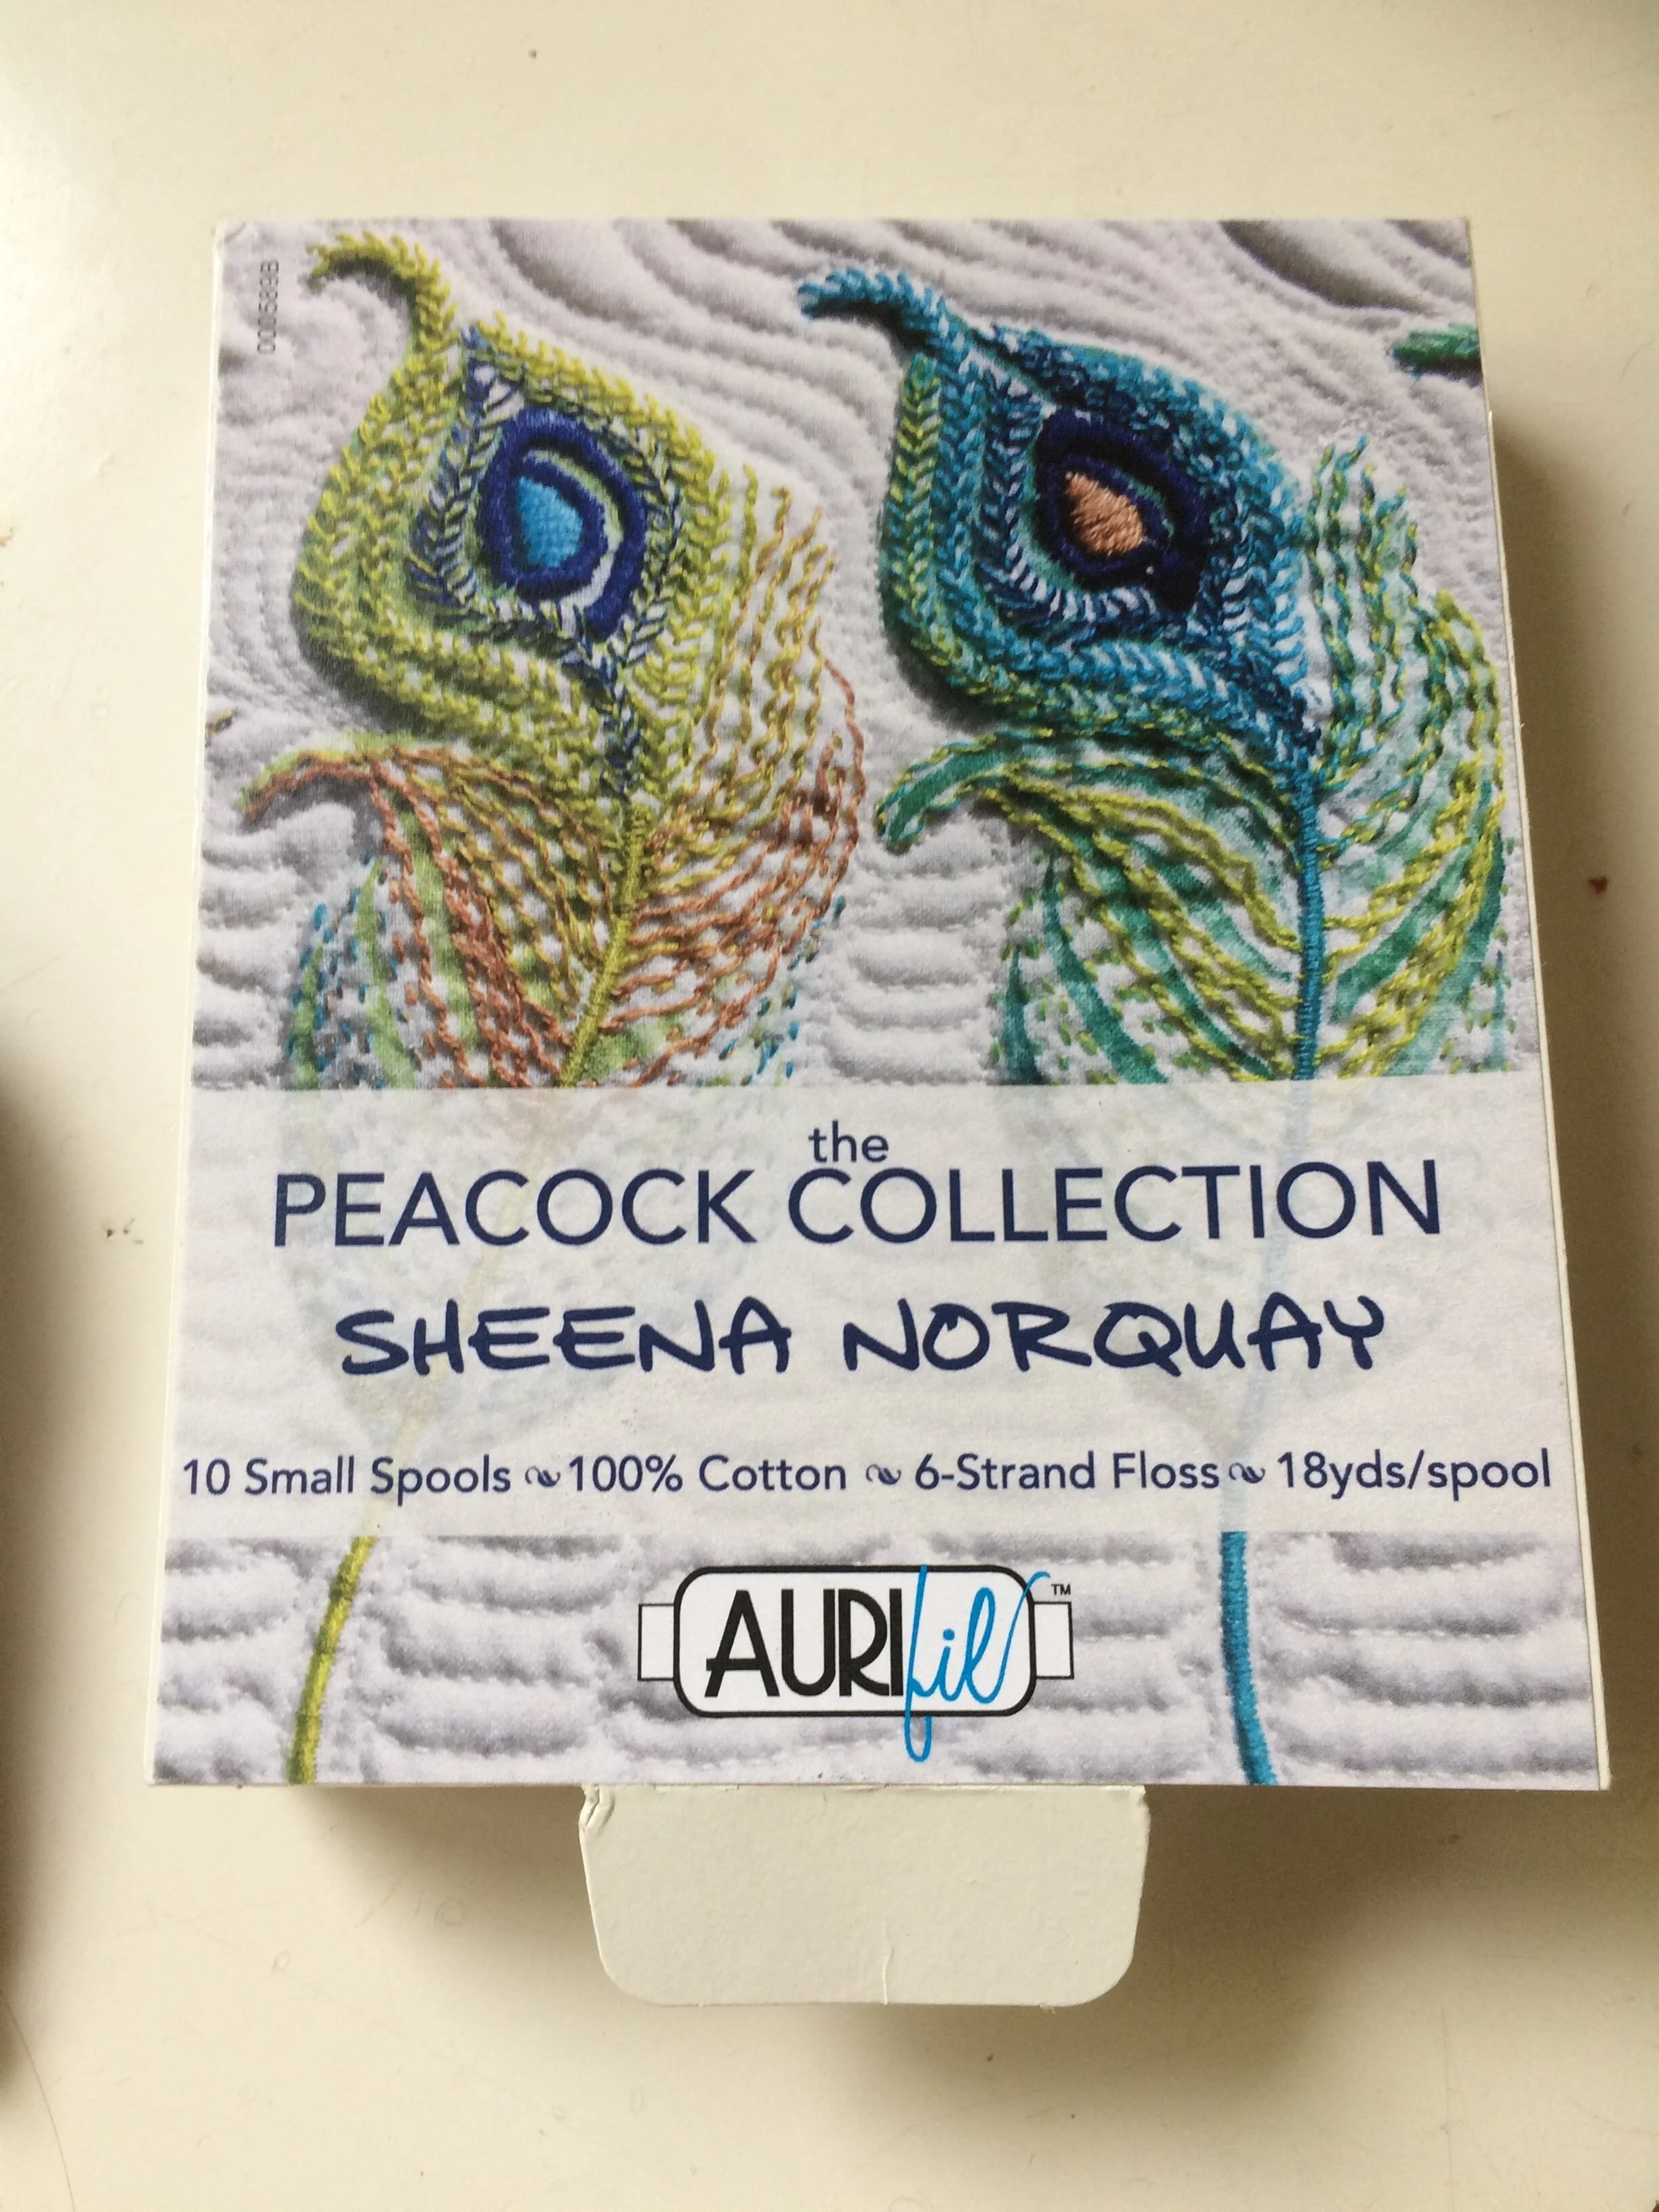
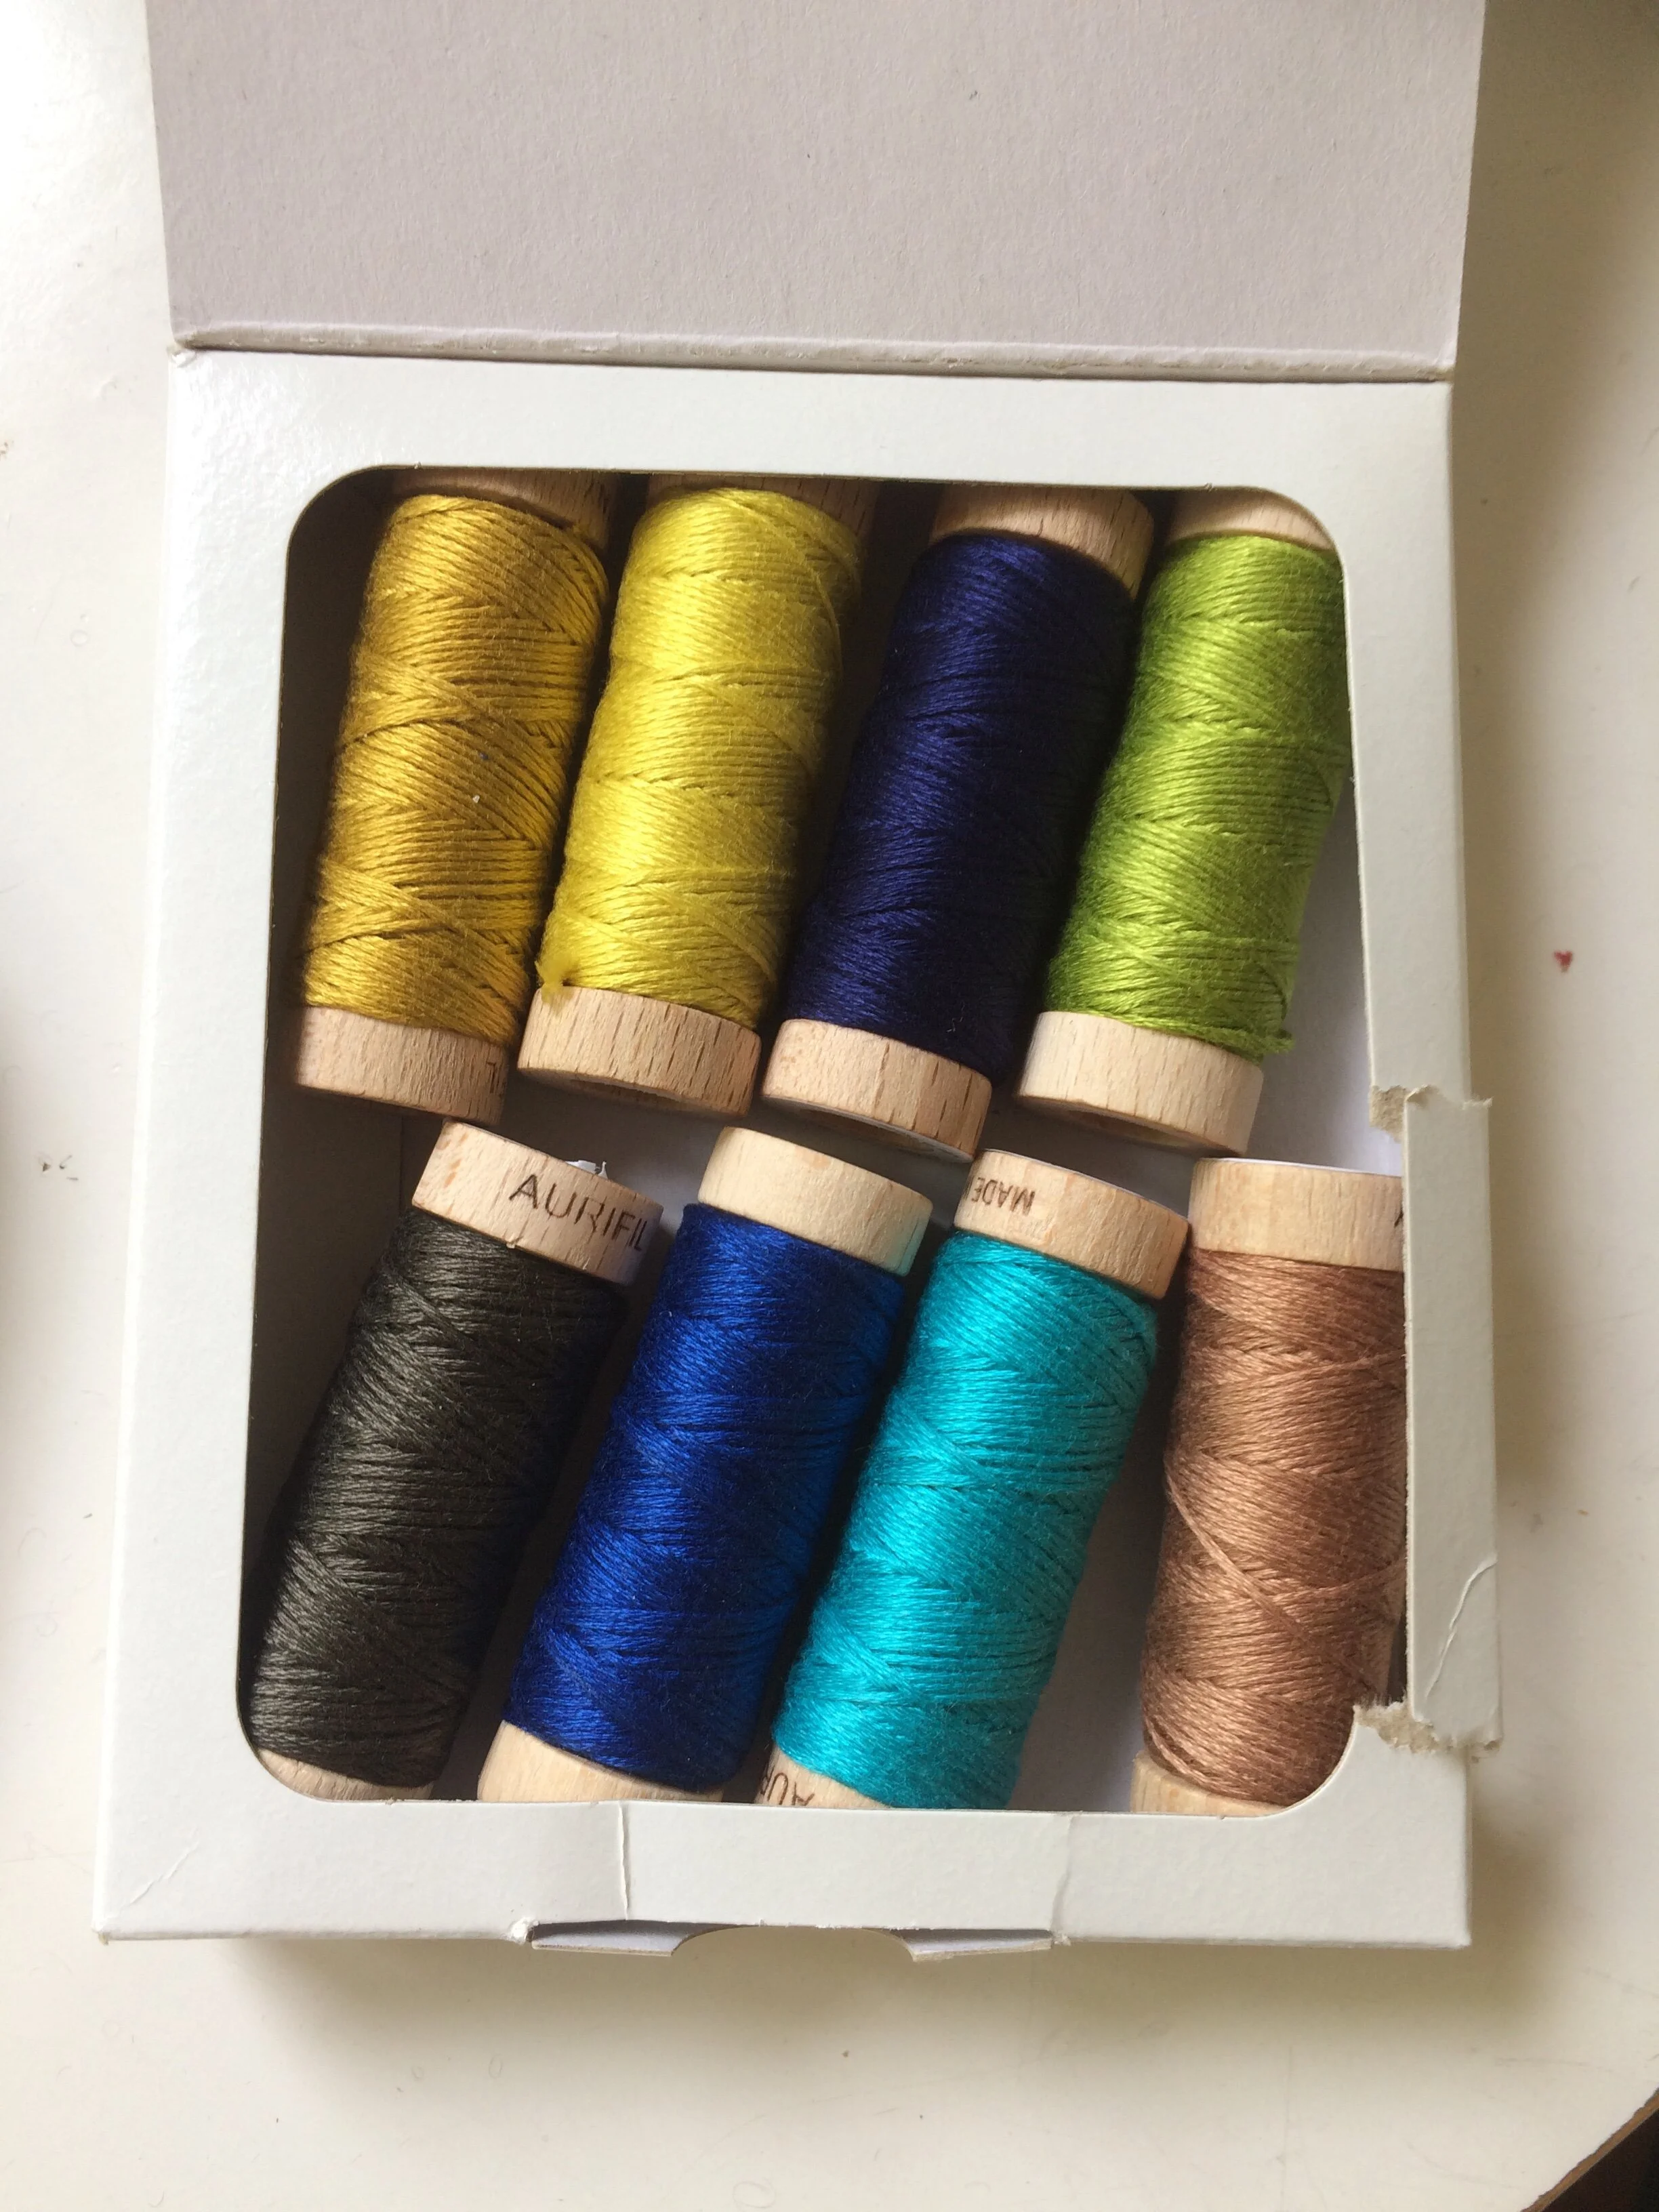
My sister bought me a lovely set of embroidery threads for my birthday (thanks Kim and Alan!) so I decided to use these for a project. I made the moth out of scraps of old linen and these embroidery threads. You could use any colour combinations and any embroidery thread, such as DMC or Anchor, or other yarns such as spare wool.
You can make this moth with just some coloured thread, some scraps of fabric and a needle, but I also used an embroidery hoop which makes things much easier.
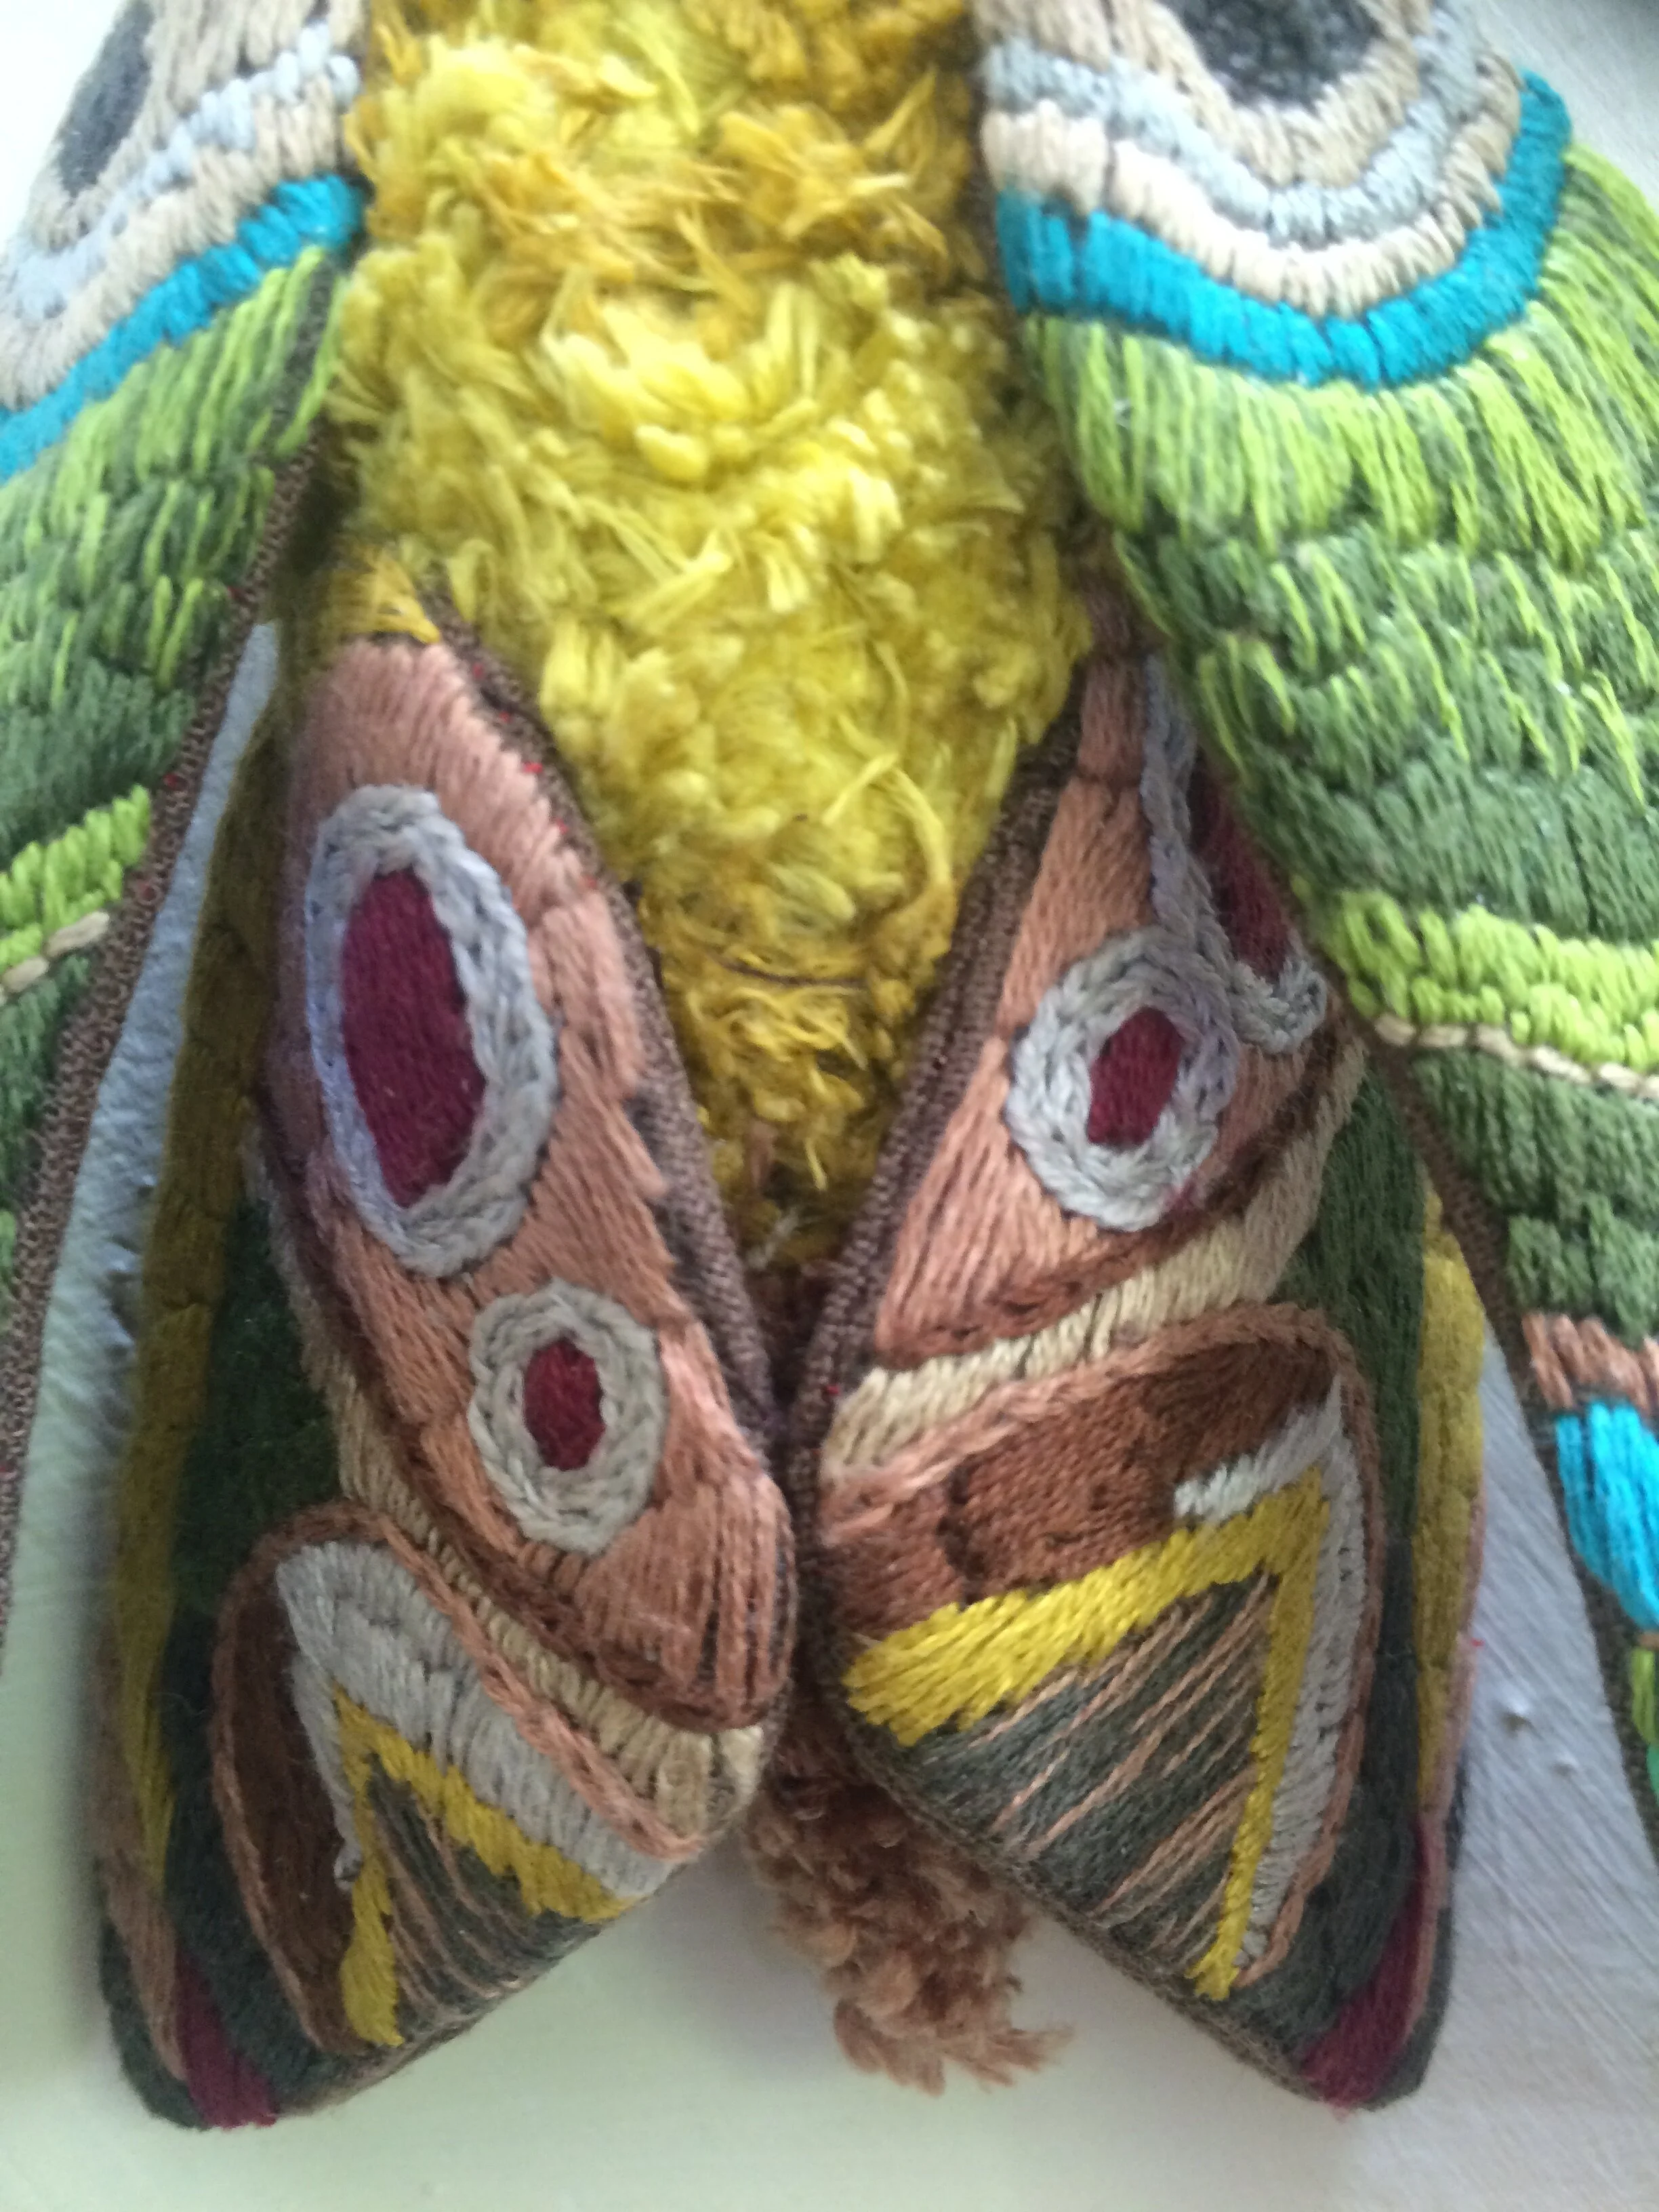
Body
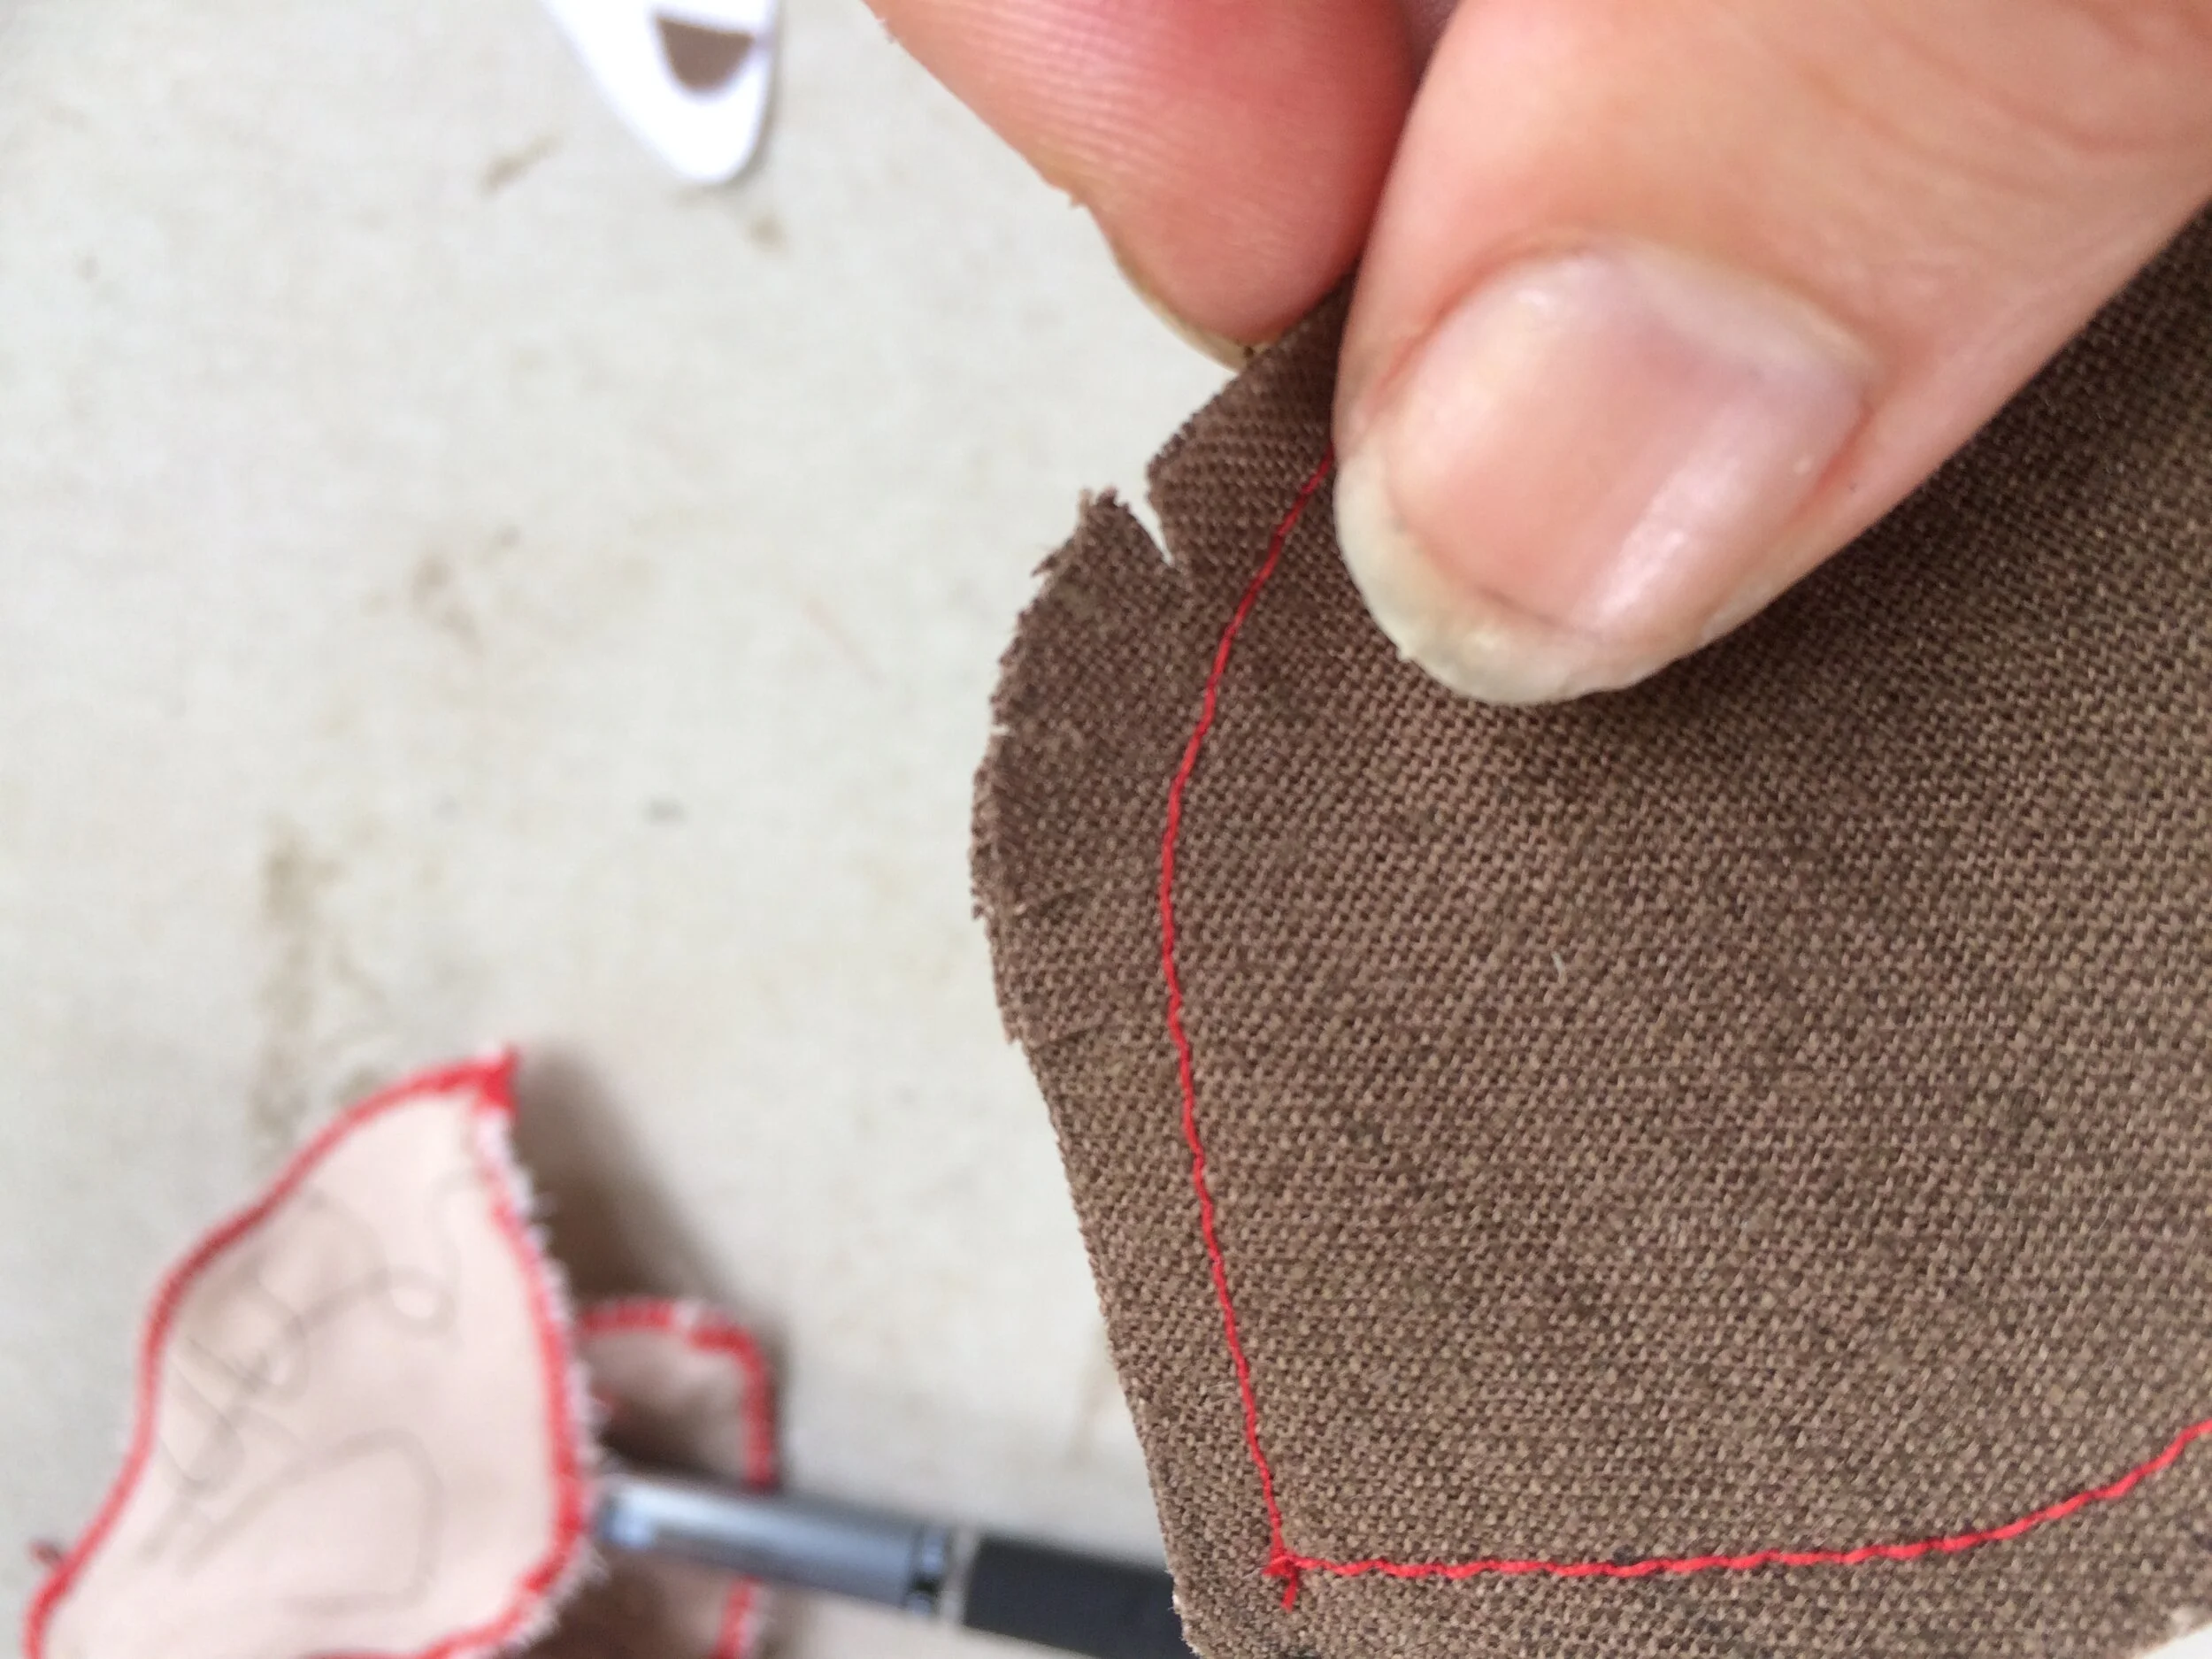
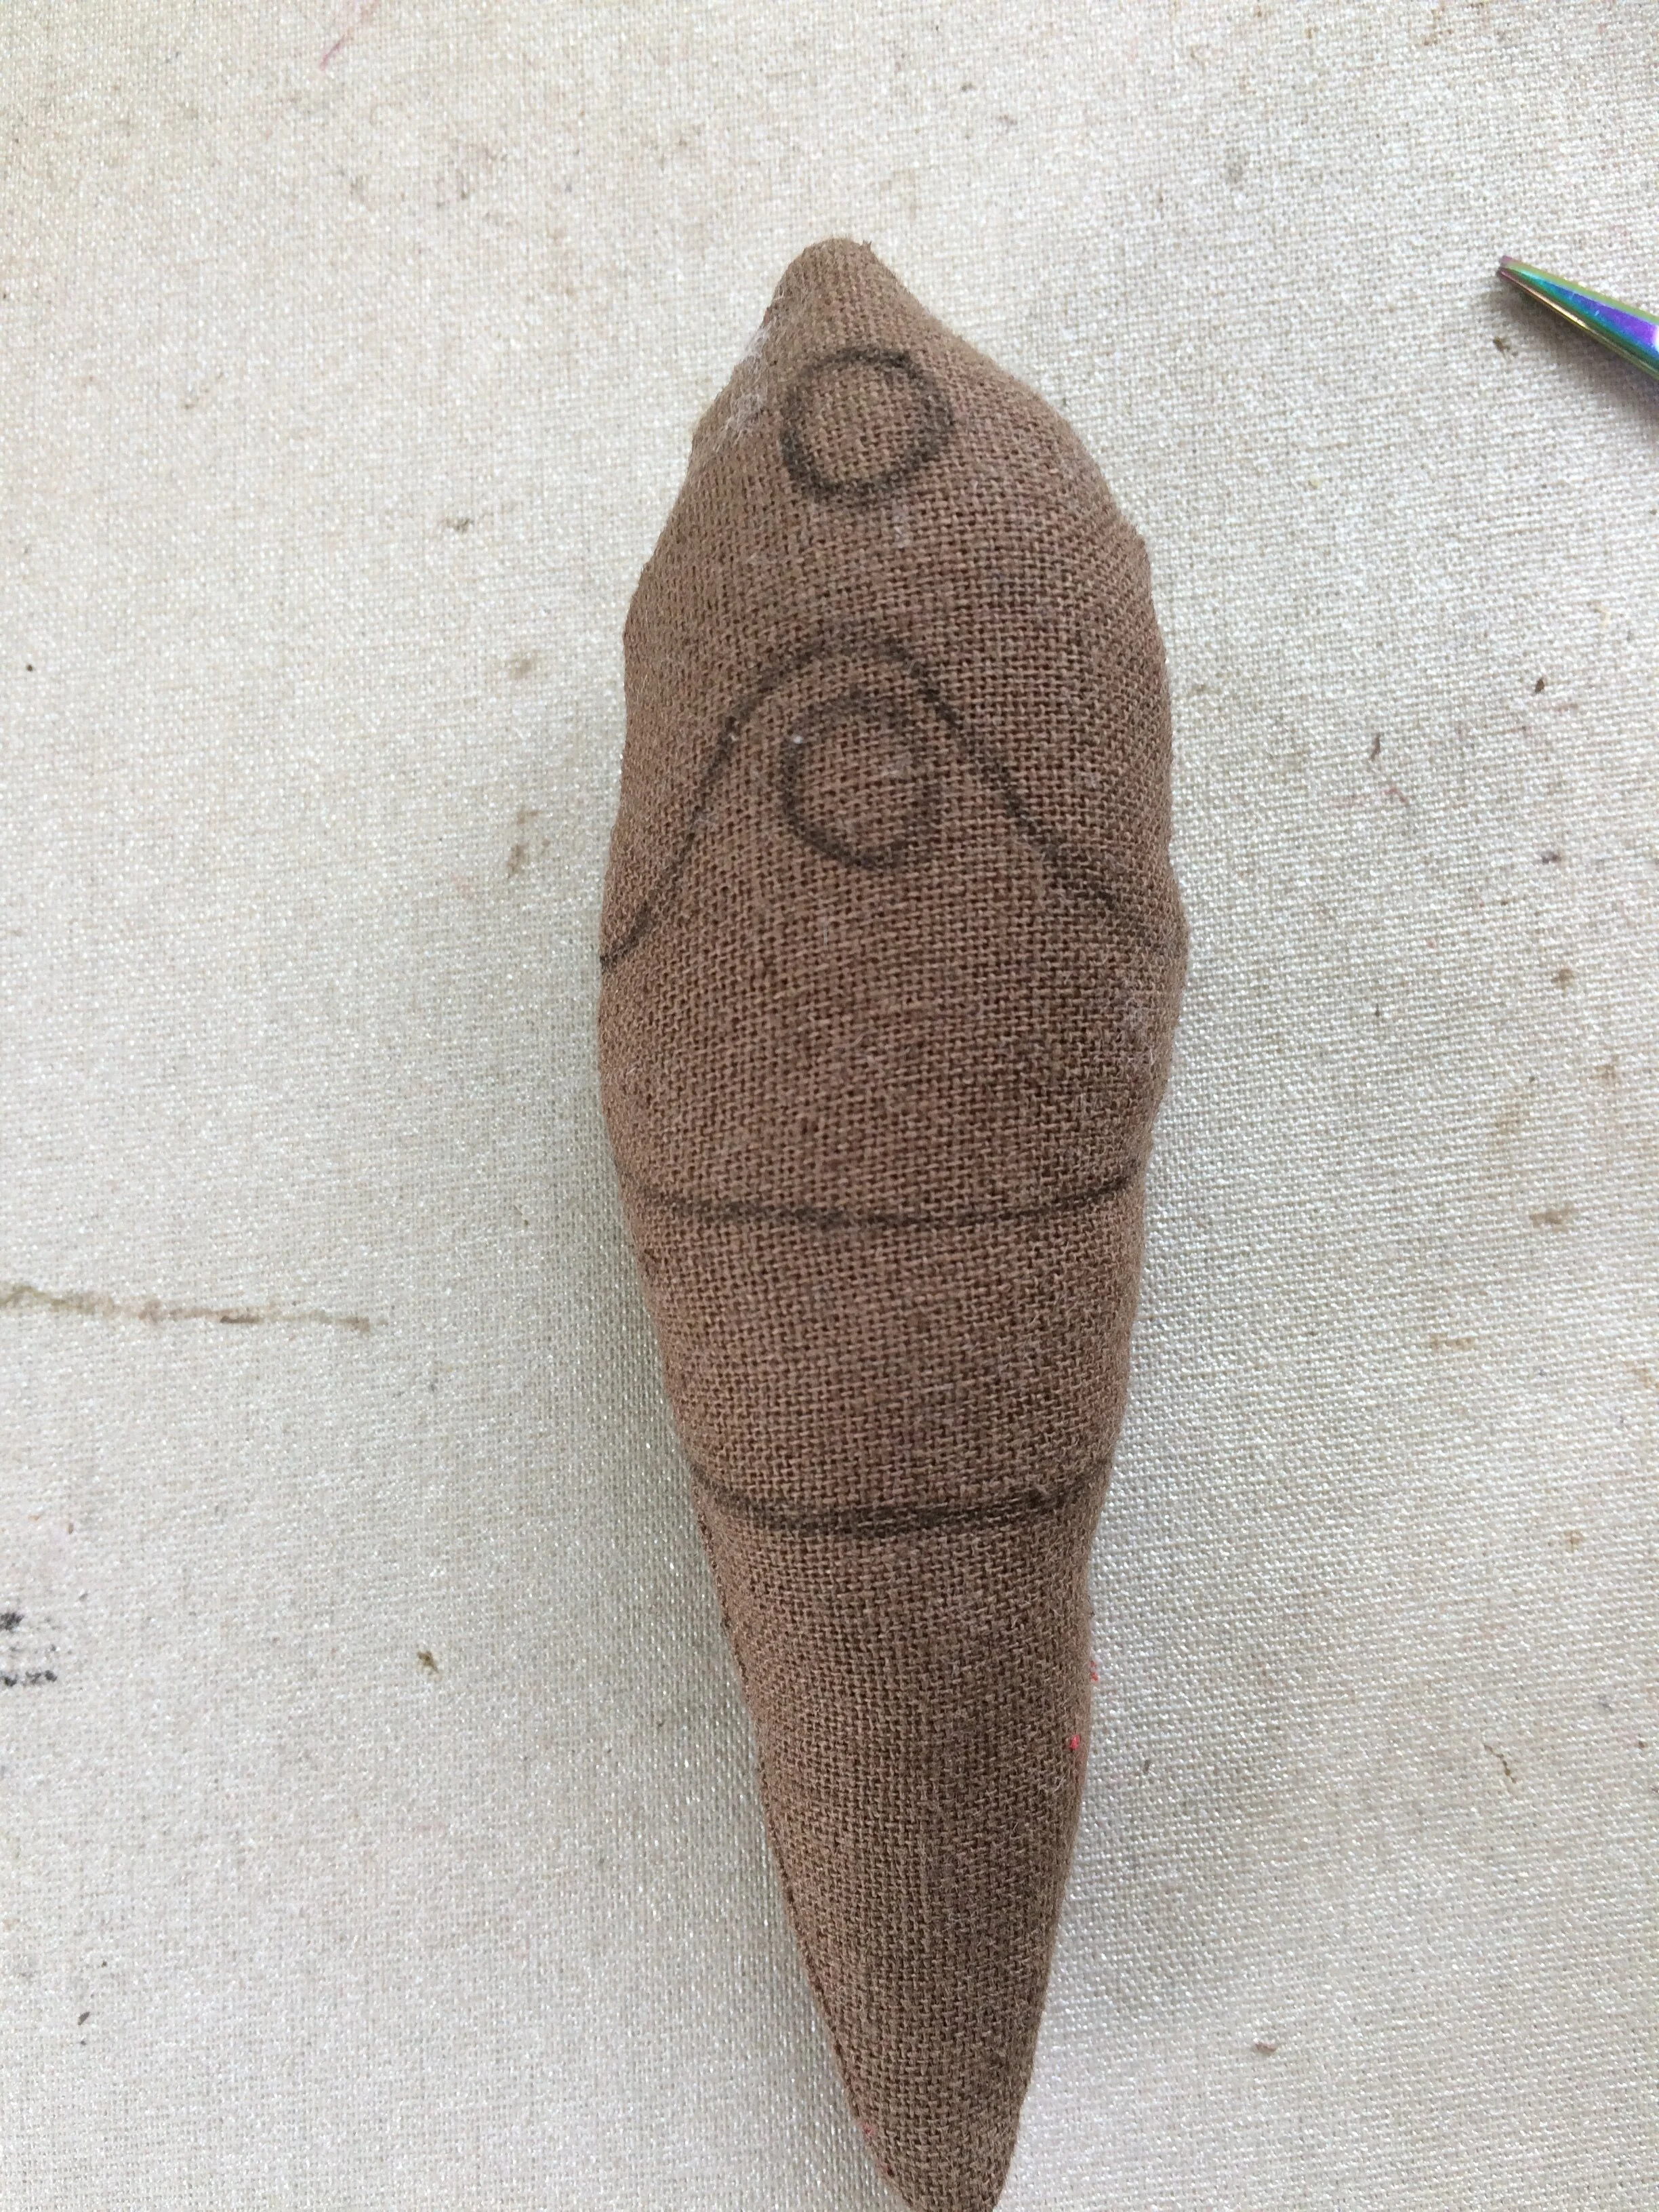
Cut out two body pieces in your chosen fabric. I used a brown linen, which was lovely to embroider (but did look rather like a turd until I added the embroidery). You could also use scraps of velvet or velour or faux fur and then not need to add the fuzz.
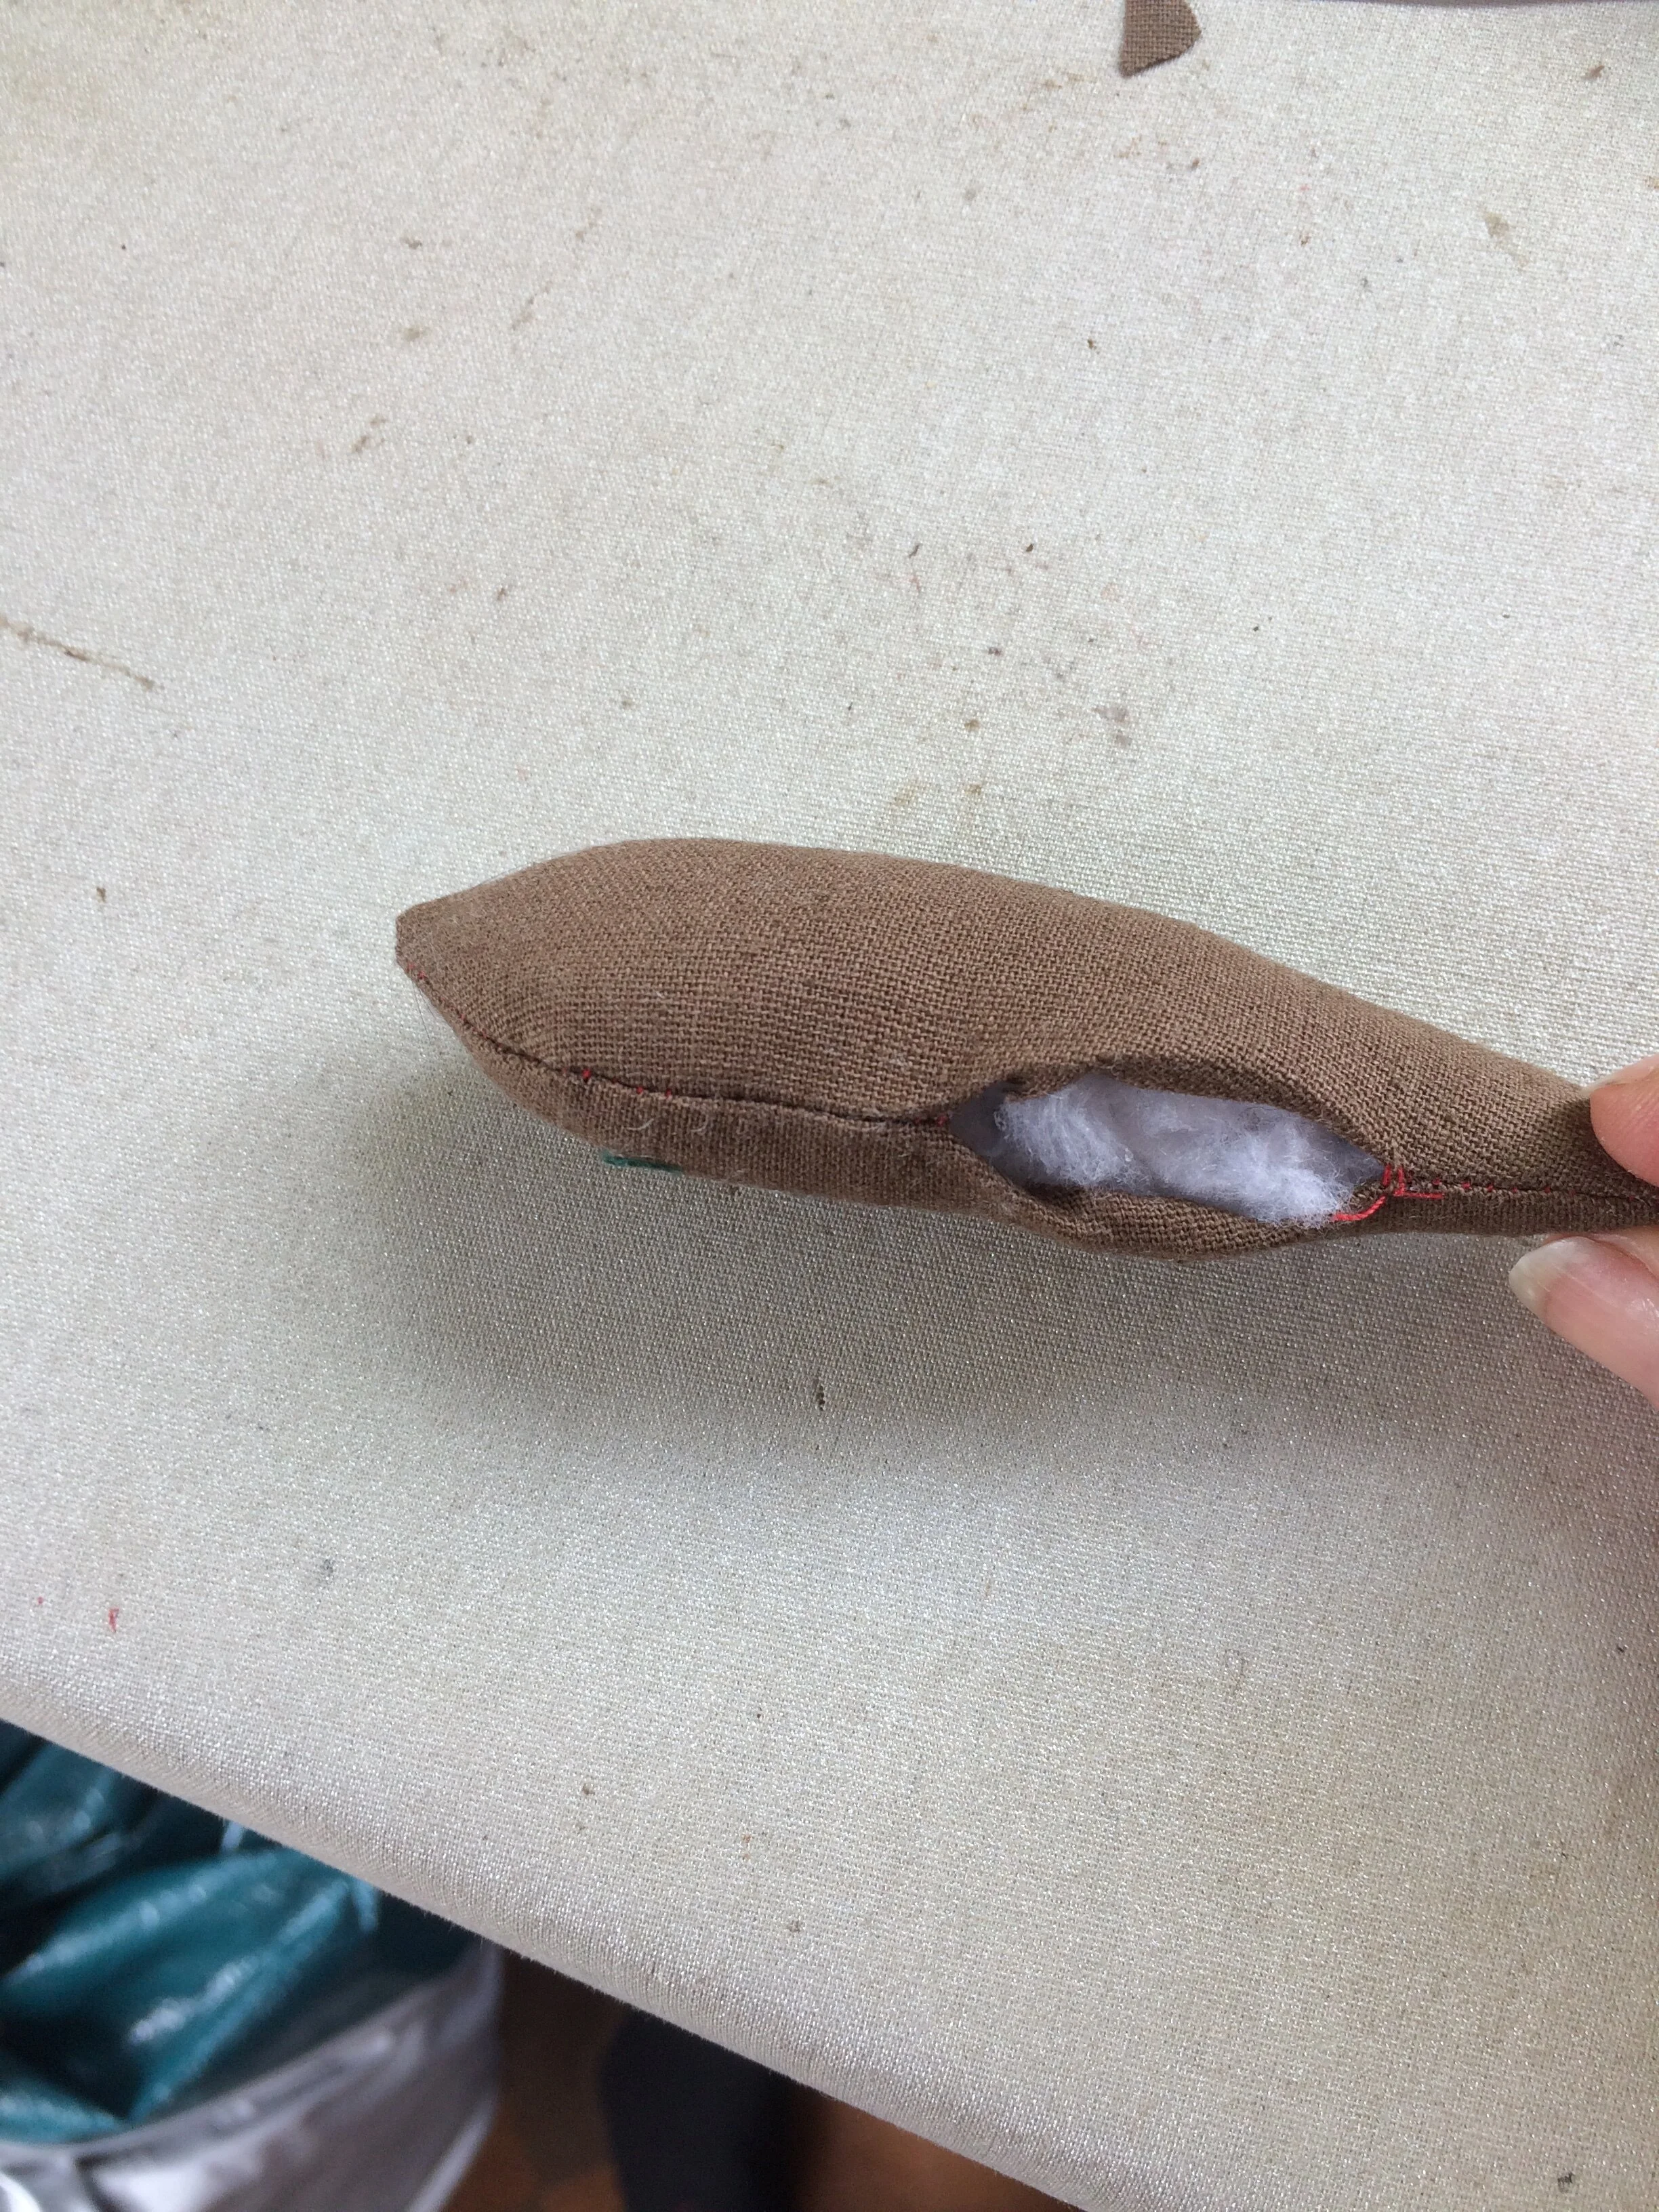
Pin the two body pieces right side together, and sew around the edges with a 1.5cm seam allowance, leaving a gap in the stitching on one side. Clip the seams, then turn the body right-way-round through this gap. Stuff the the body with fabric scraps, and hand-stitch the gap.
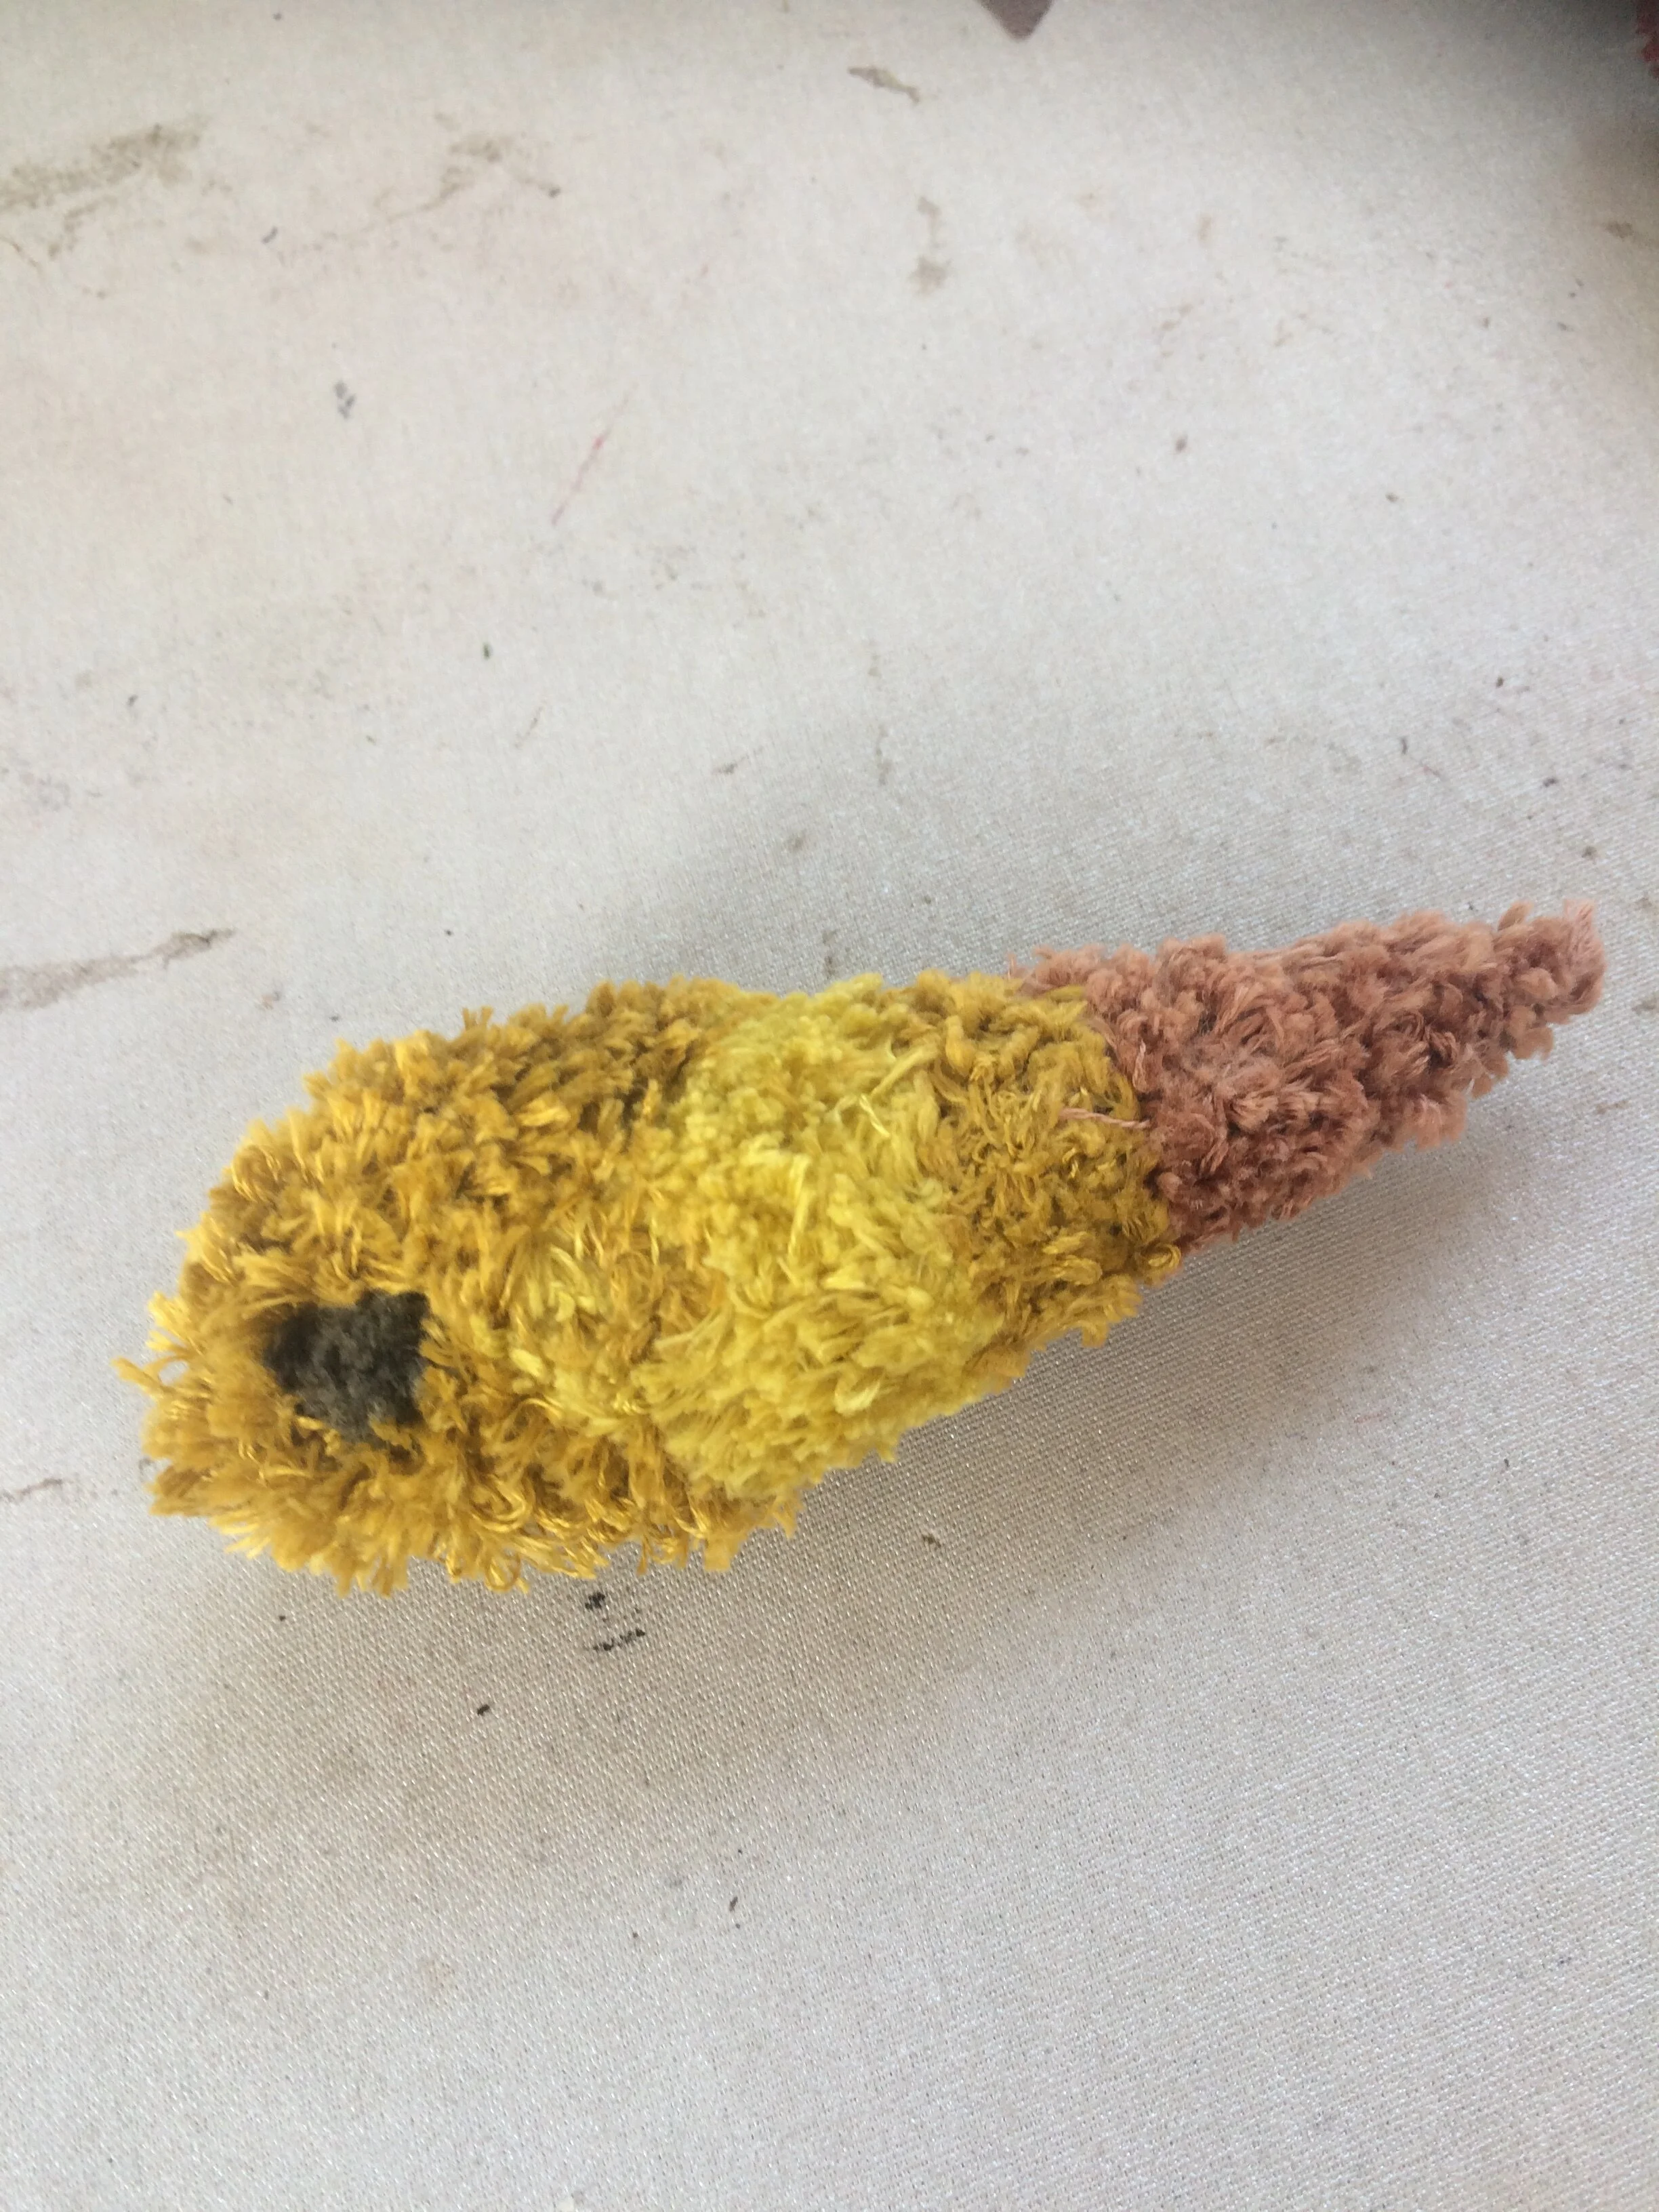
Draw the pattern onto the body with pen, and then embroider the top of the body. I used Turkey Stitch to give a fluffy appearance.
For the antennae push a thin bit of wire through the fat end of the body. Coat both sides of the wire with clear drying glue and wind thread around them, sealing the ends with another blob of glue.


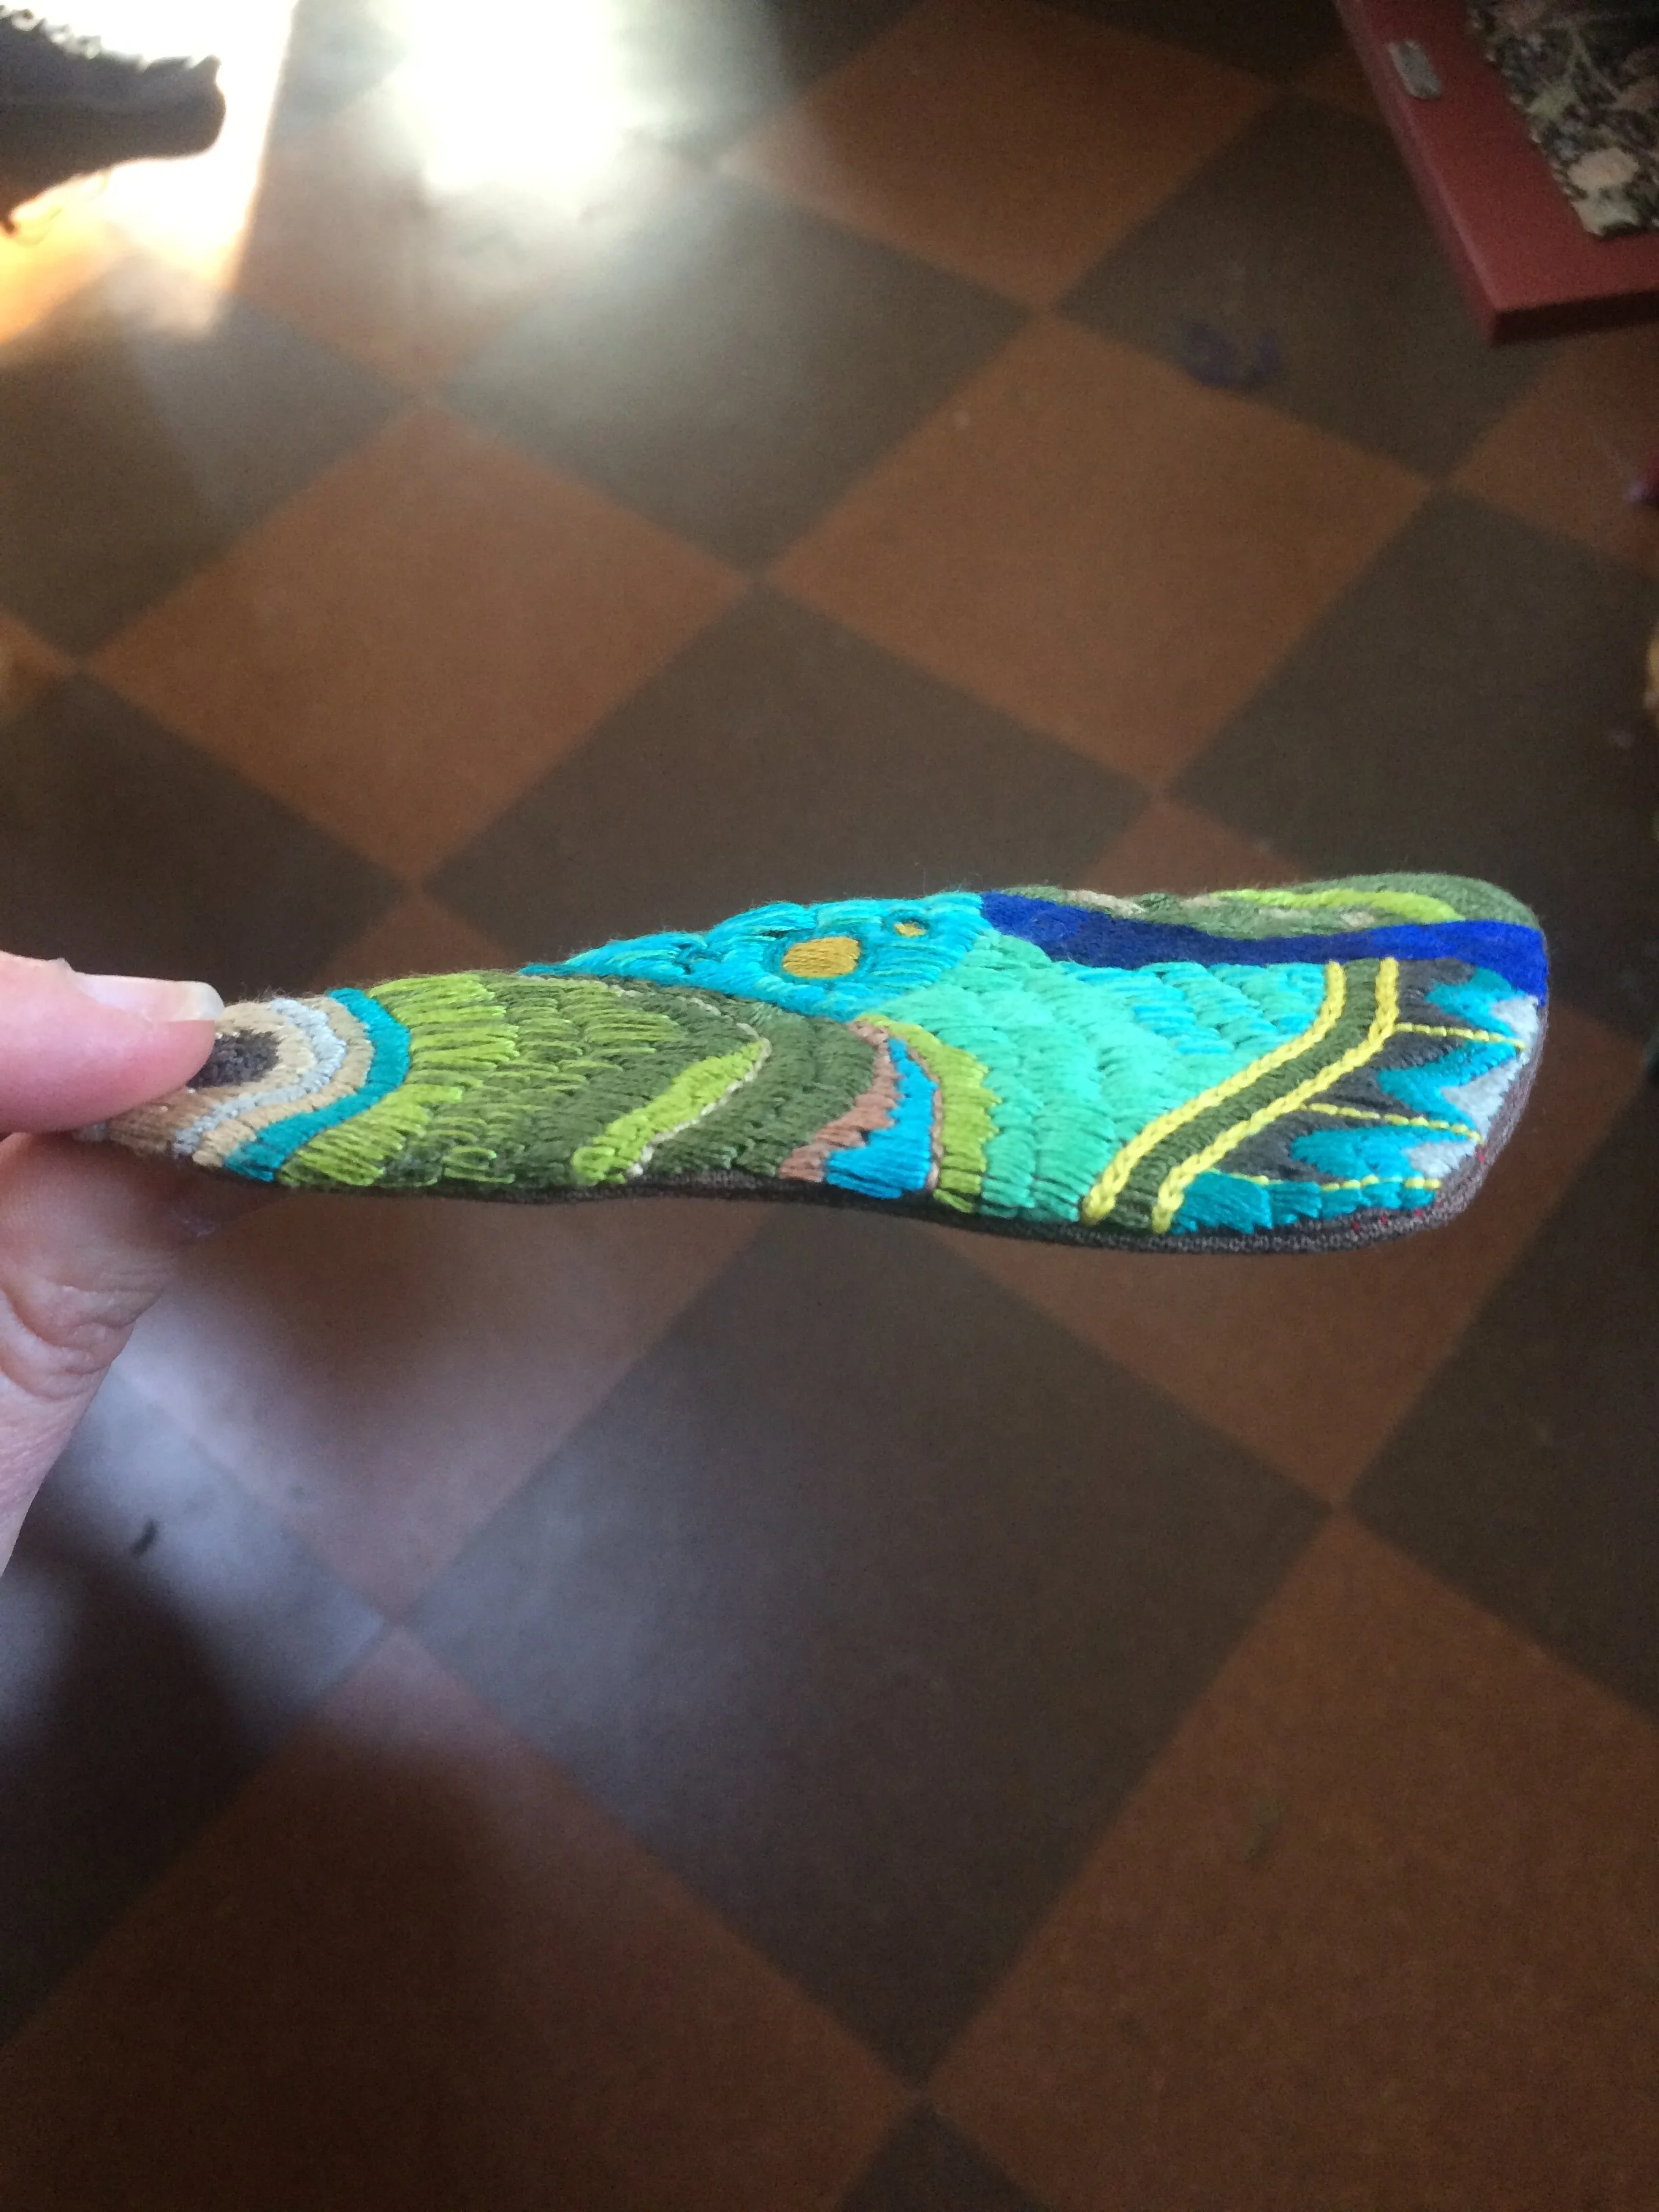
Wings
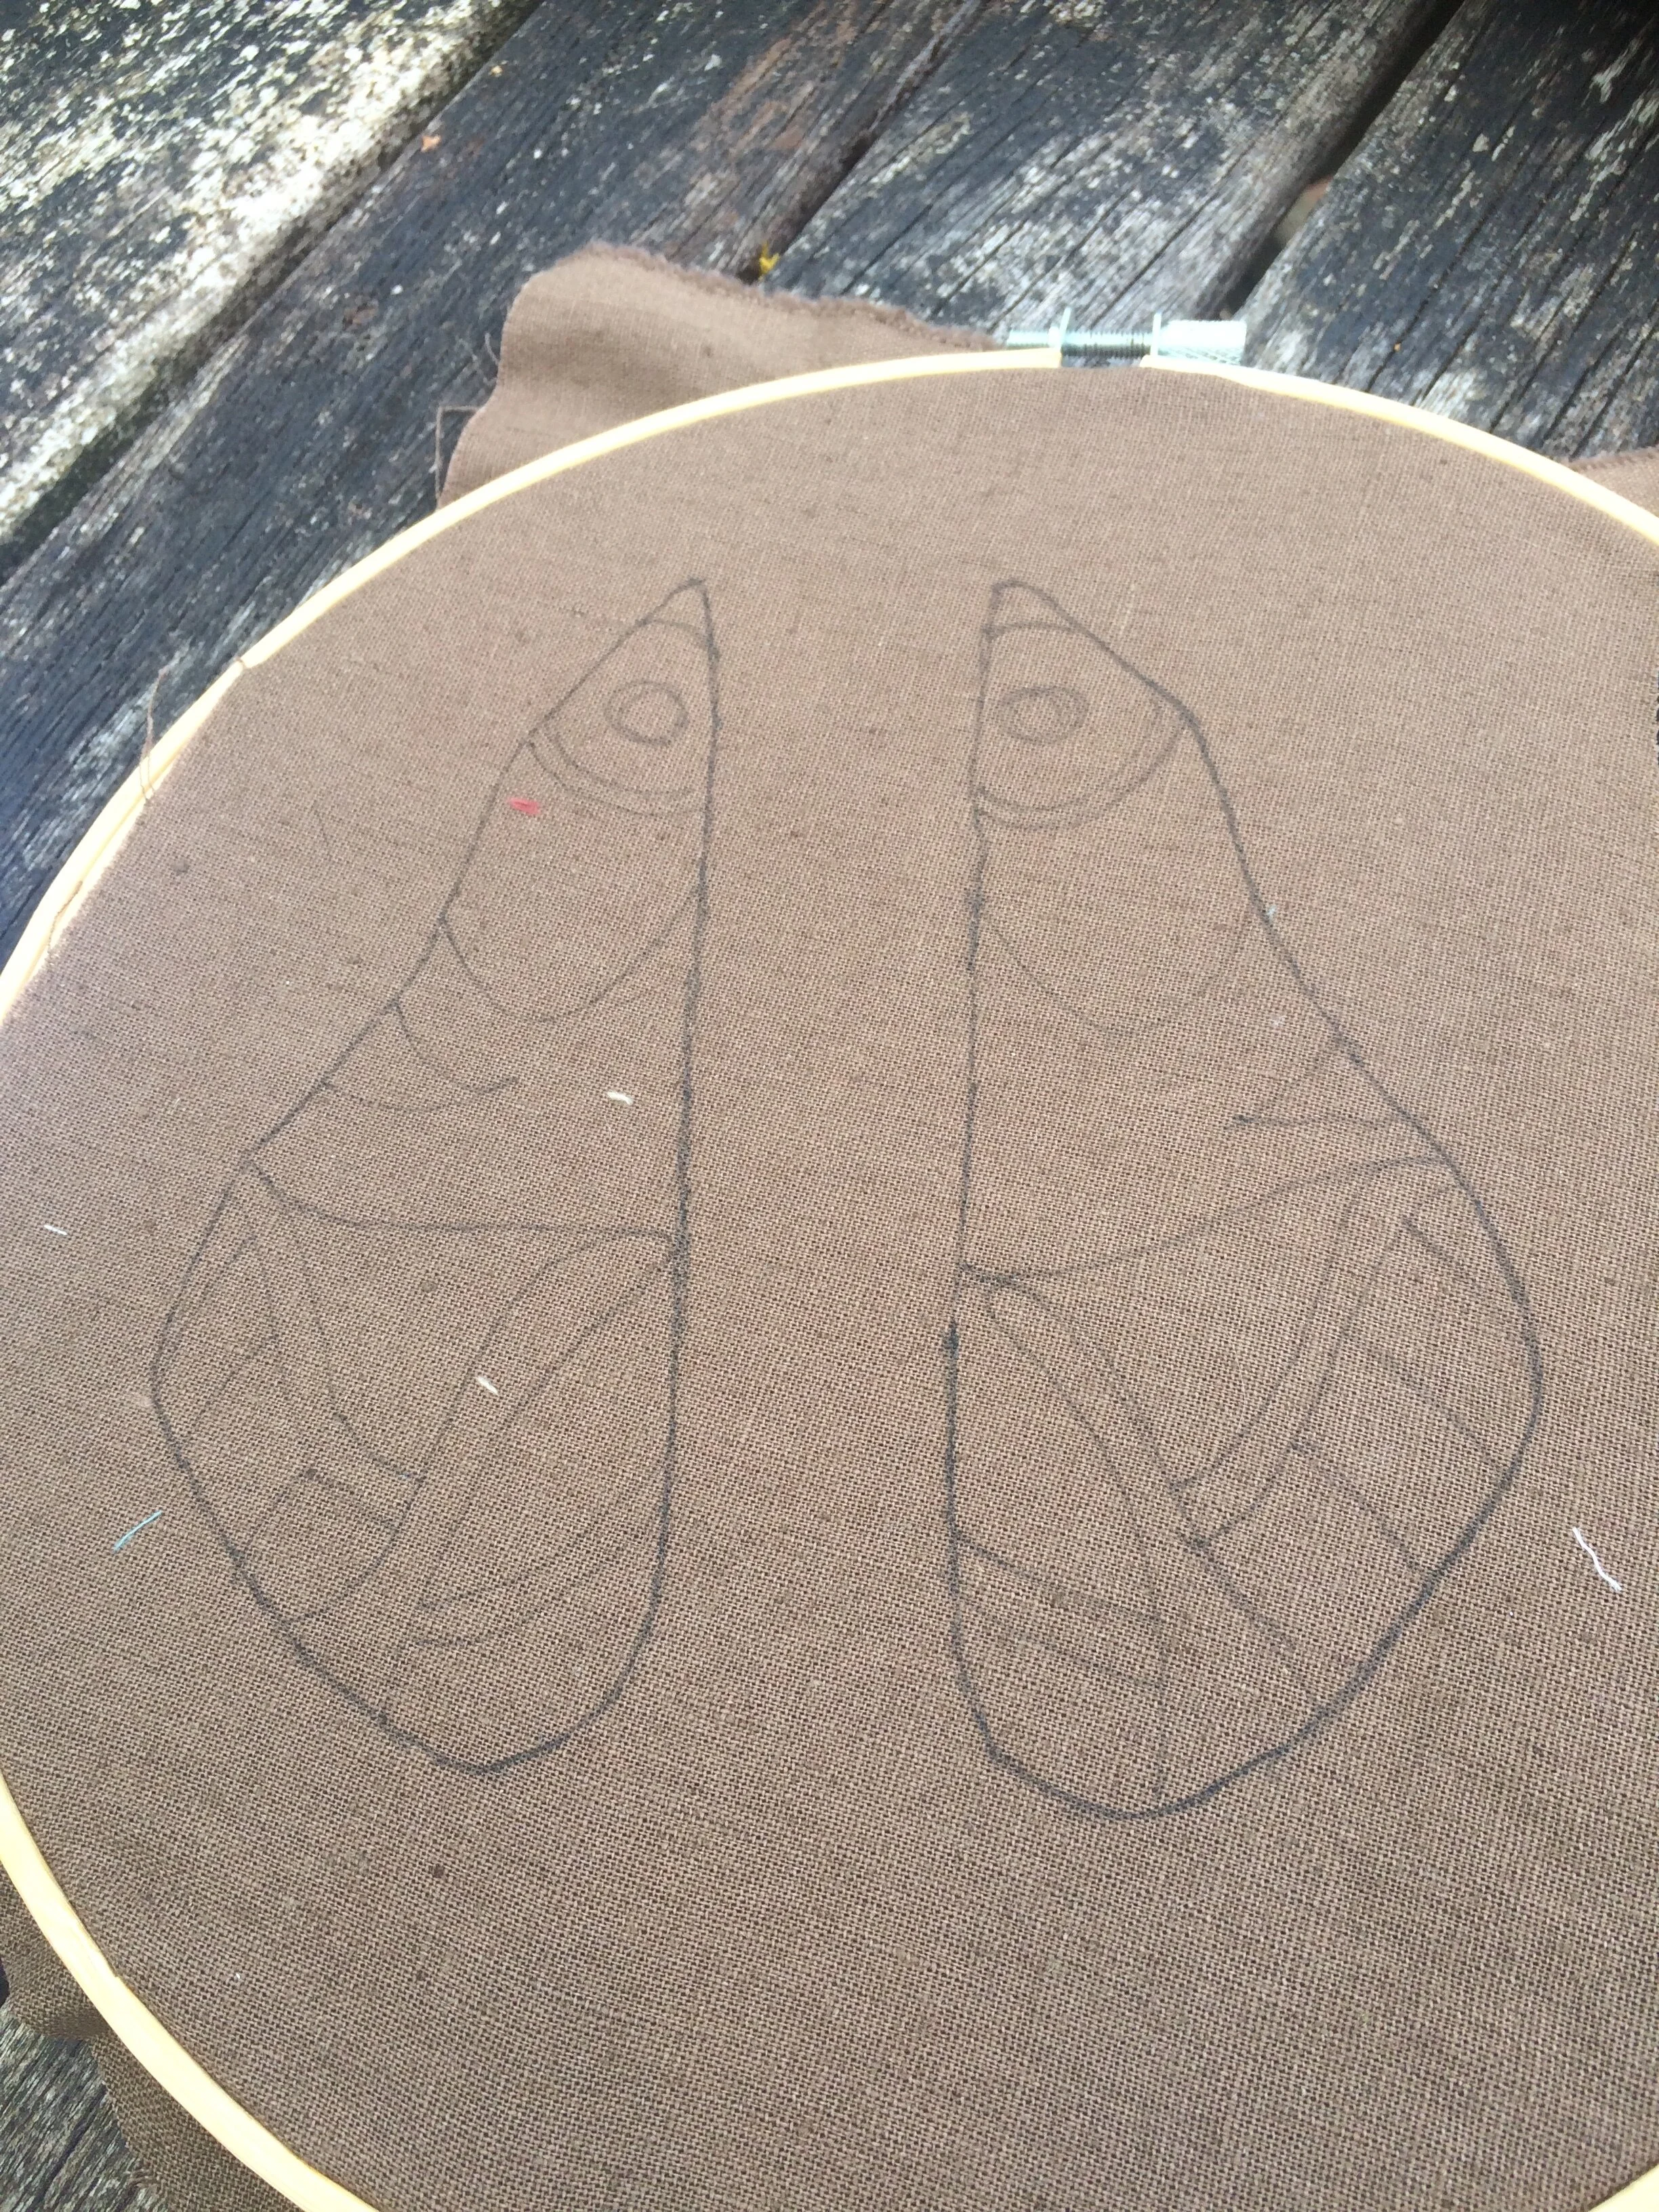


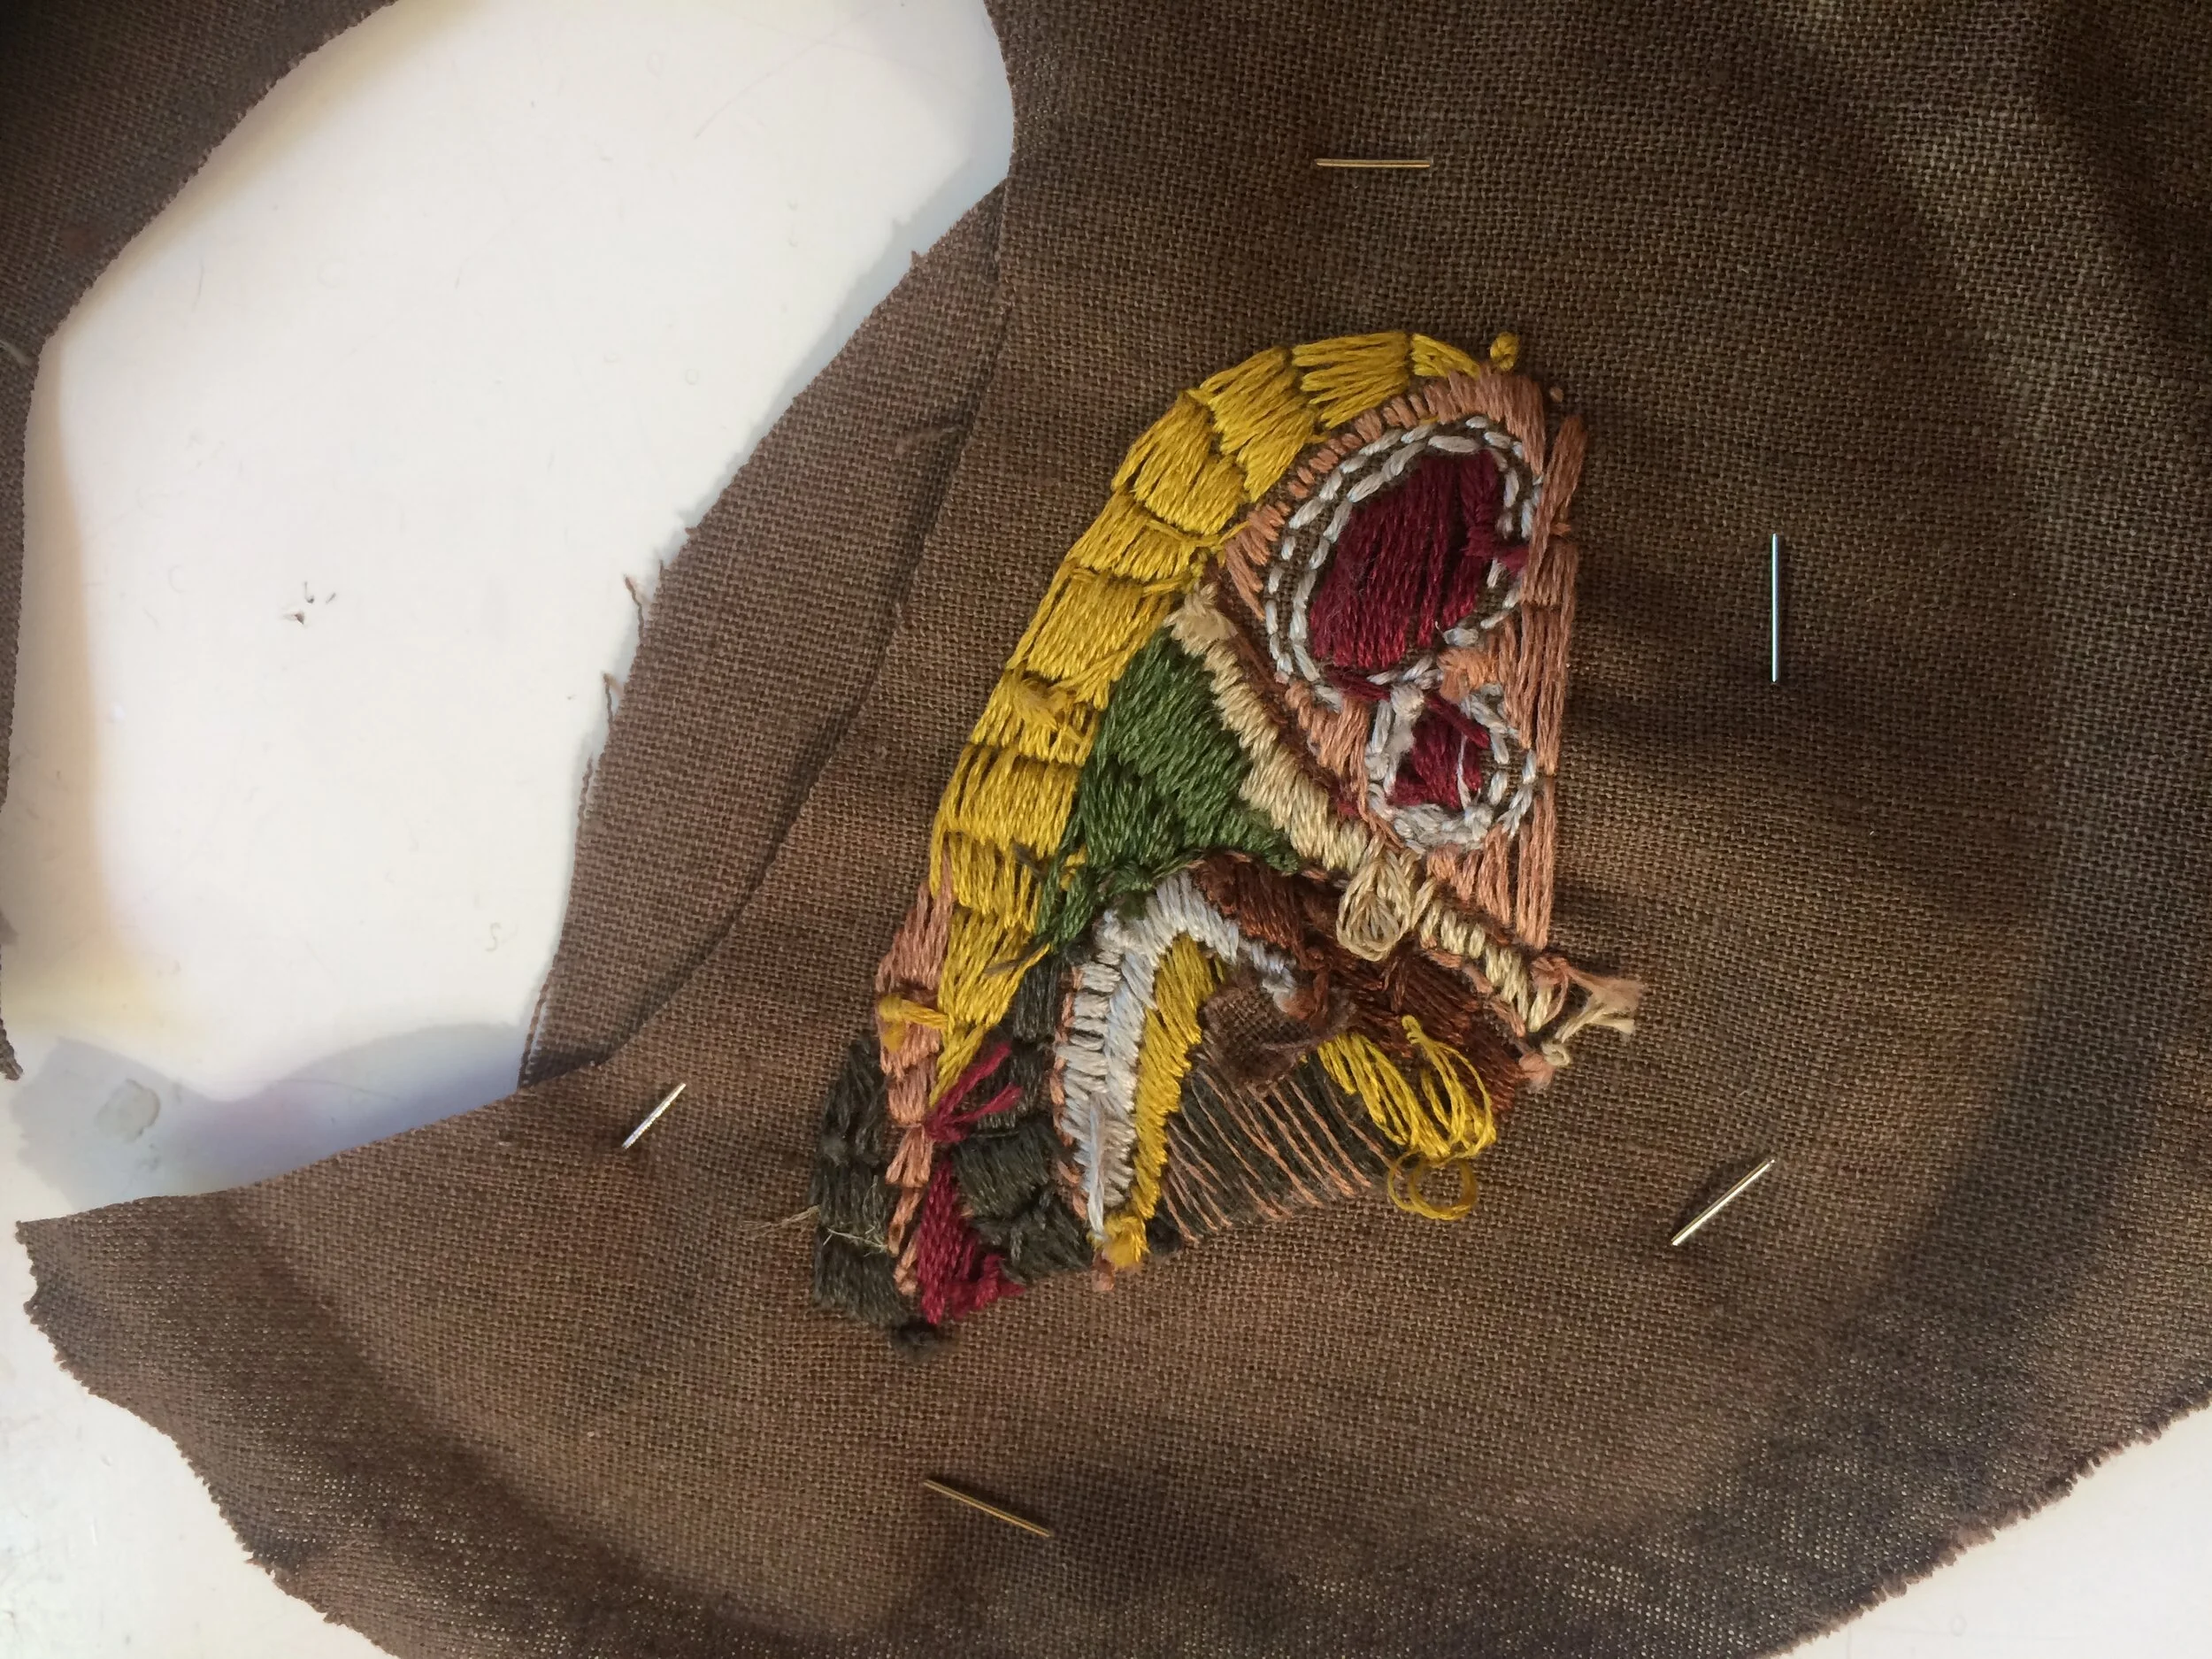
Draw around the large wing pattern twice on your fabric, flipping the pattern over for one wing. Then start embroidering!
I drew a rough design on the wings before starting. You can use pictures of actual moths and butterflies for your pattern, or design your own fantasy version.
I tried to keep the wings symmetrical by working a small section on each wing at a time, rather than going too far on one wing and then having to remember which colours I had used.
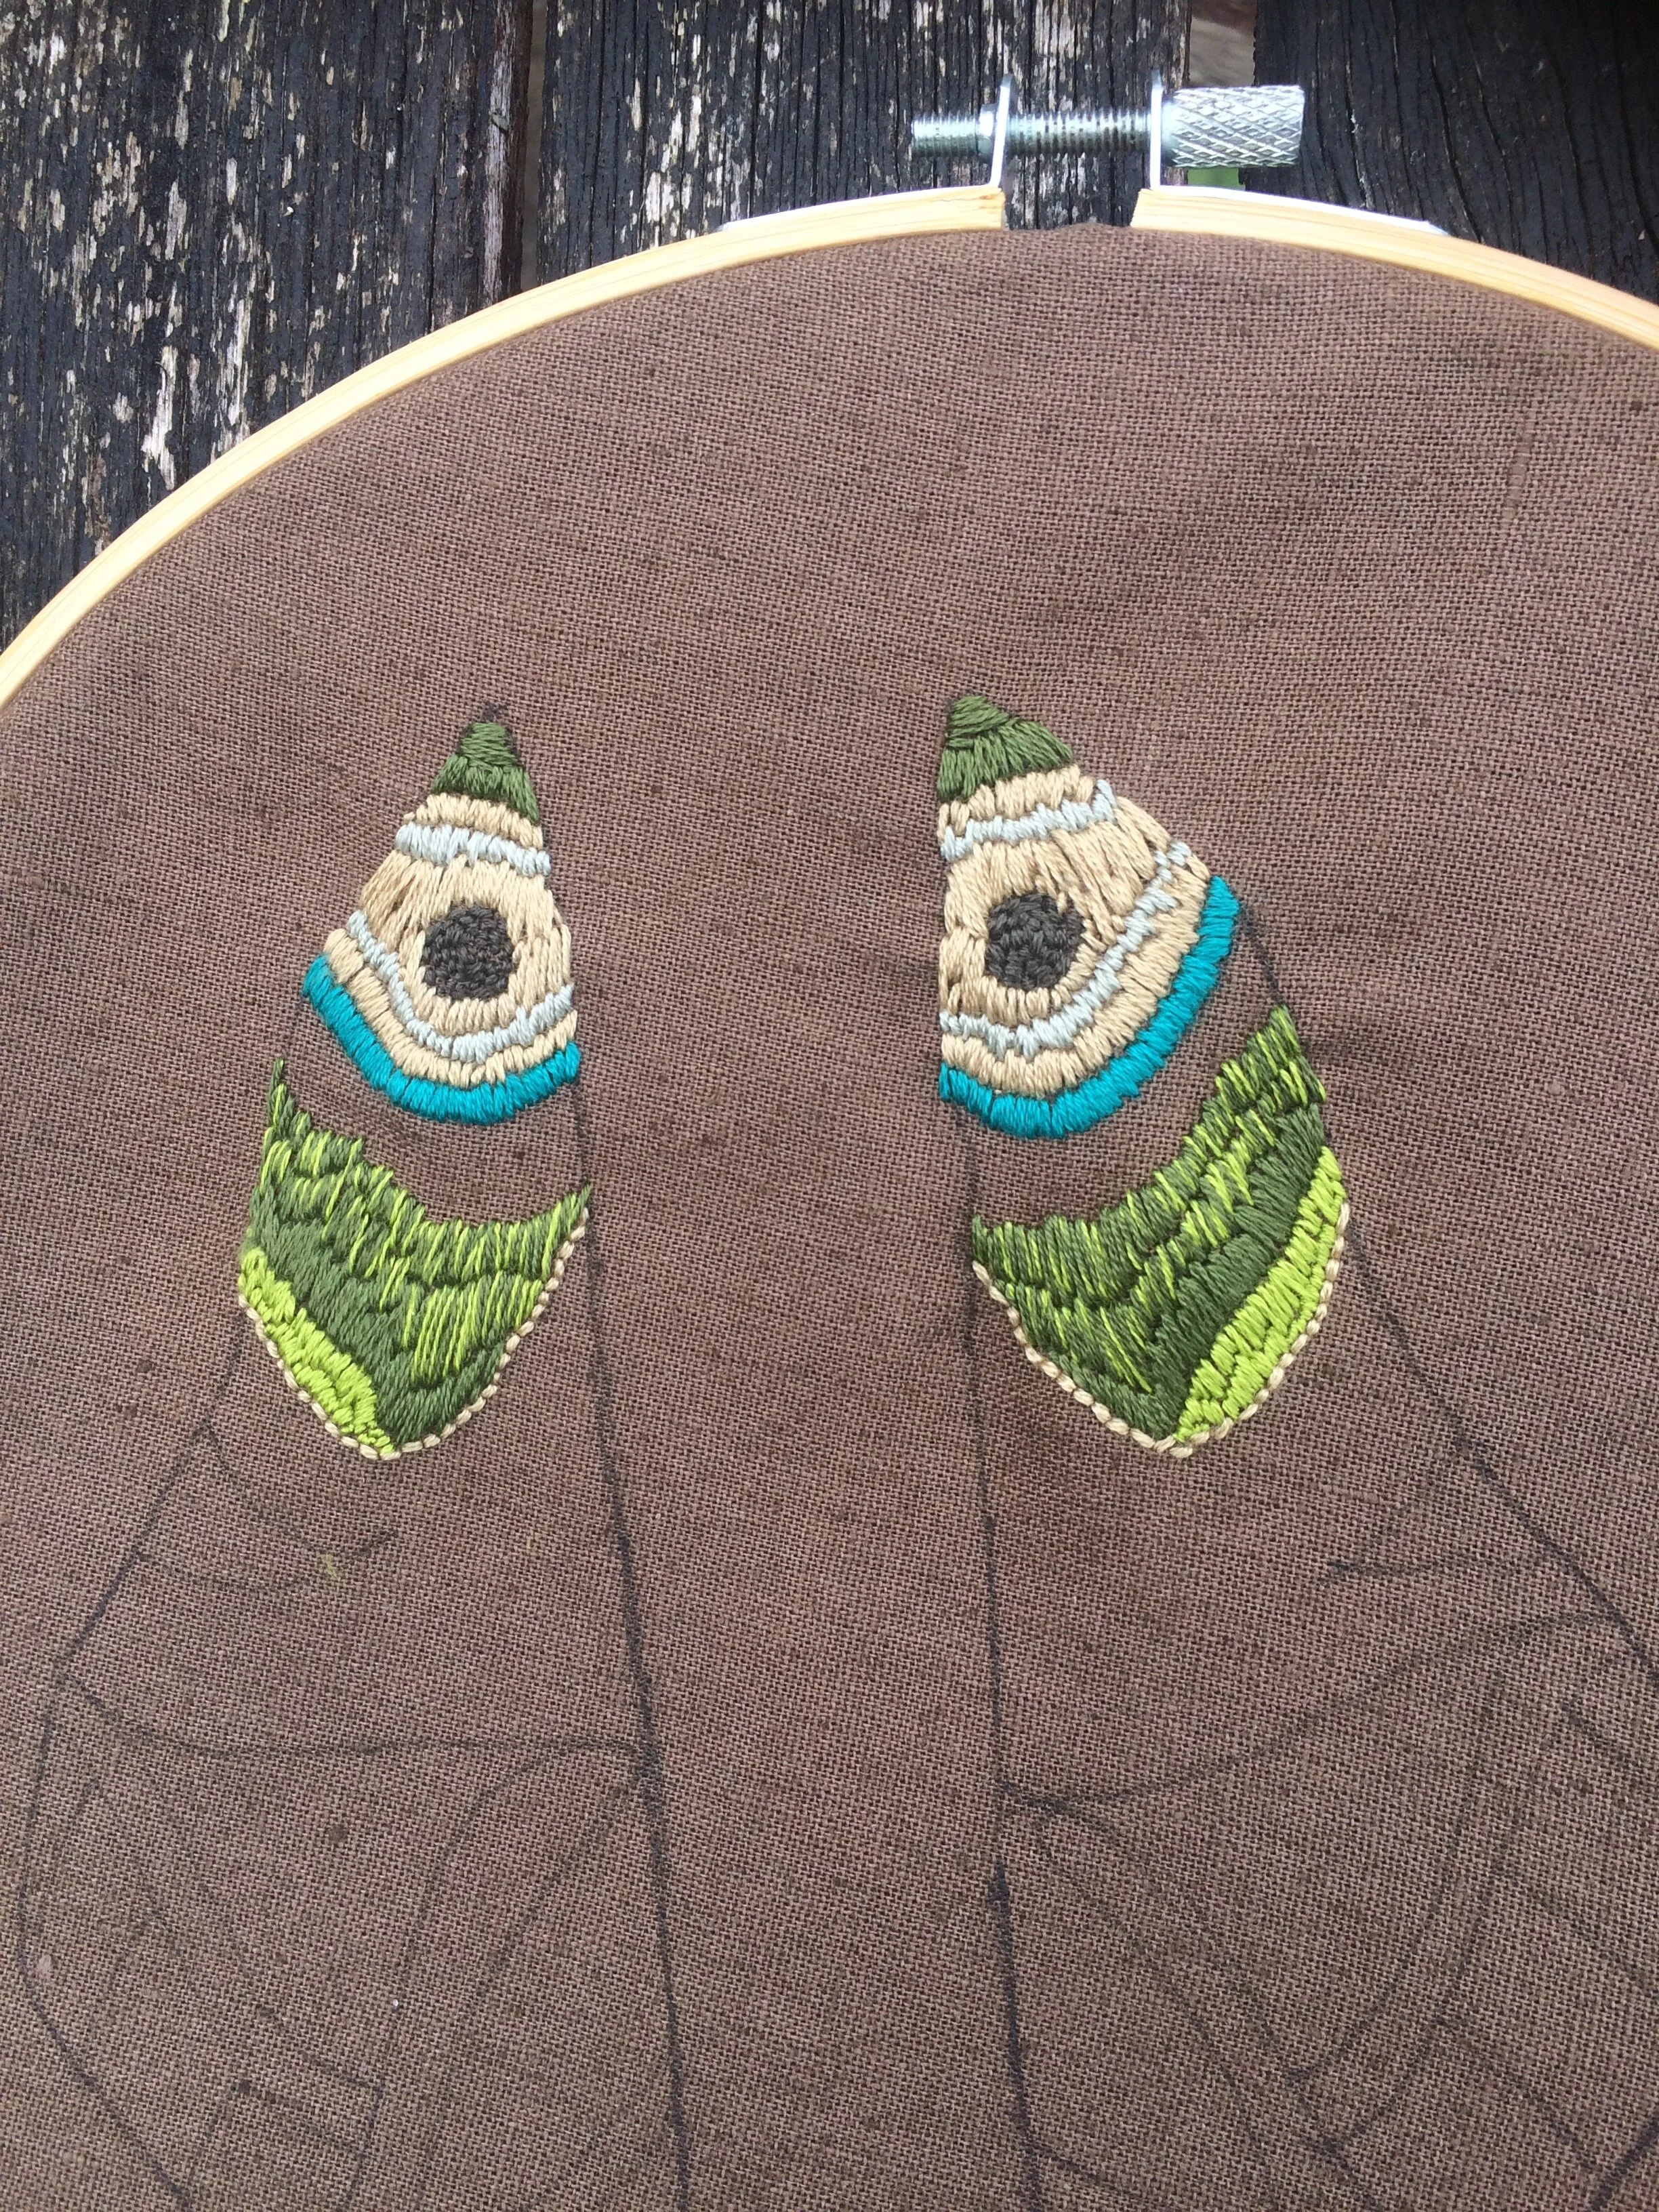
Embroidery cotton comes in a six strands - for the wings I separated the strands and used three at a time. For some of the effects I mixed strands, using two strands of one colour and one of another.

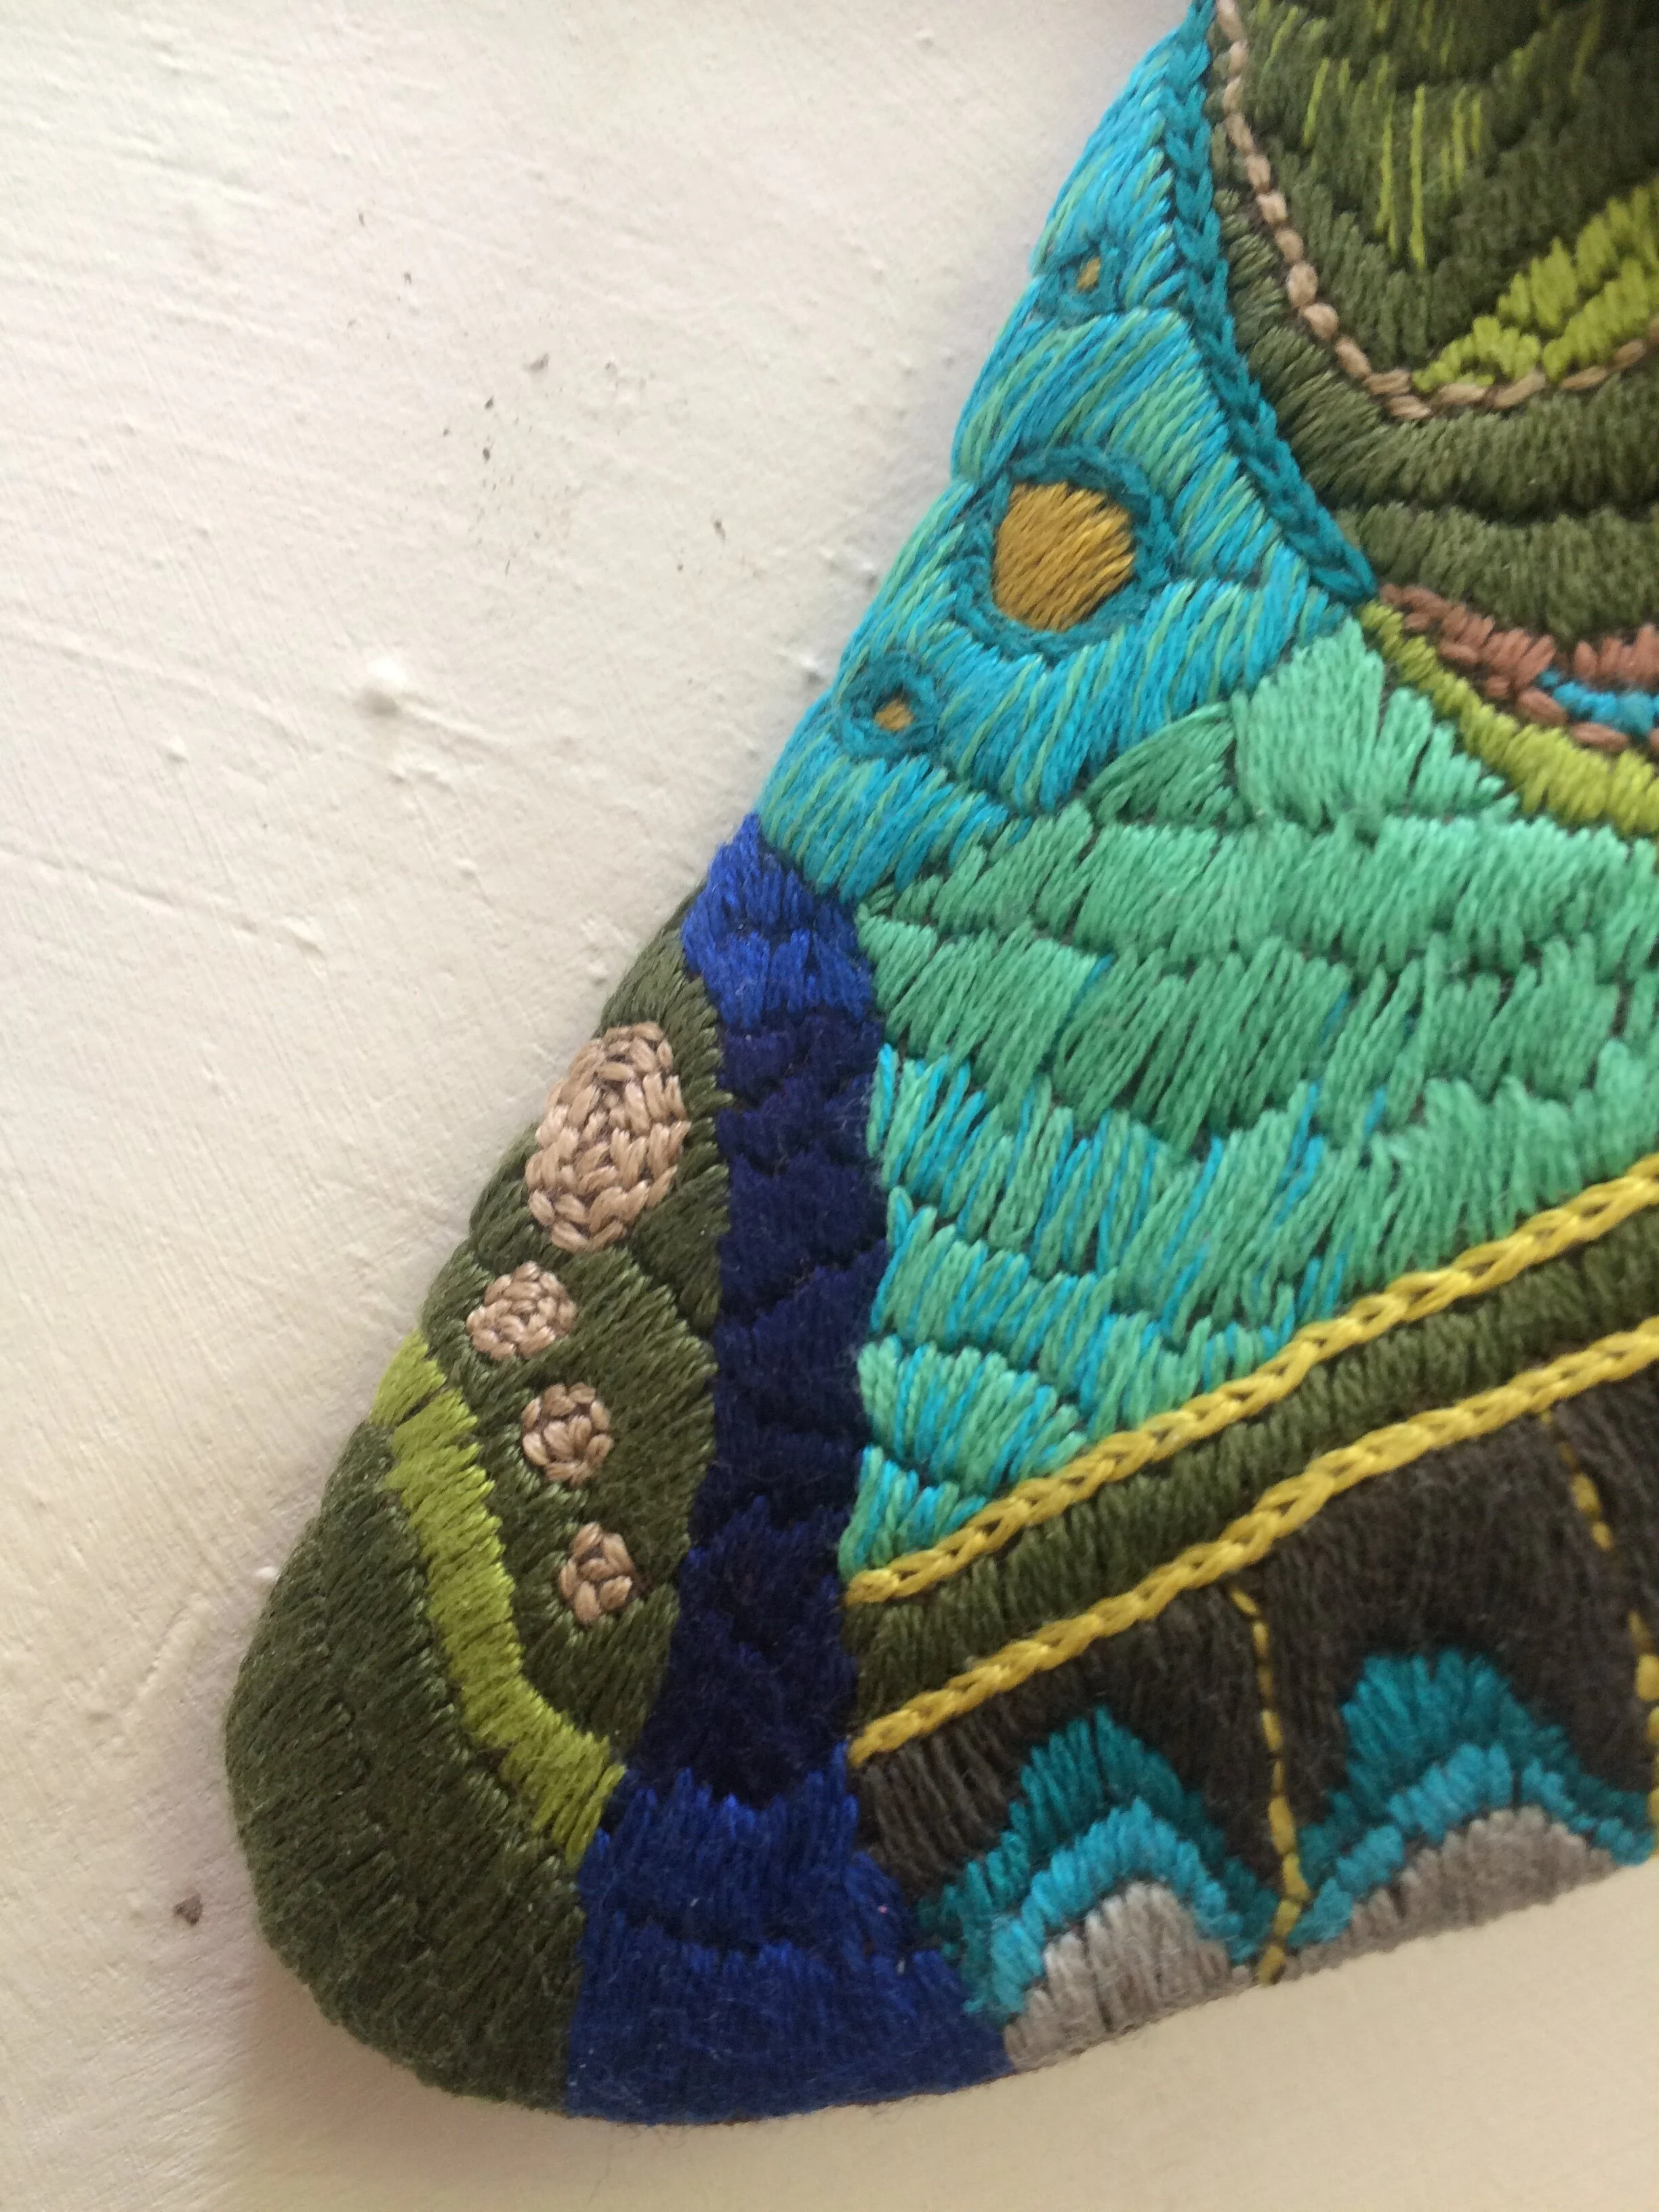
The wing uses only three types of embroidery stitches.
Satin stitch is used for the bulk of the embroidery. If you want a more realistic look then you can use satin stitch for the entire wing. The natural lines formed between rows of satin stitch can look like the veins and panels of the moth’s wing.
Back stitch for thin lines and some of the spots.
Chain stitch for thicker lines. This looks more ‘embroidered’ than other stitches, so you can avoid this if you want a more realistic wing.
Repeated for the smaller, second set of wings.


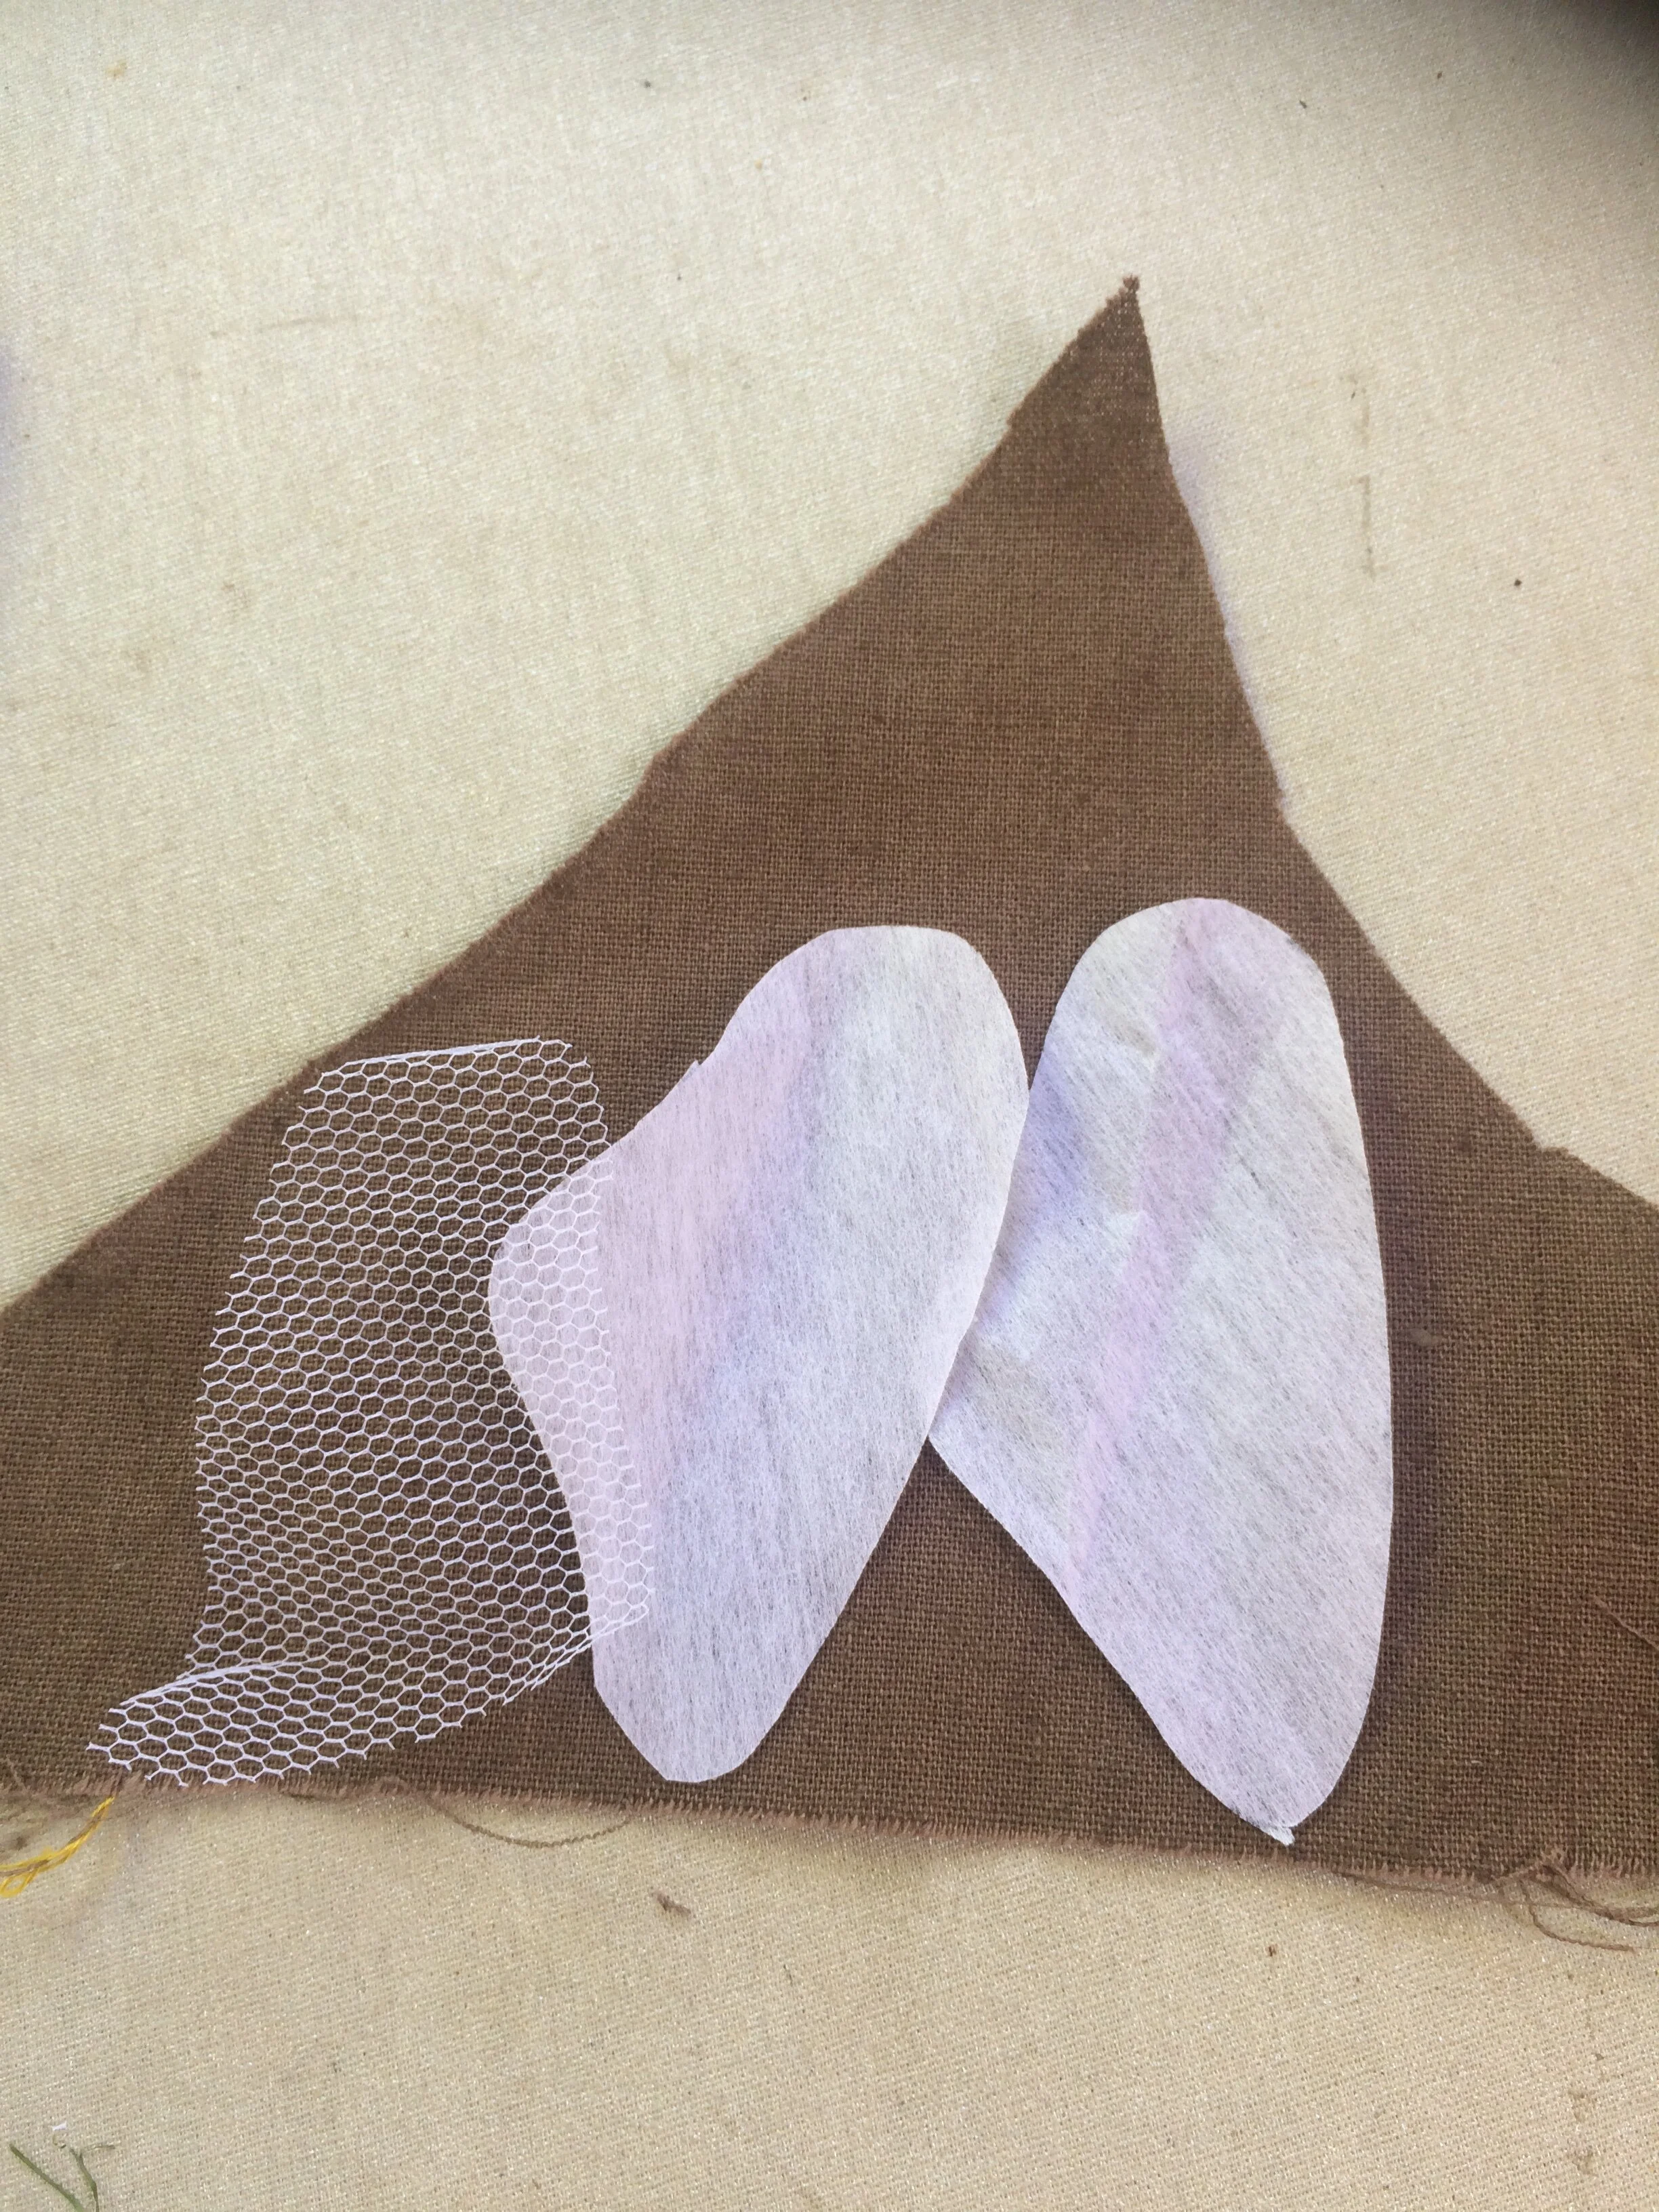
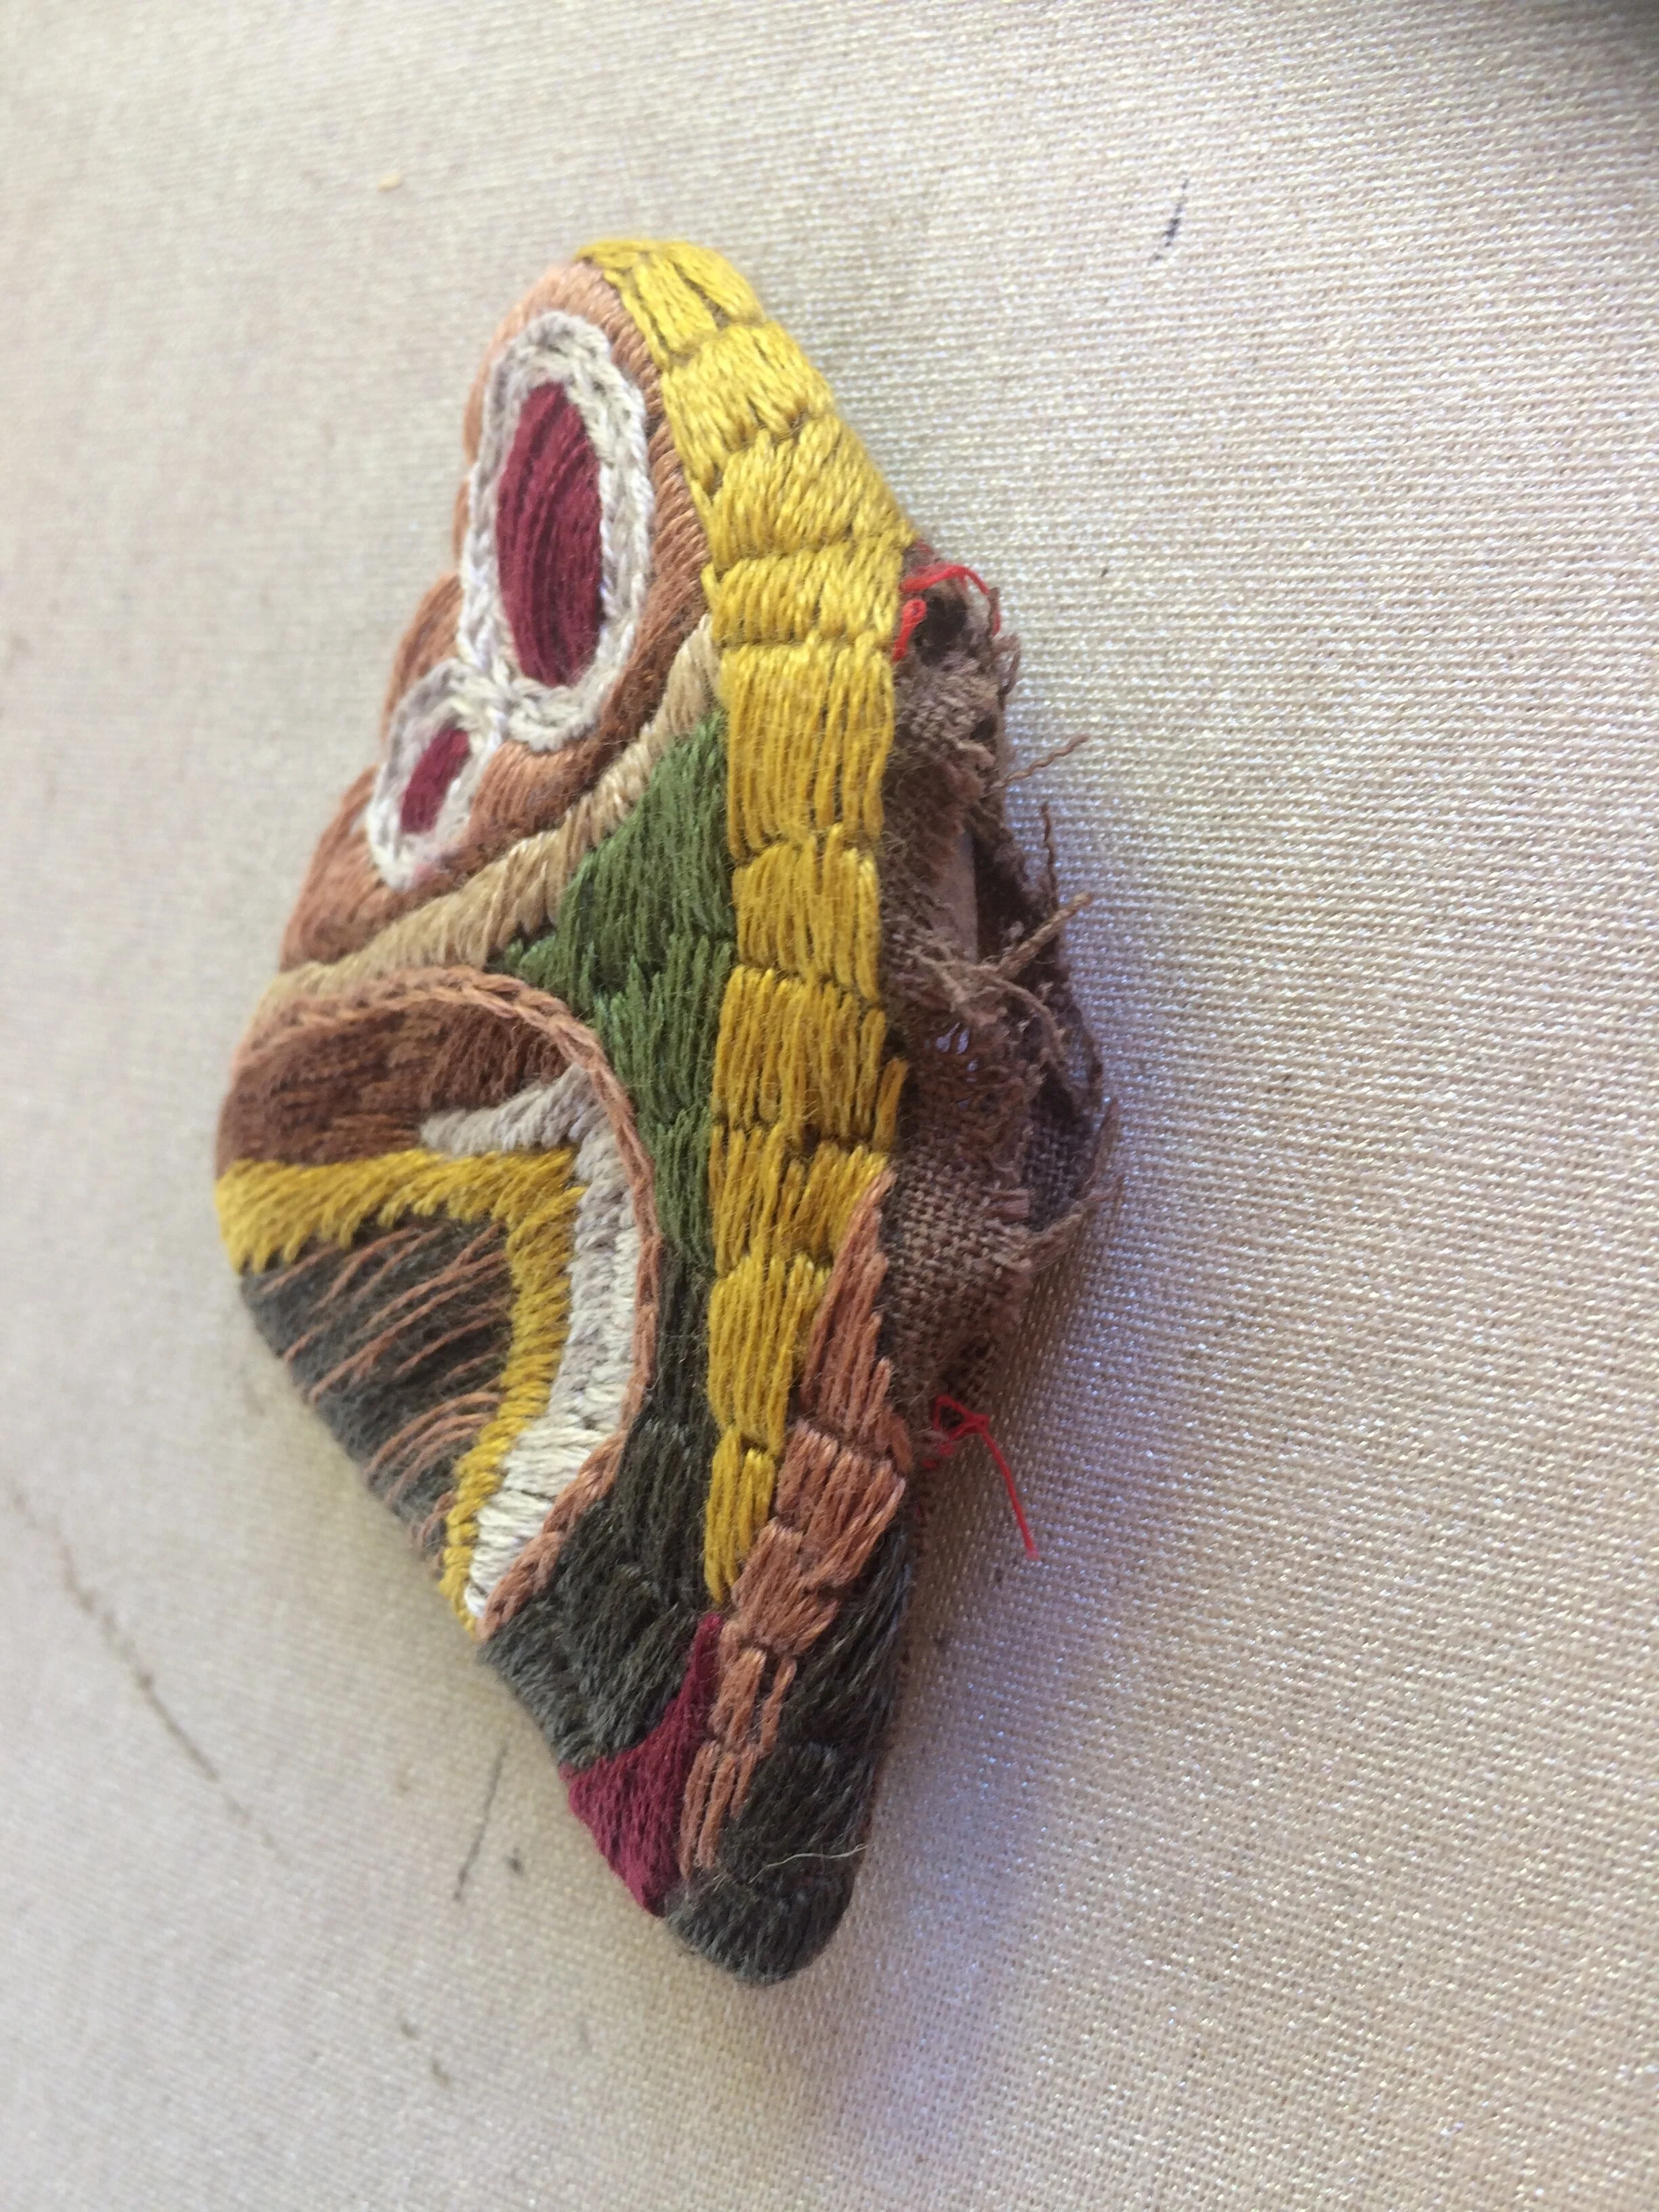
Once the wings have been embroidered then they need to be assembled. The embroidery will make the fabric stiffer, but it is very likely to still need something else to help the wings hold their shape. Depending on the fabric that you use you might find that heavy-weight interfacing is enough; I only had light-weight interfacing, so I used two layers of that as well as one layer of netting for each wing.
To assemble, for each wing:
Cut one or more pieces of interfacing, using the same patterns that you used for the embroidered wings, and iron these onto your backing fabric.
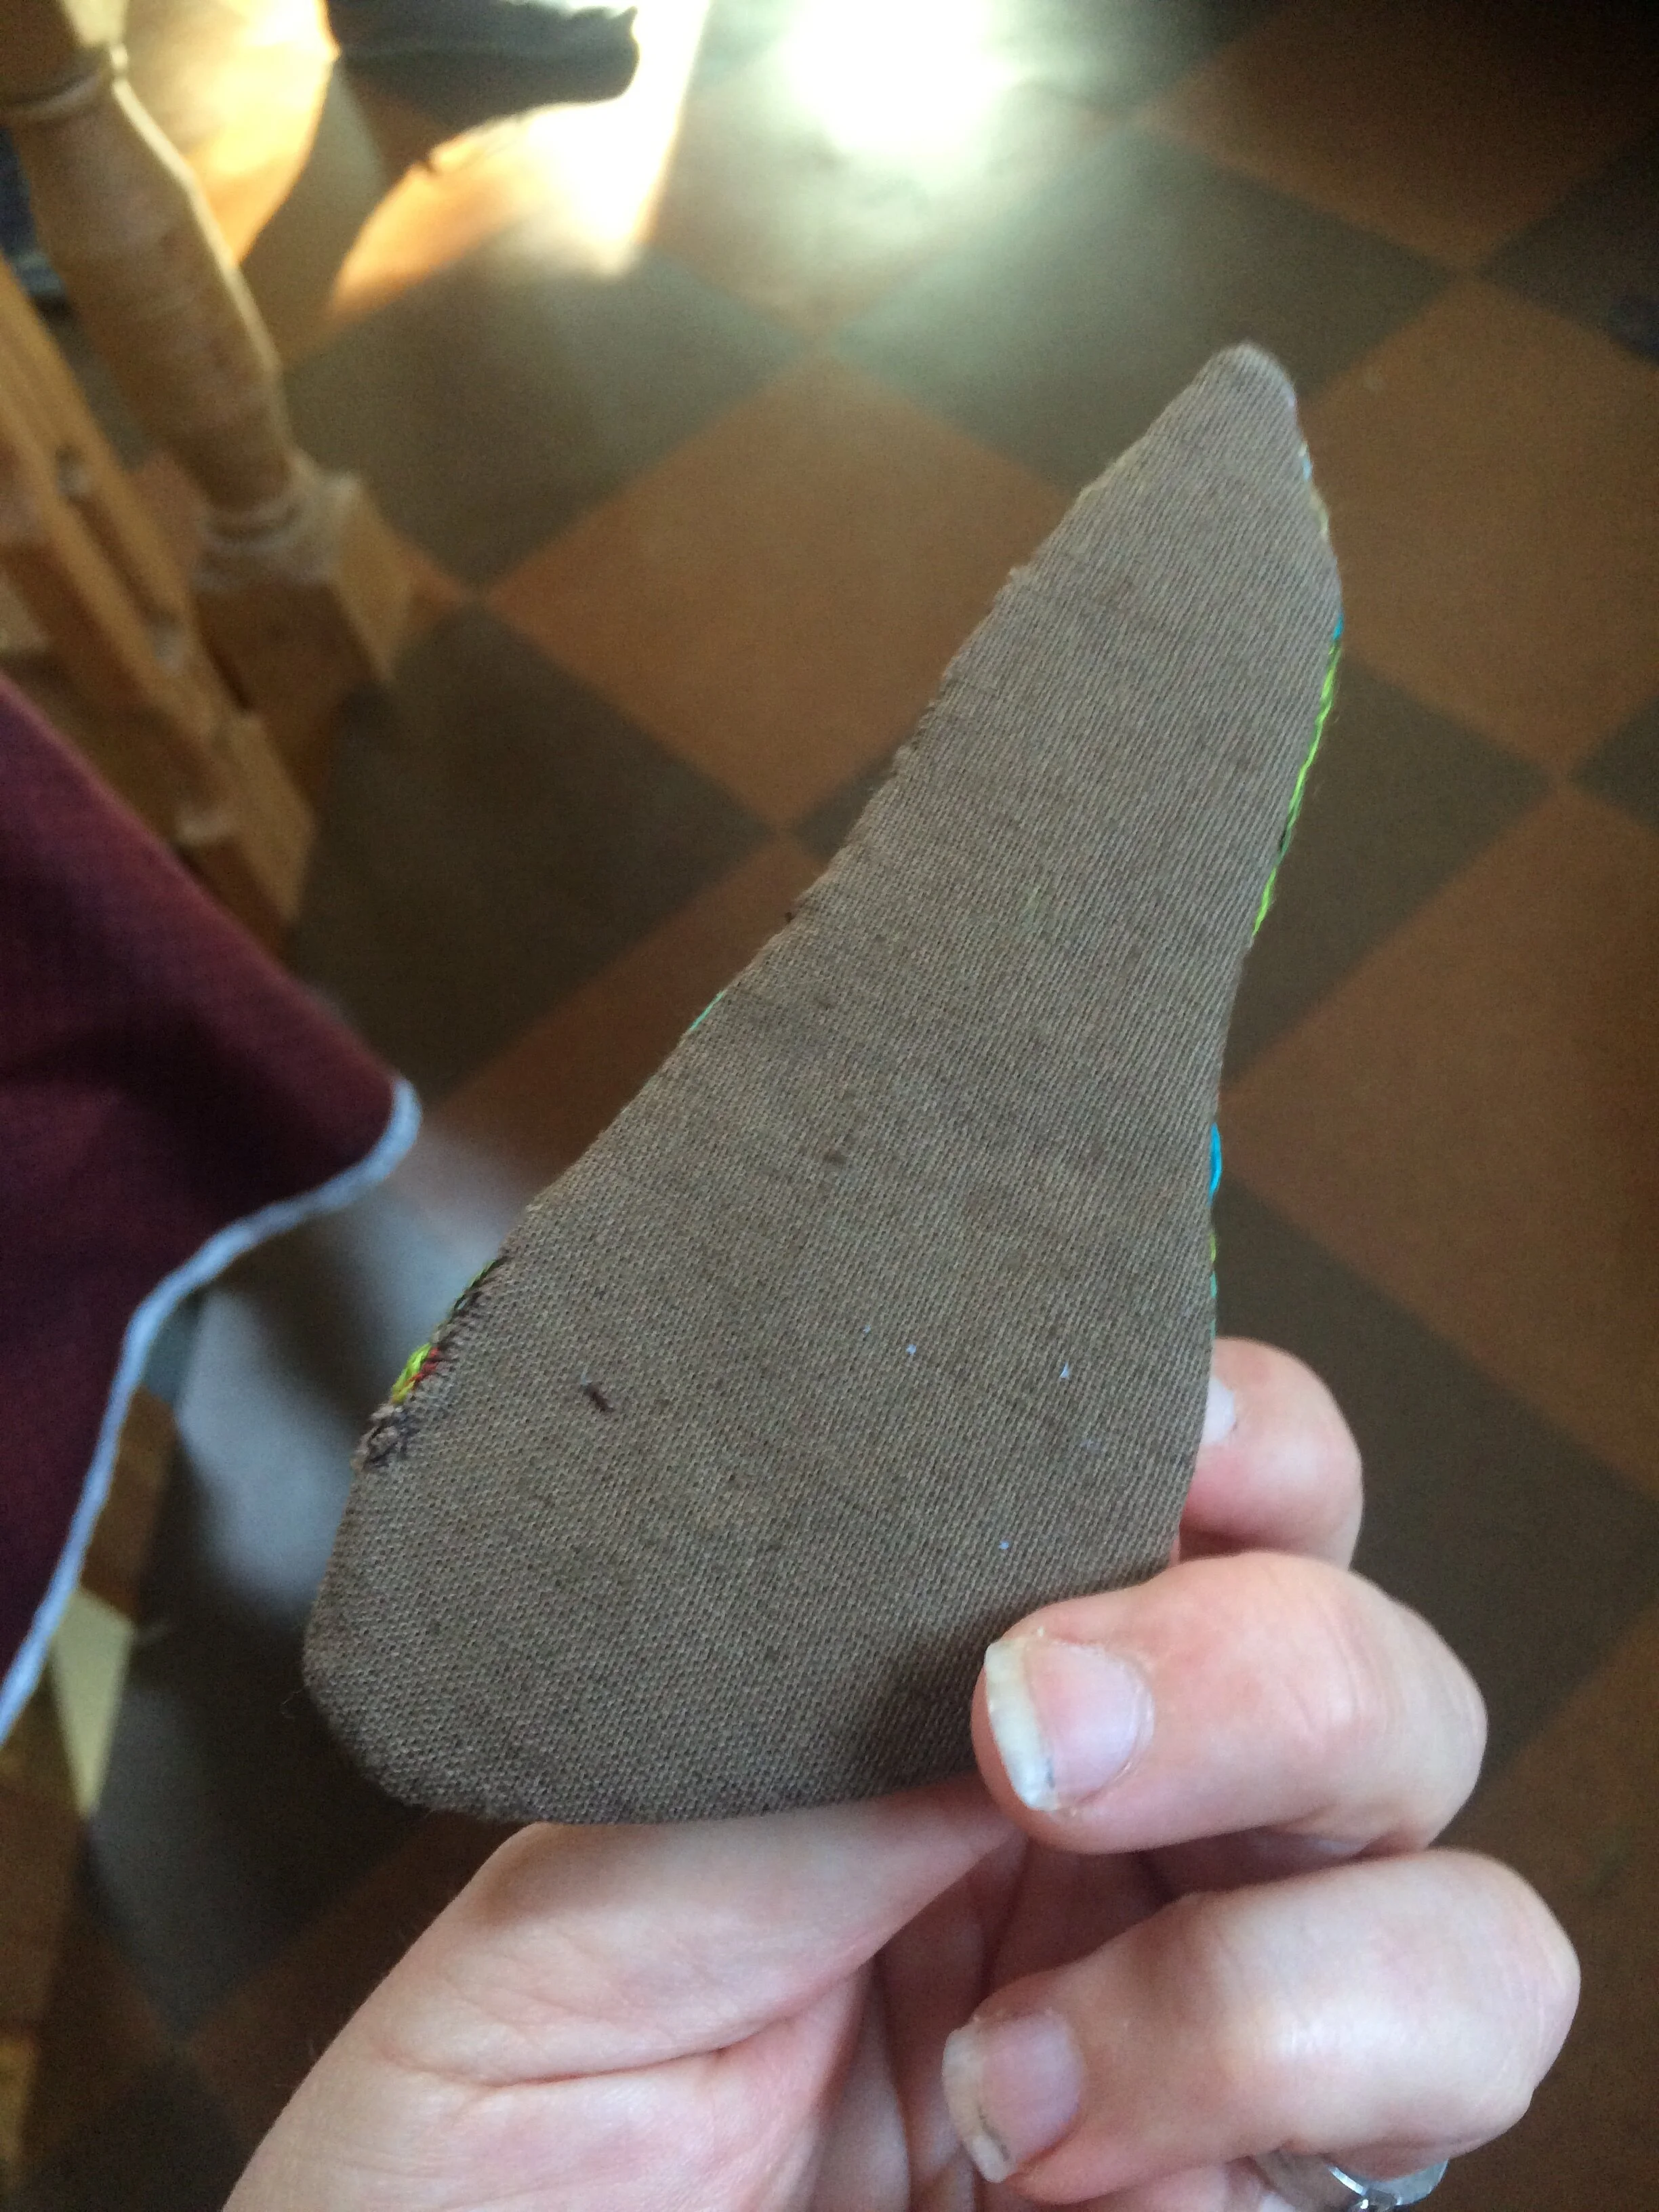
Cut our your backing fabric, leaving a very generous seam allowance. On my first wings I left a standard seam allowance, but that made assembly more fiddly than it needed to be. On the second set I just cut a very large (c 4cm) allowance. This will be trimmed later.
Assemble your wings, with the right sides together, and hand or machine-stitch all of the layers together. Follow the edge of the back of your embroidery for this. Leave a hole to let the wing be turned right-way-round.
Cut the excess of fabric leaving a small seam allowance, and clip this at the corners.
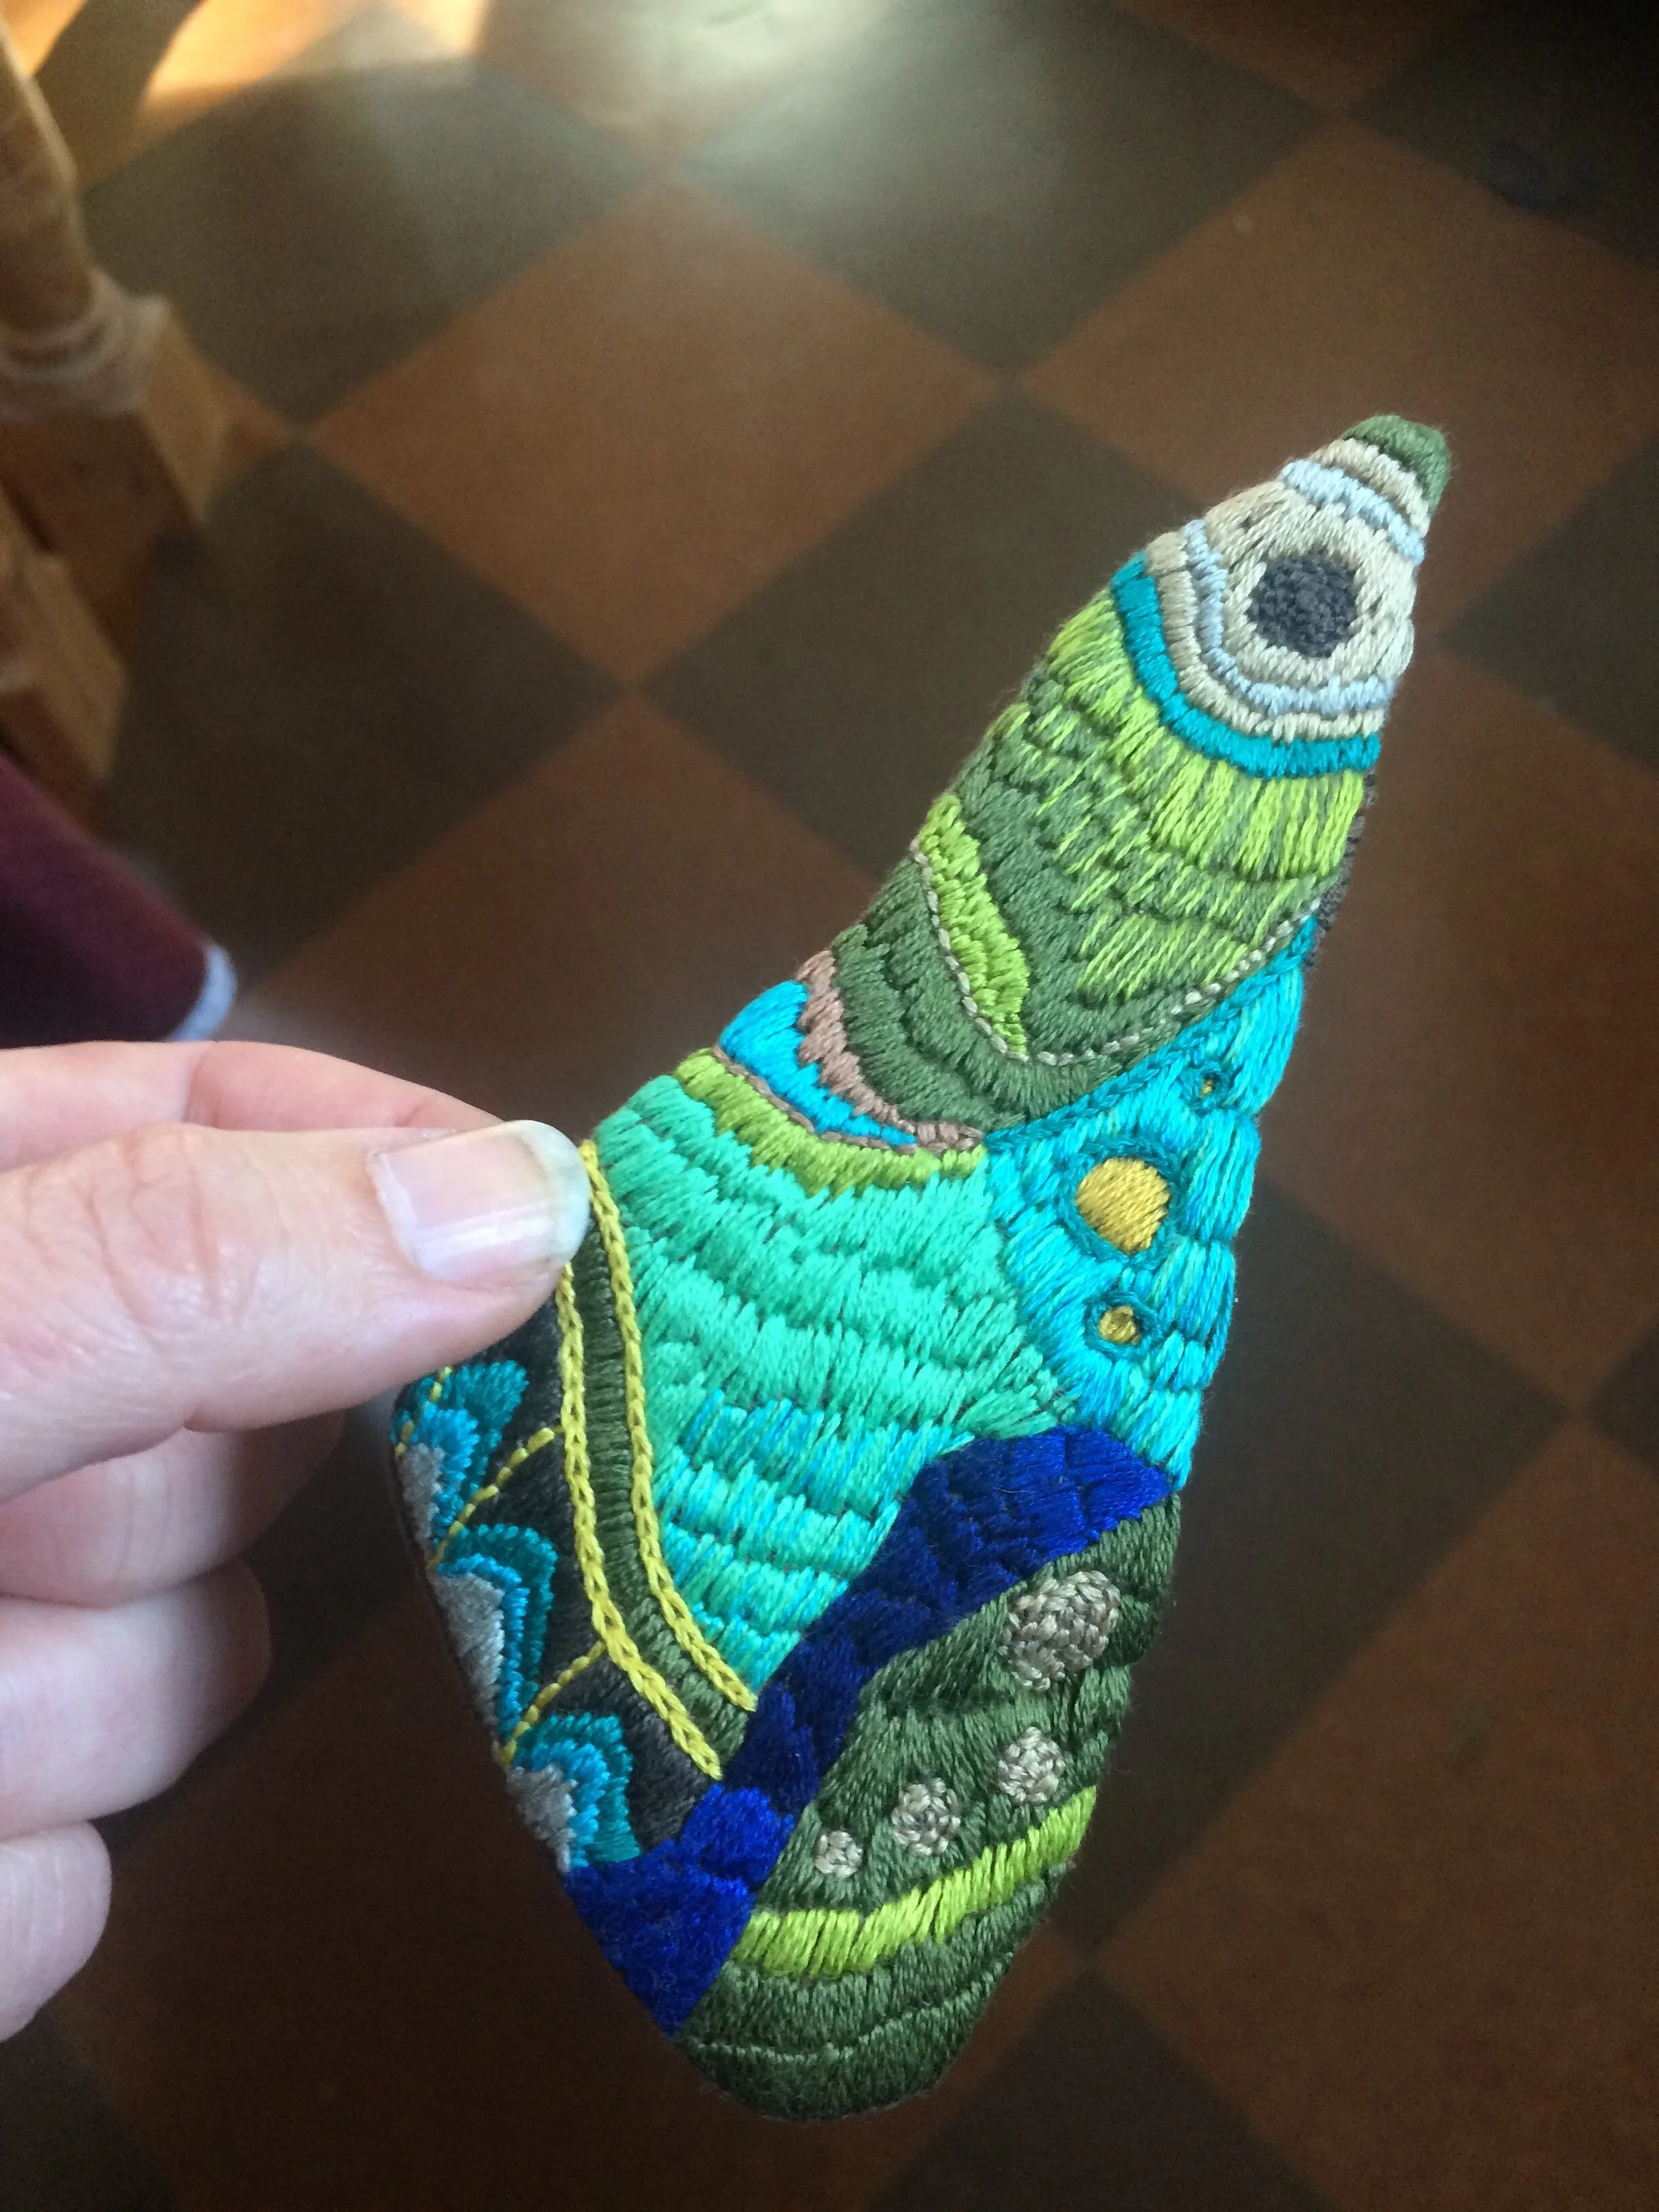
Turn the wind right-way-round through the hole, then press it and hand stitch the hole closed.

Pressing really makes a difference to the wings, and gives a lovely shiny look to the embroidery, particularly if any of it was pulled or stretched when trying to turn the wing right-way round.
I found that the 2 layers of linen (one embroidered) plus one net and two pieces of light-weight interfacing gave a wing of just the right stiffness - it can hold its shape if you hold it up by the edge, but can also be bent and shaped around the moth body.
Assembly
Pin the wings to the body and try them in different positions. When you are happy with the effect, sew the wings to the body . If you want the wings to stay in position then sew them at several different points and you can even sew them to each other. If you prefer the wings to be more flexible, only sew them to the body at the tip, and they can then move with the moth.


I put a small loop of thread under the body of the moth so it can hang on a picture hook or small nail on the wall. I think that this moth looks amazing on the wall, and could do with two other companions in different colours. You could also attach it to a bag or clothing - or a hair clip!