Satine’s Moulin Rouge! Red Dress


Ooo... a Moulin Rouge party. I wanted to sew something ambitious. I wanted something flattering and sexy but not exactly burlesque. After seeing the amazing post on Maggie's Costume Site I decided to try and Satine's 'Red Satin' dress from the Moulin Rouge! film.
I was not too worried about making an exact replica; this was not cosplay, I just wanted to capture the feel of the original.
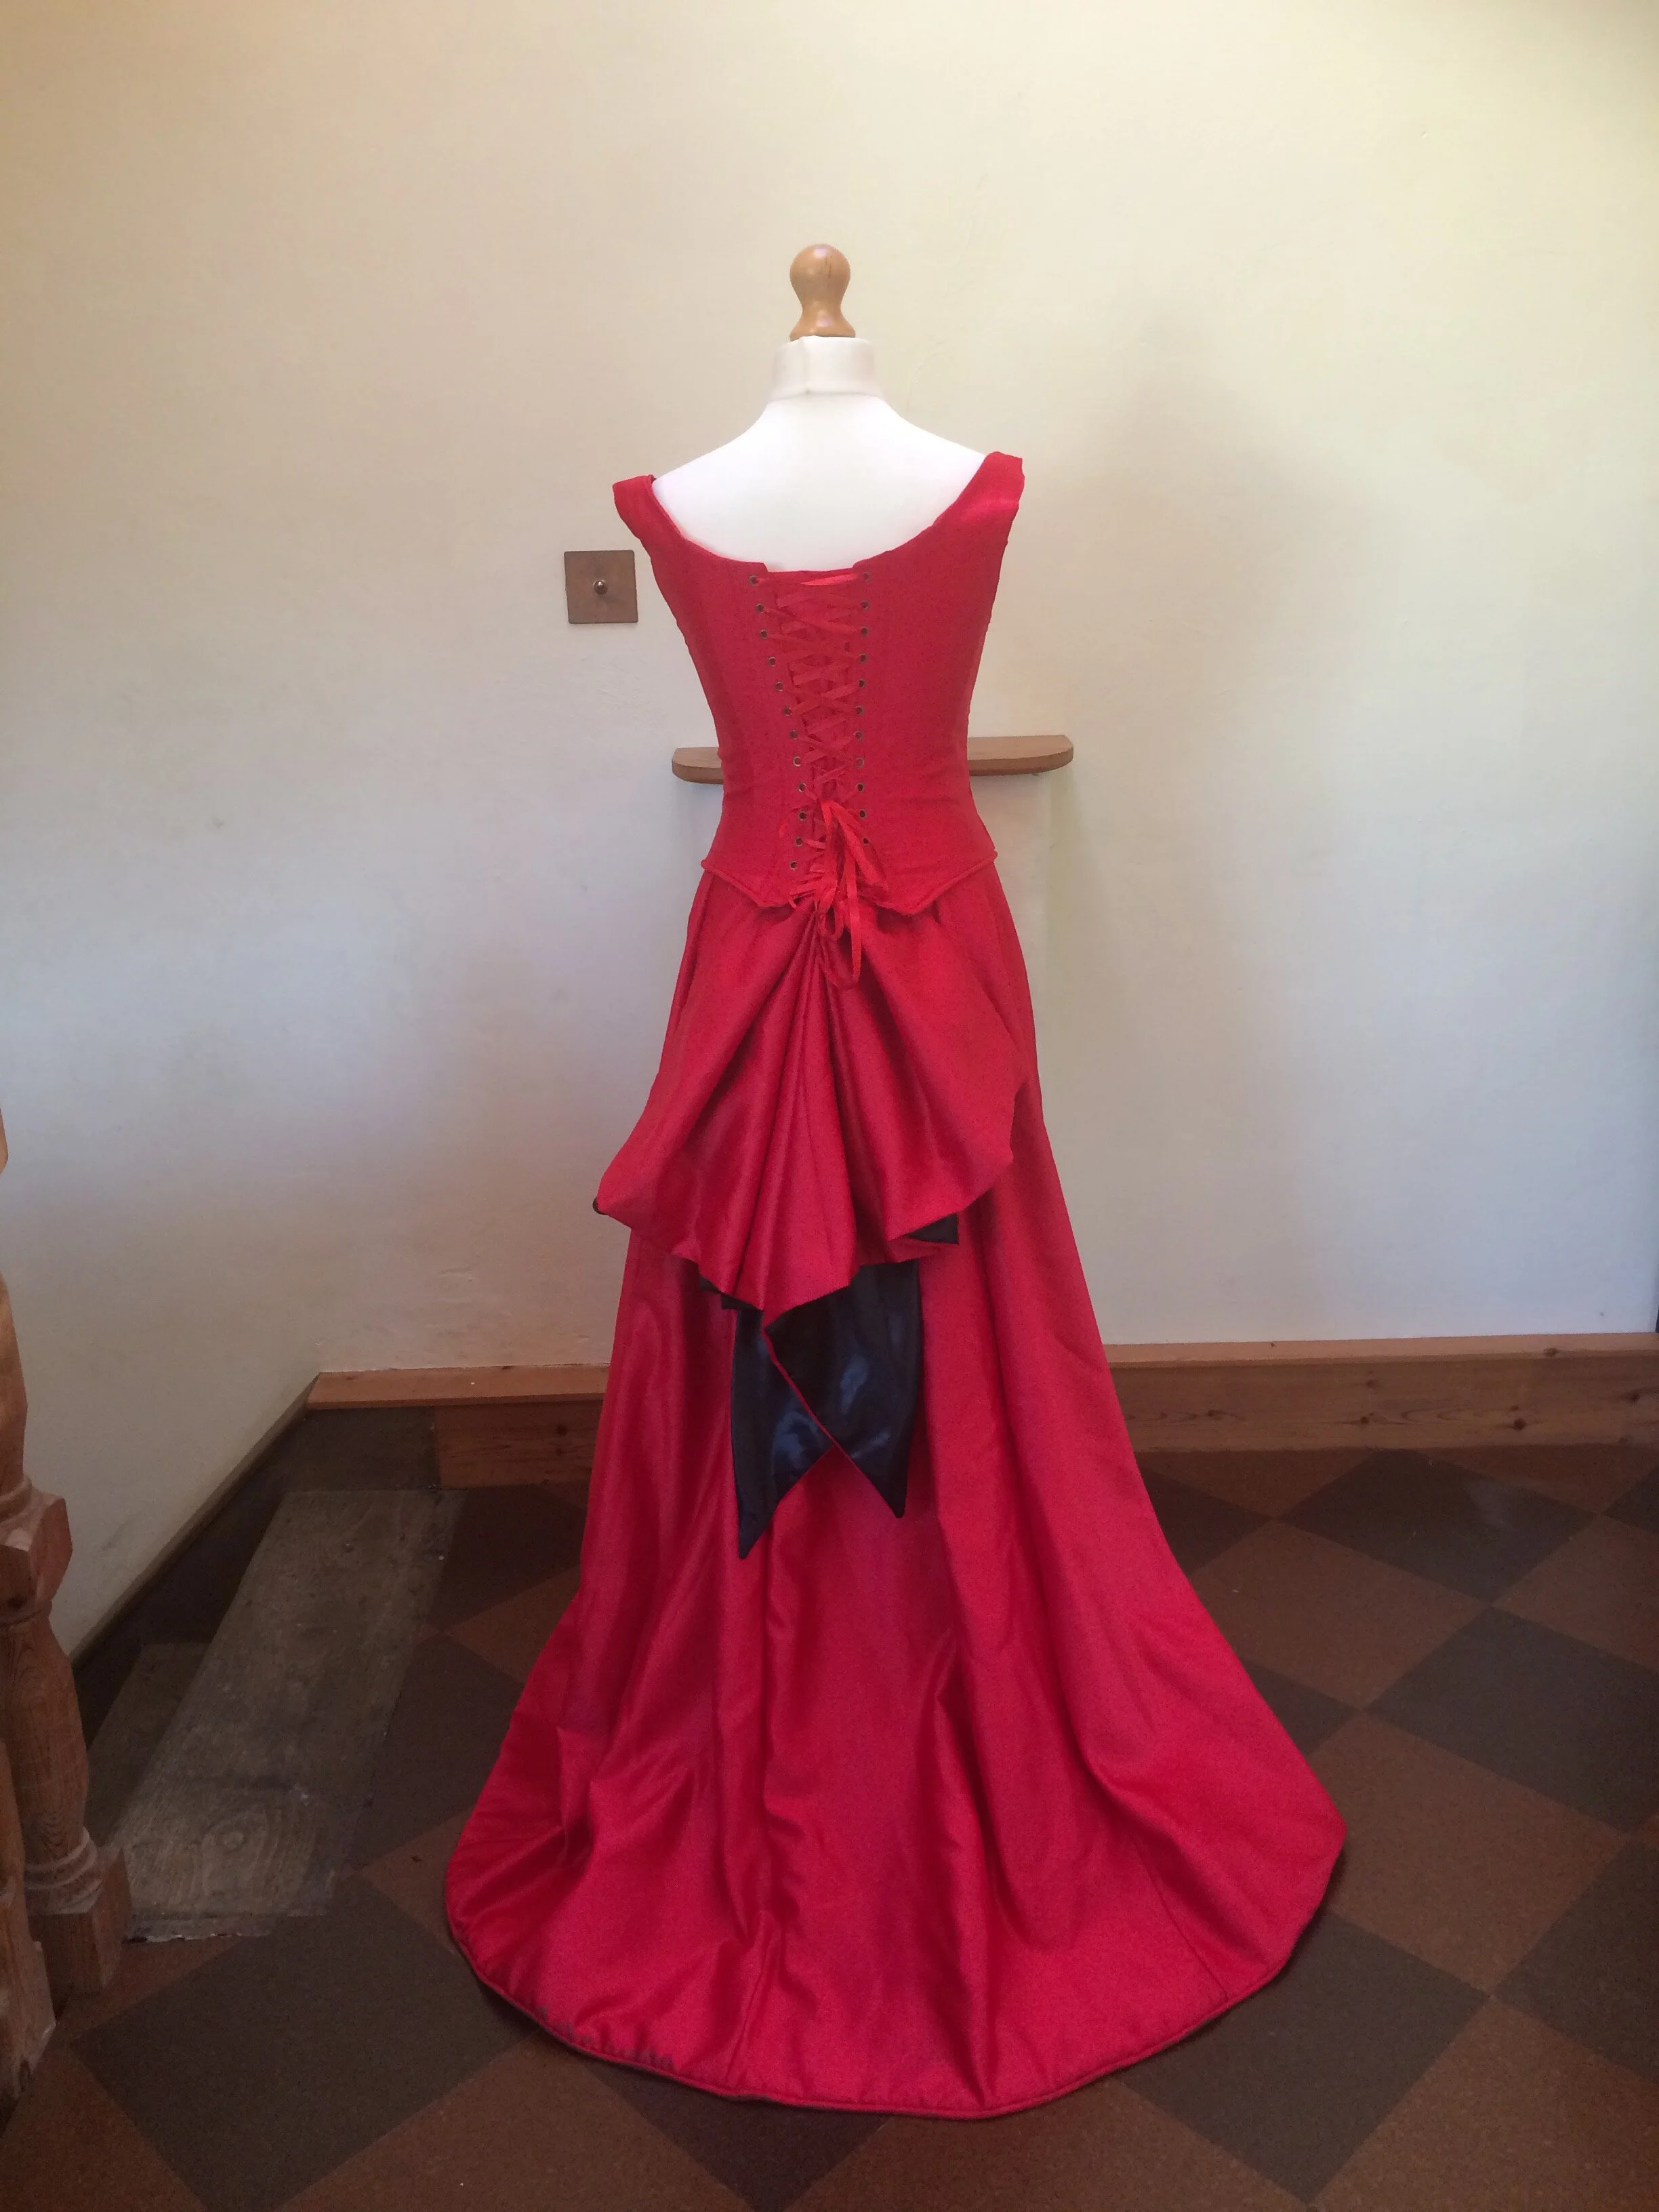
How it turned out
Here is my finished version of the dress. I'm so happy with it, and I really felt like a princess for the party. (The photos of me wearing the dress were taken in the B&B before I went to the party so a less than glamorous setting).


Making the Dress
The dress consists of three totally separate elements: skirt, train and bodice. It was so helpful working on these separately to avoid getting overwhelmed. I gained confidence on the skirt and train, before moving on to the bodice.
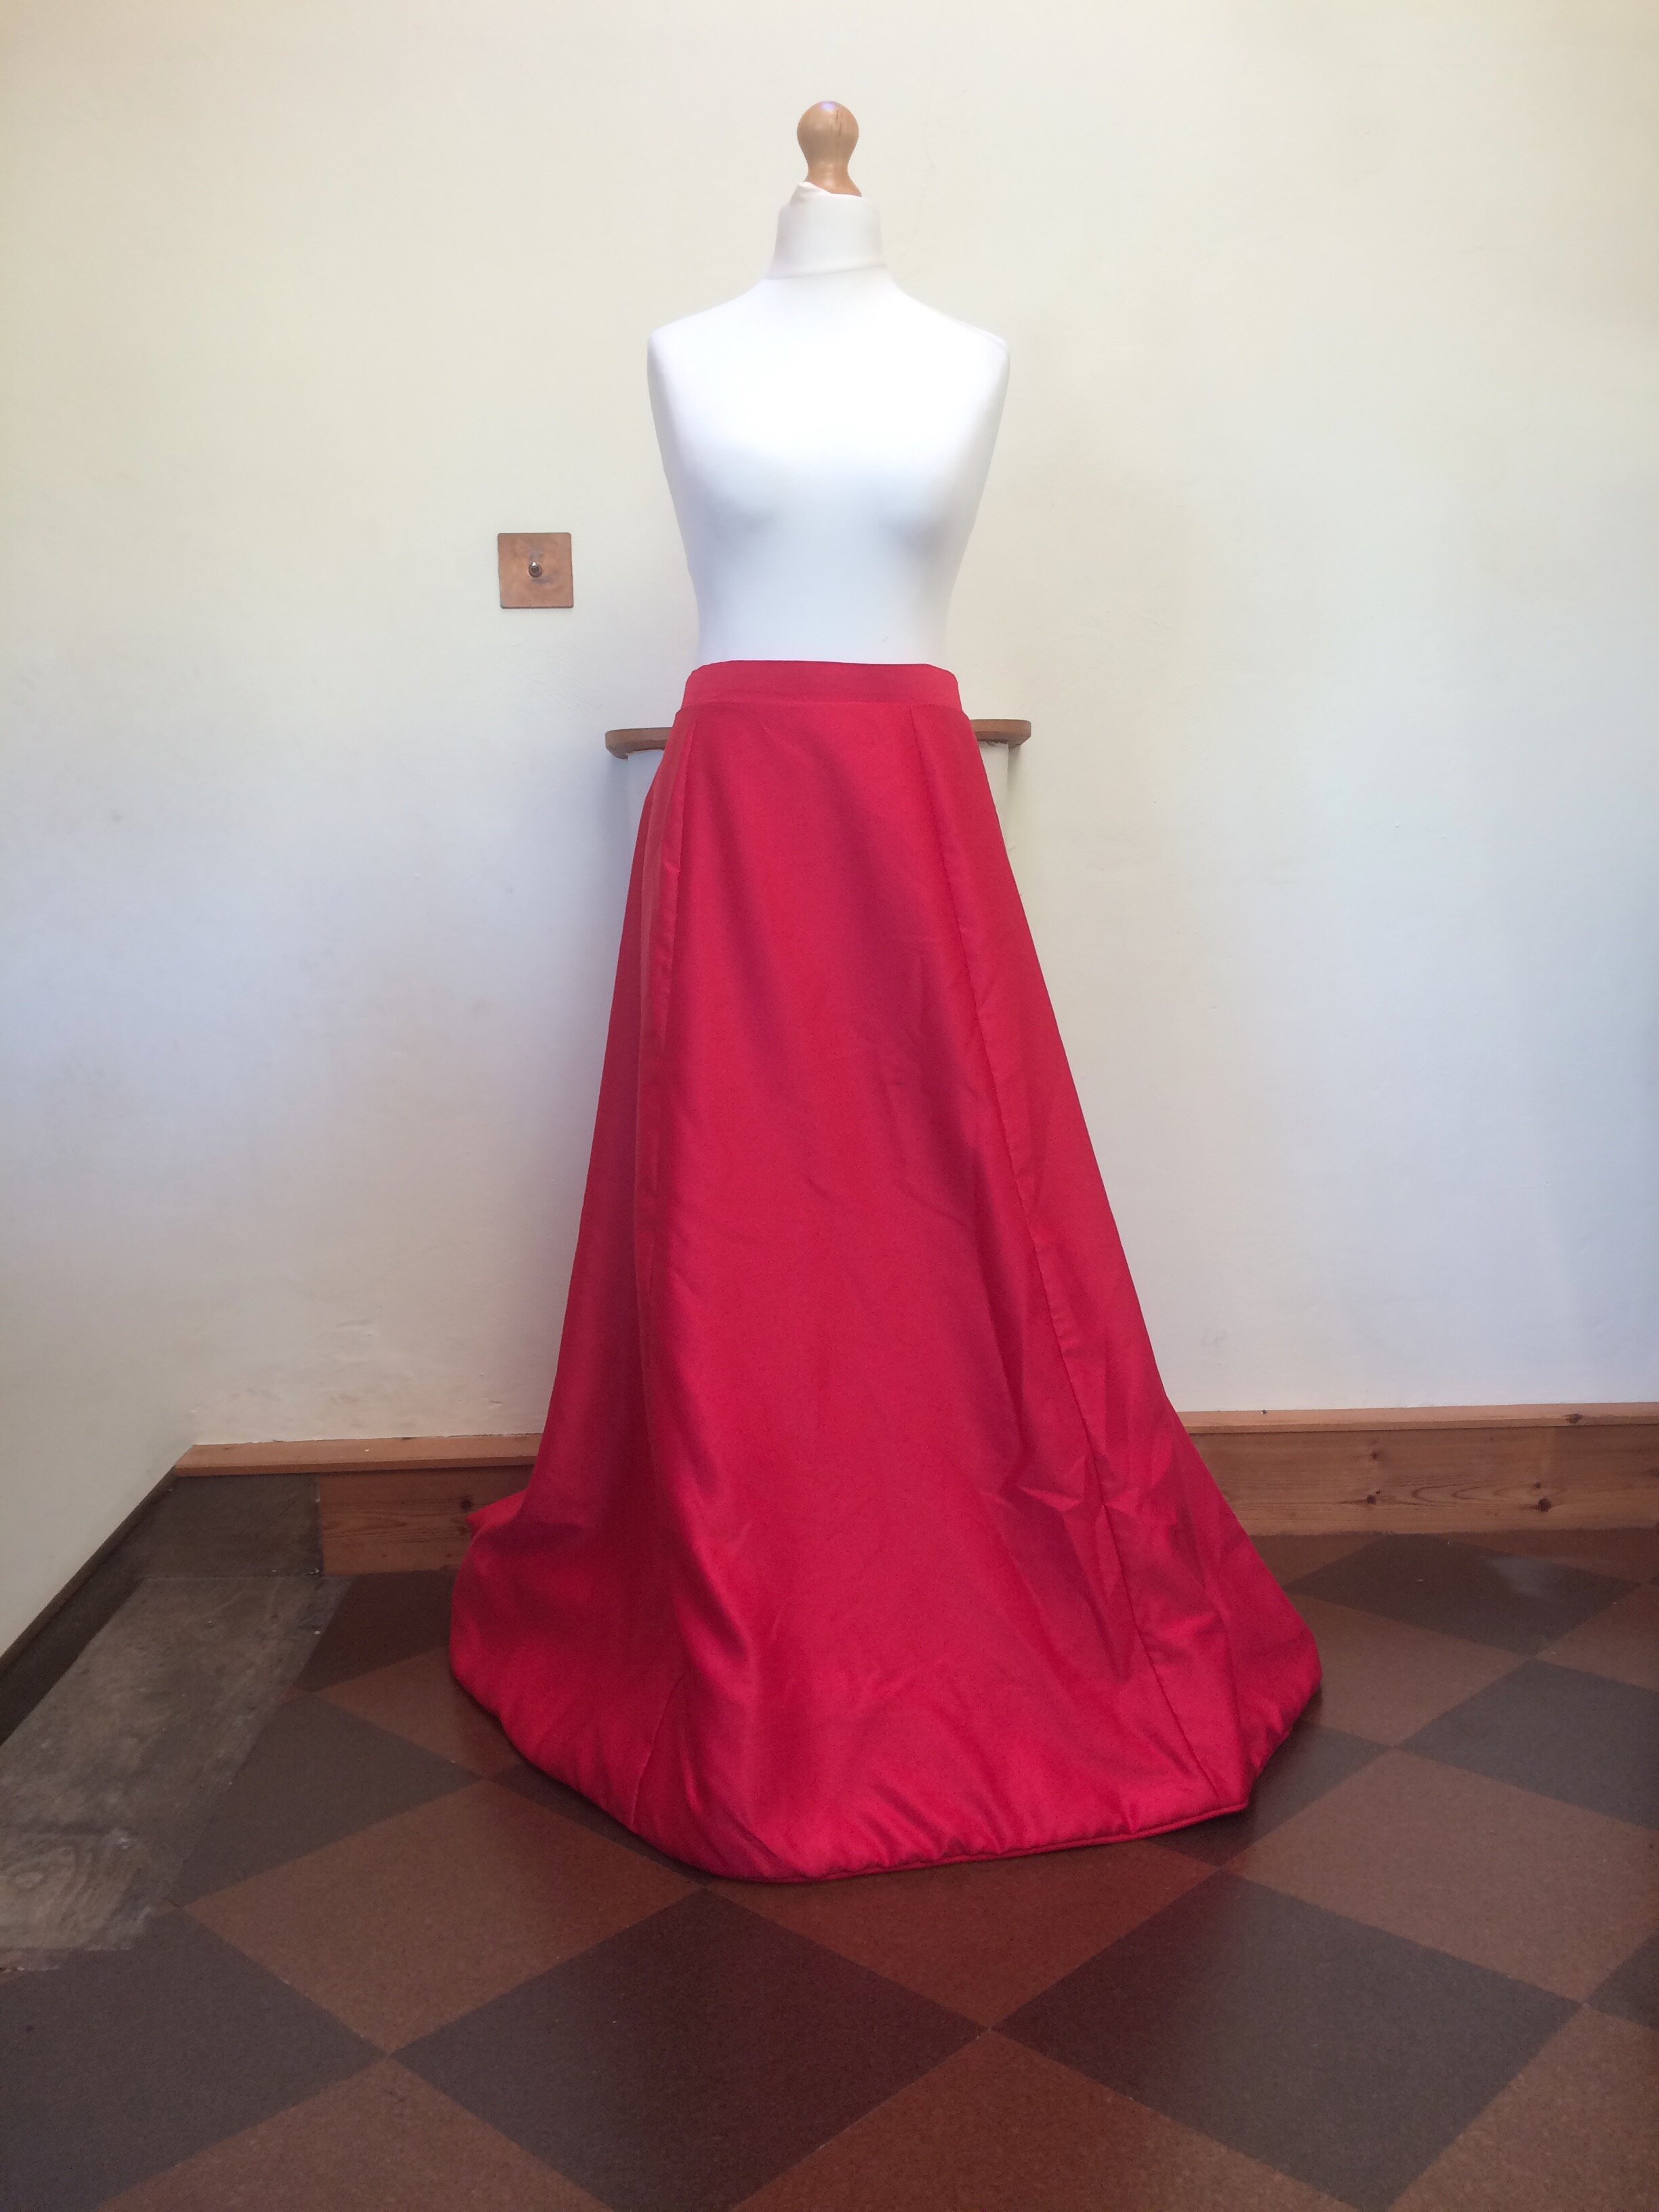

Skirt
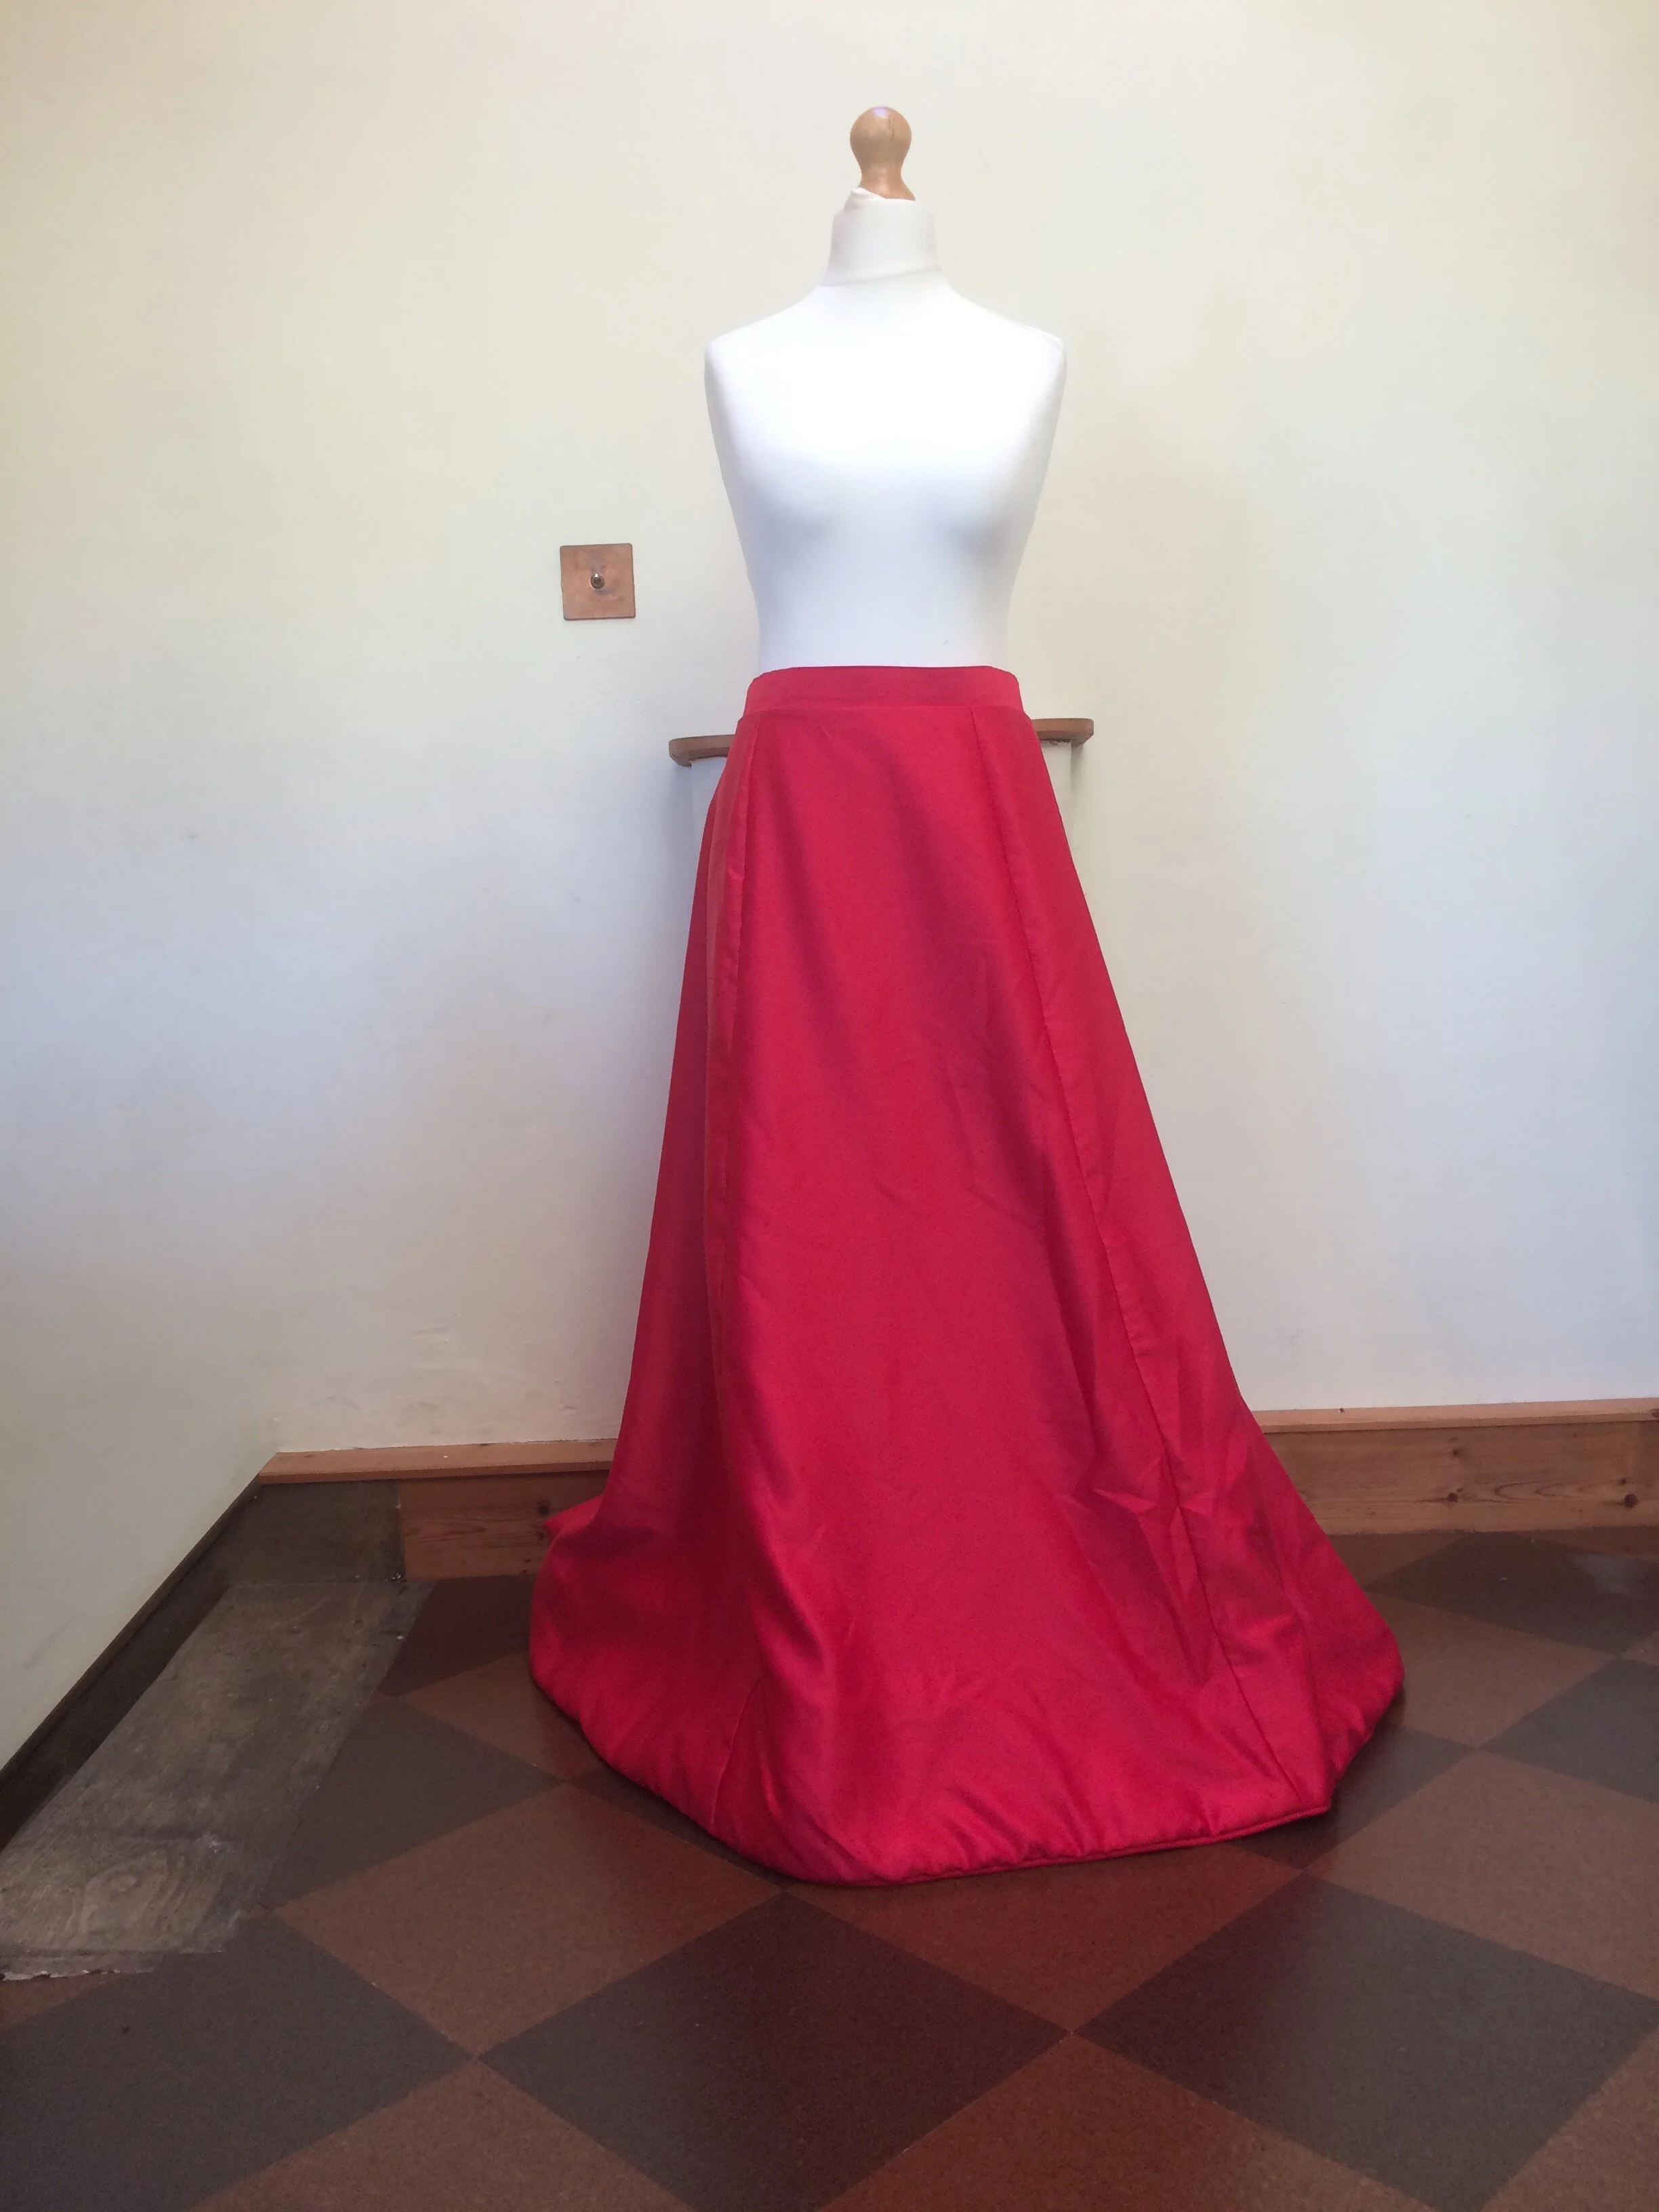
The skirt was the easiest aspect of the dress, and it all worked perfectly. I used Laughing Moon Mercantile's 5-Gore Walking Skirt pattern.

Laughing Moon Mercantile’s 5-gore walking skirt pattern
The skirt comes in three lengths; walking, short train and long train. I made the short train version and I tried it on with my old high-heel boots which compensated exactly for my short legs...
I made the skirt first as a toile using old bed sheets. Shadowkitten helped.


The pattern is lovely - flat at the front and full at the back. I didn’t make any adjustments to the pattern, merely fiddled with the waistband a bit.
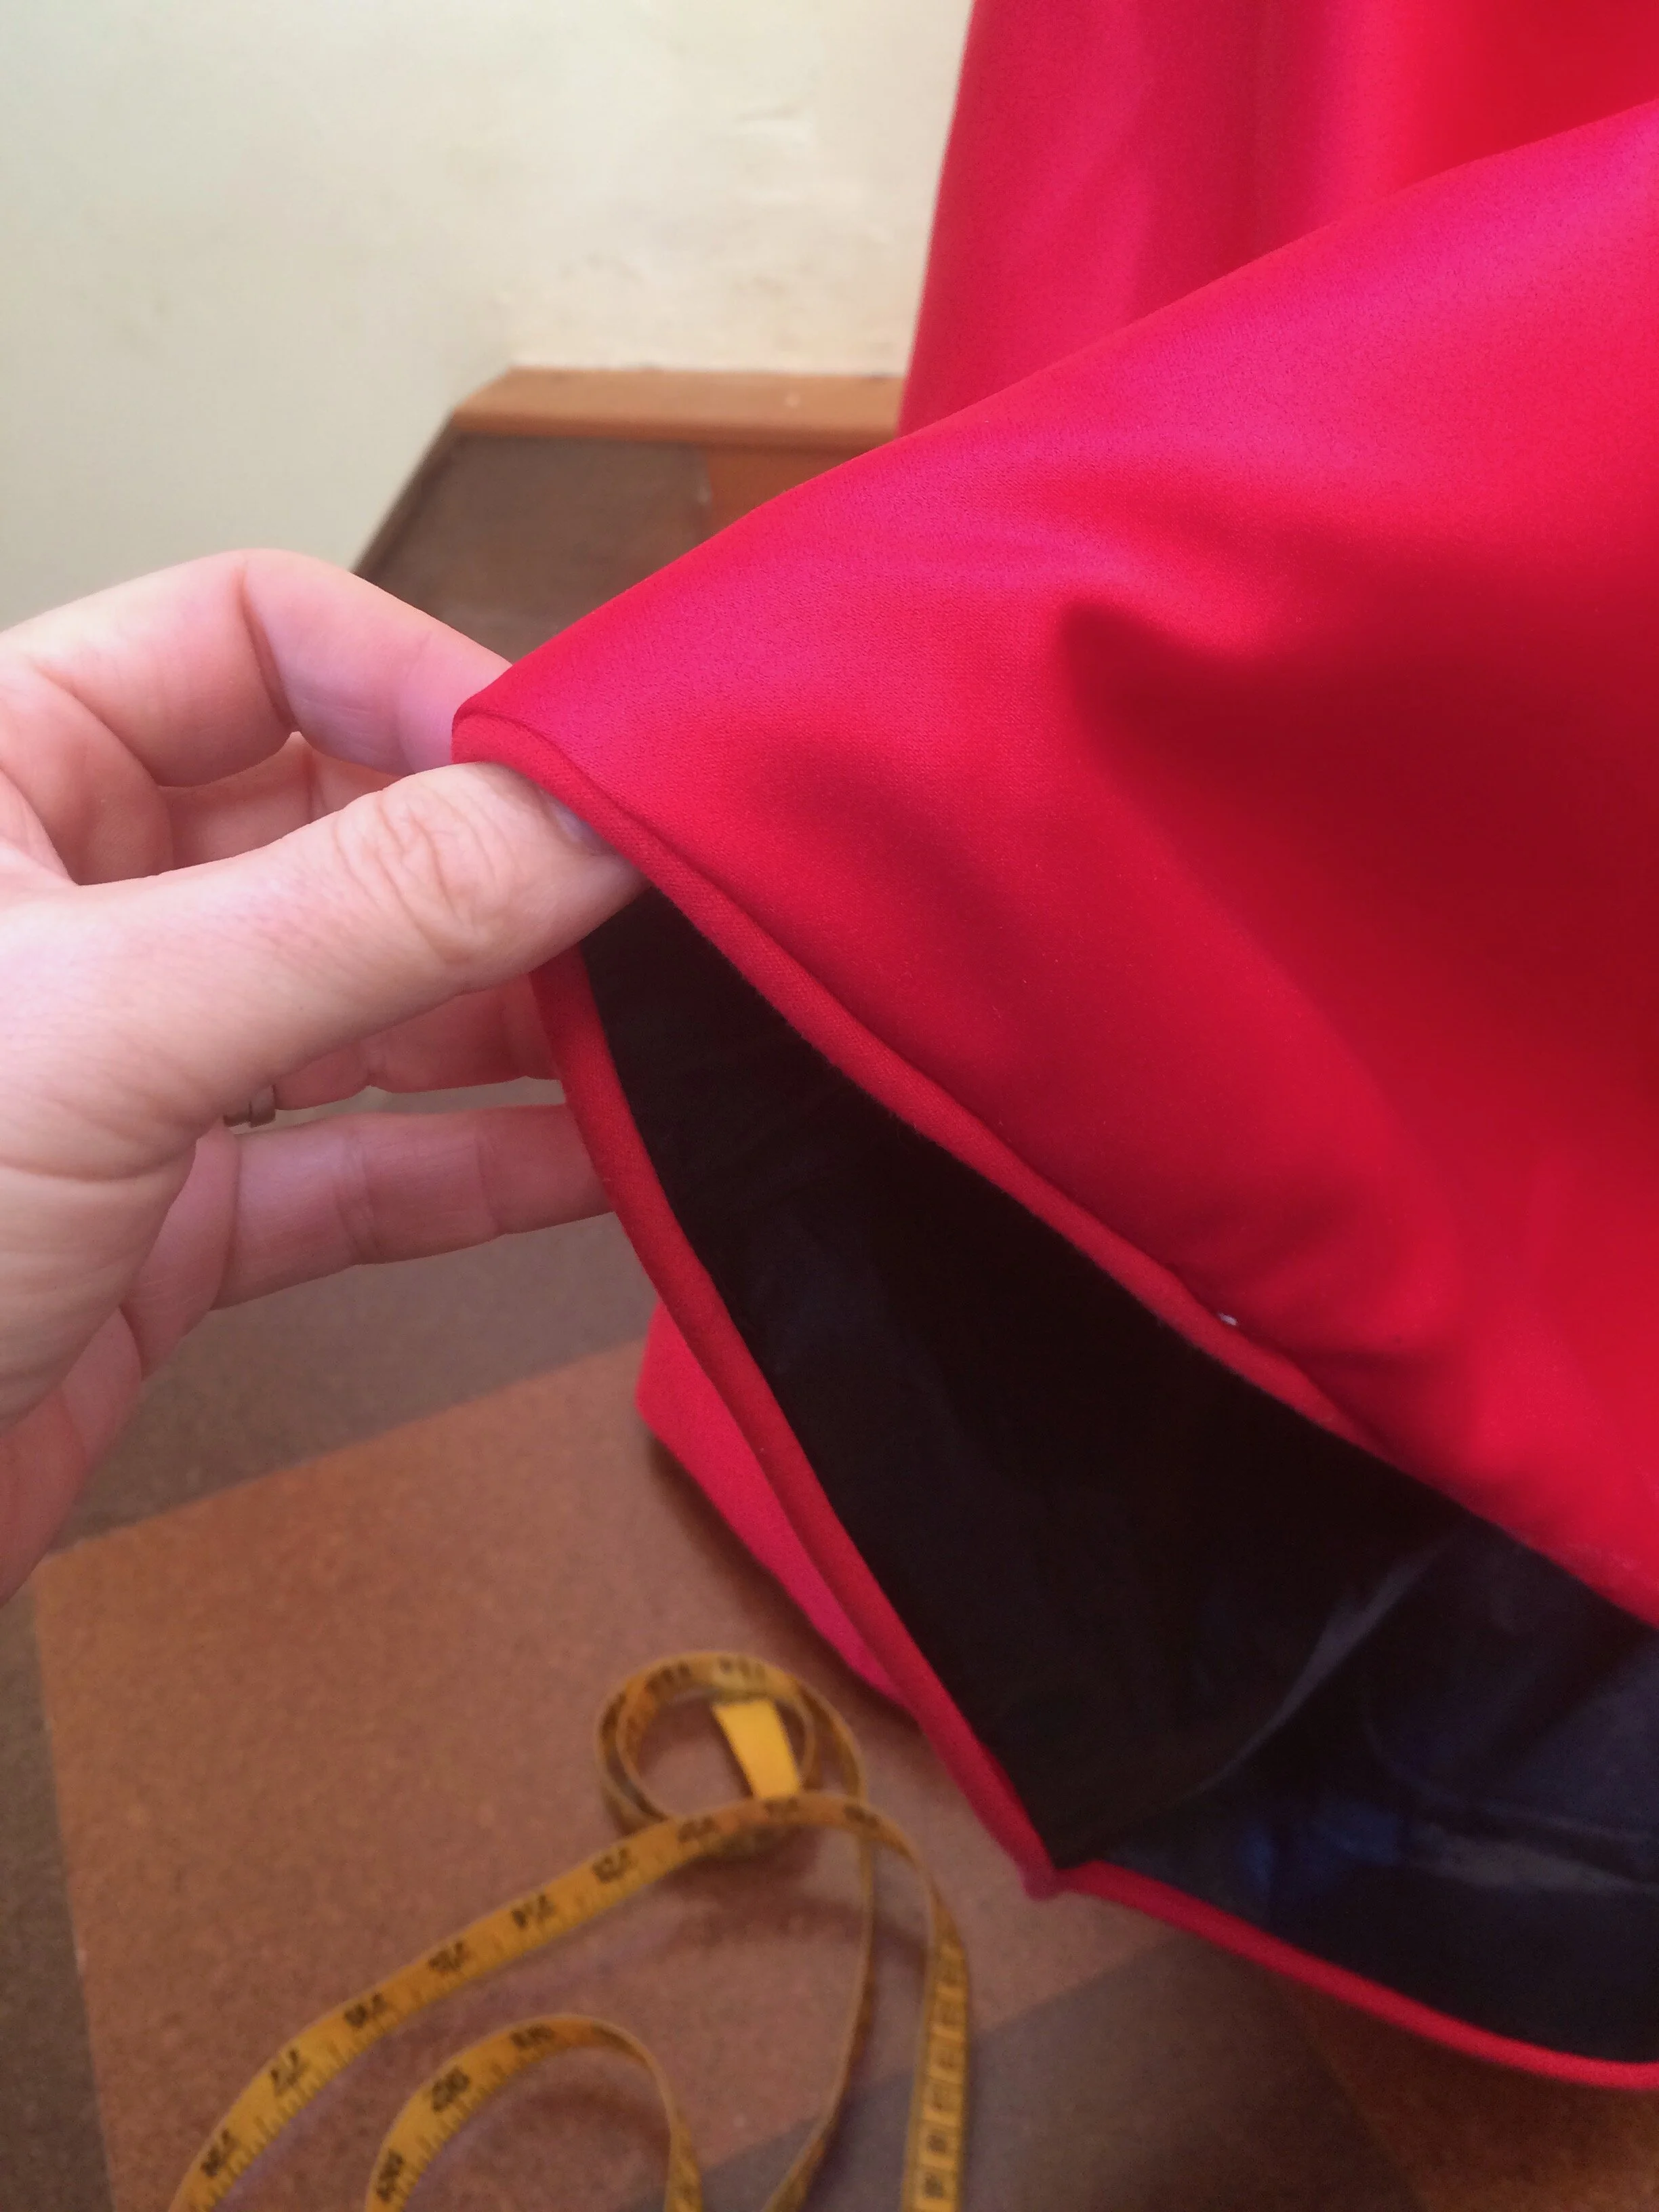
For the actual skirt I used red Peau De Soie Duchess Satin, a quite heavy polyester satin with a matt shine. This skirt is 'flat lined' where the lining is sewn to each panel which is then treated as a single piece of fabric. Since I had just made the toile, I just unpicked this, and attached each of the 5 cotton panels to a satin panel, after which I just treated each lined panel as if it were one piece of fabric.
The skirt has a deep (15cm) hem interfacing. I used cheap black satin with an iron-on interfacing, which worked beautifully. The interfacing gave an 'architectural' feel to the skirt as though it would stand up on its own, and any glimpses of the underside of the skirt are of the black satin - my old light blue sheets are quite hidden.
I added piping around the bottom hem to protect the dress. And to practice adding piping.
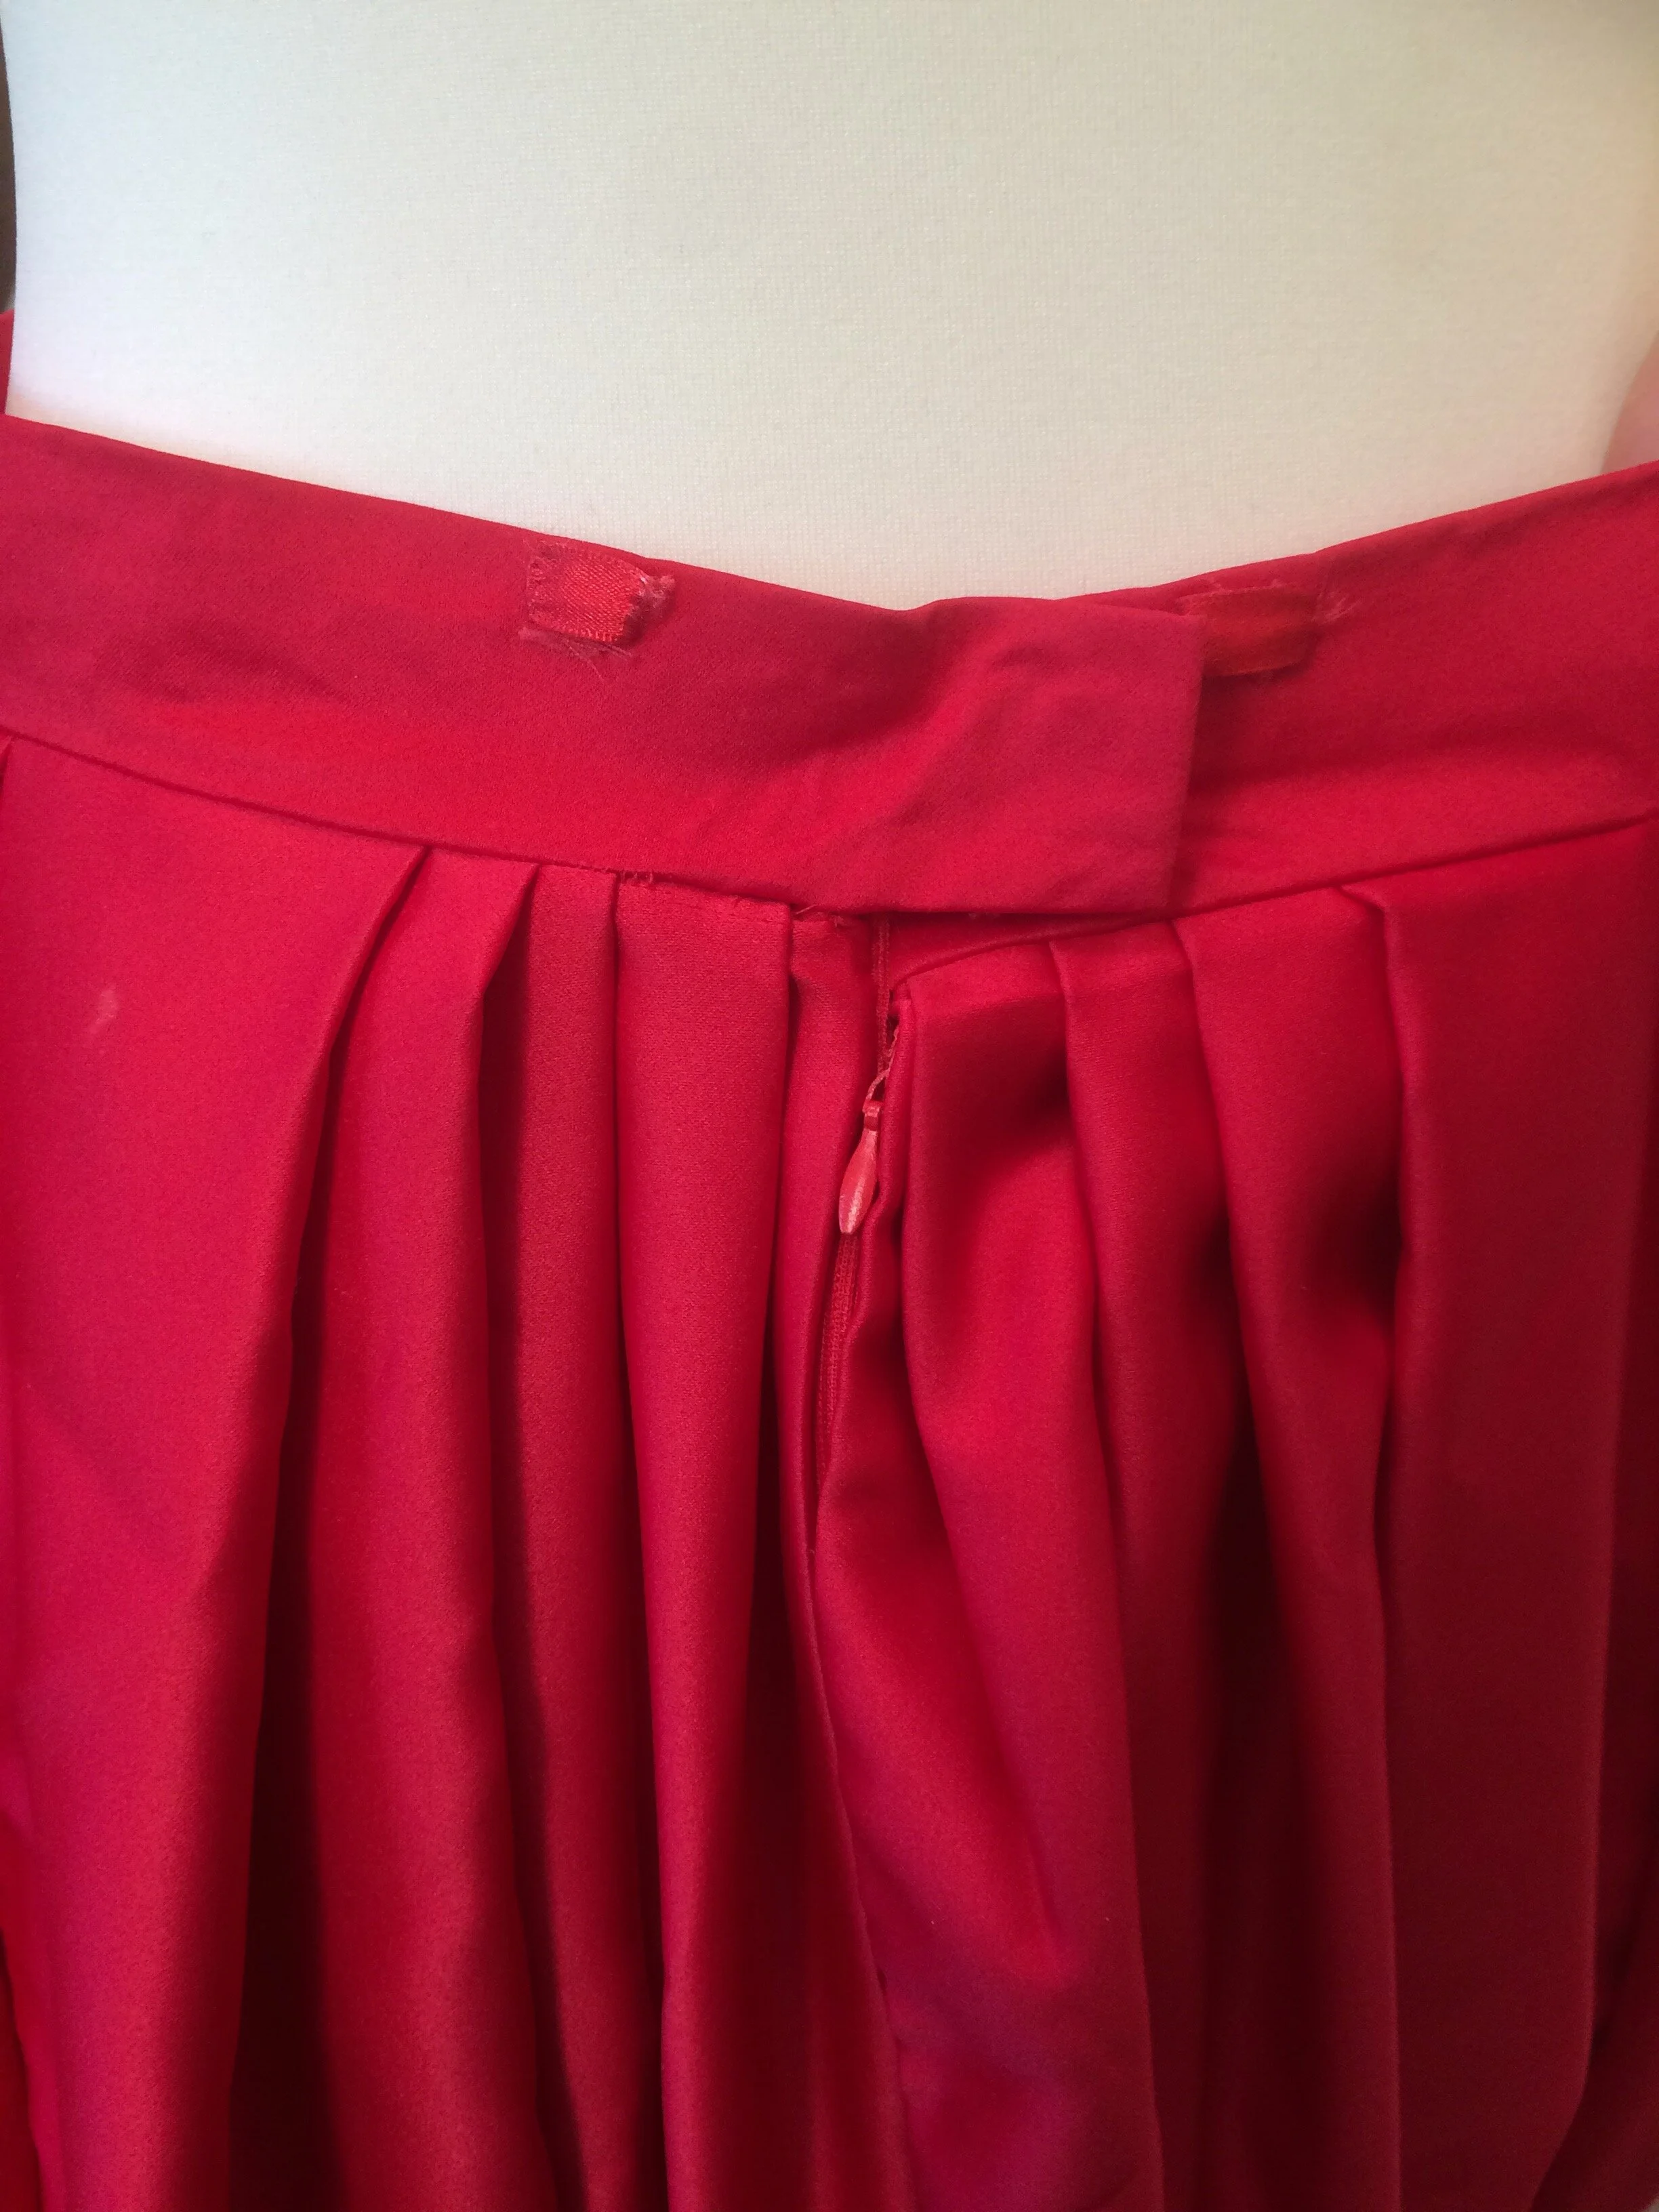
To fasten the skirt at the back there the pattern gives an historically accurate option (placket and hooks and eyes) but I used a hidden zip with a hook and bar fastener on the waistband. Because I wanted some practice adding hidden zips. The red ribbon loops are there to attach the train.
I am so happy with the skirt. It's easy to wear, the cotton lining is cool and comfortable, the piping and interfacing keeps the hem smart and protected.
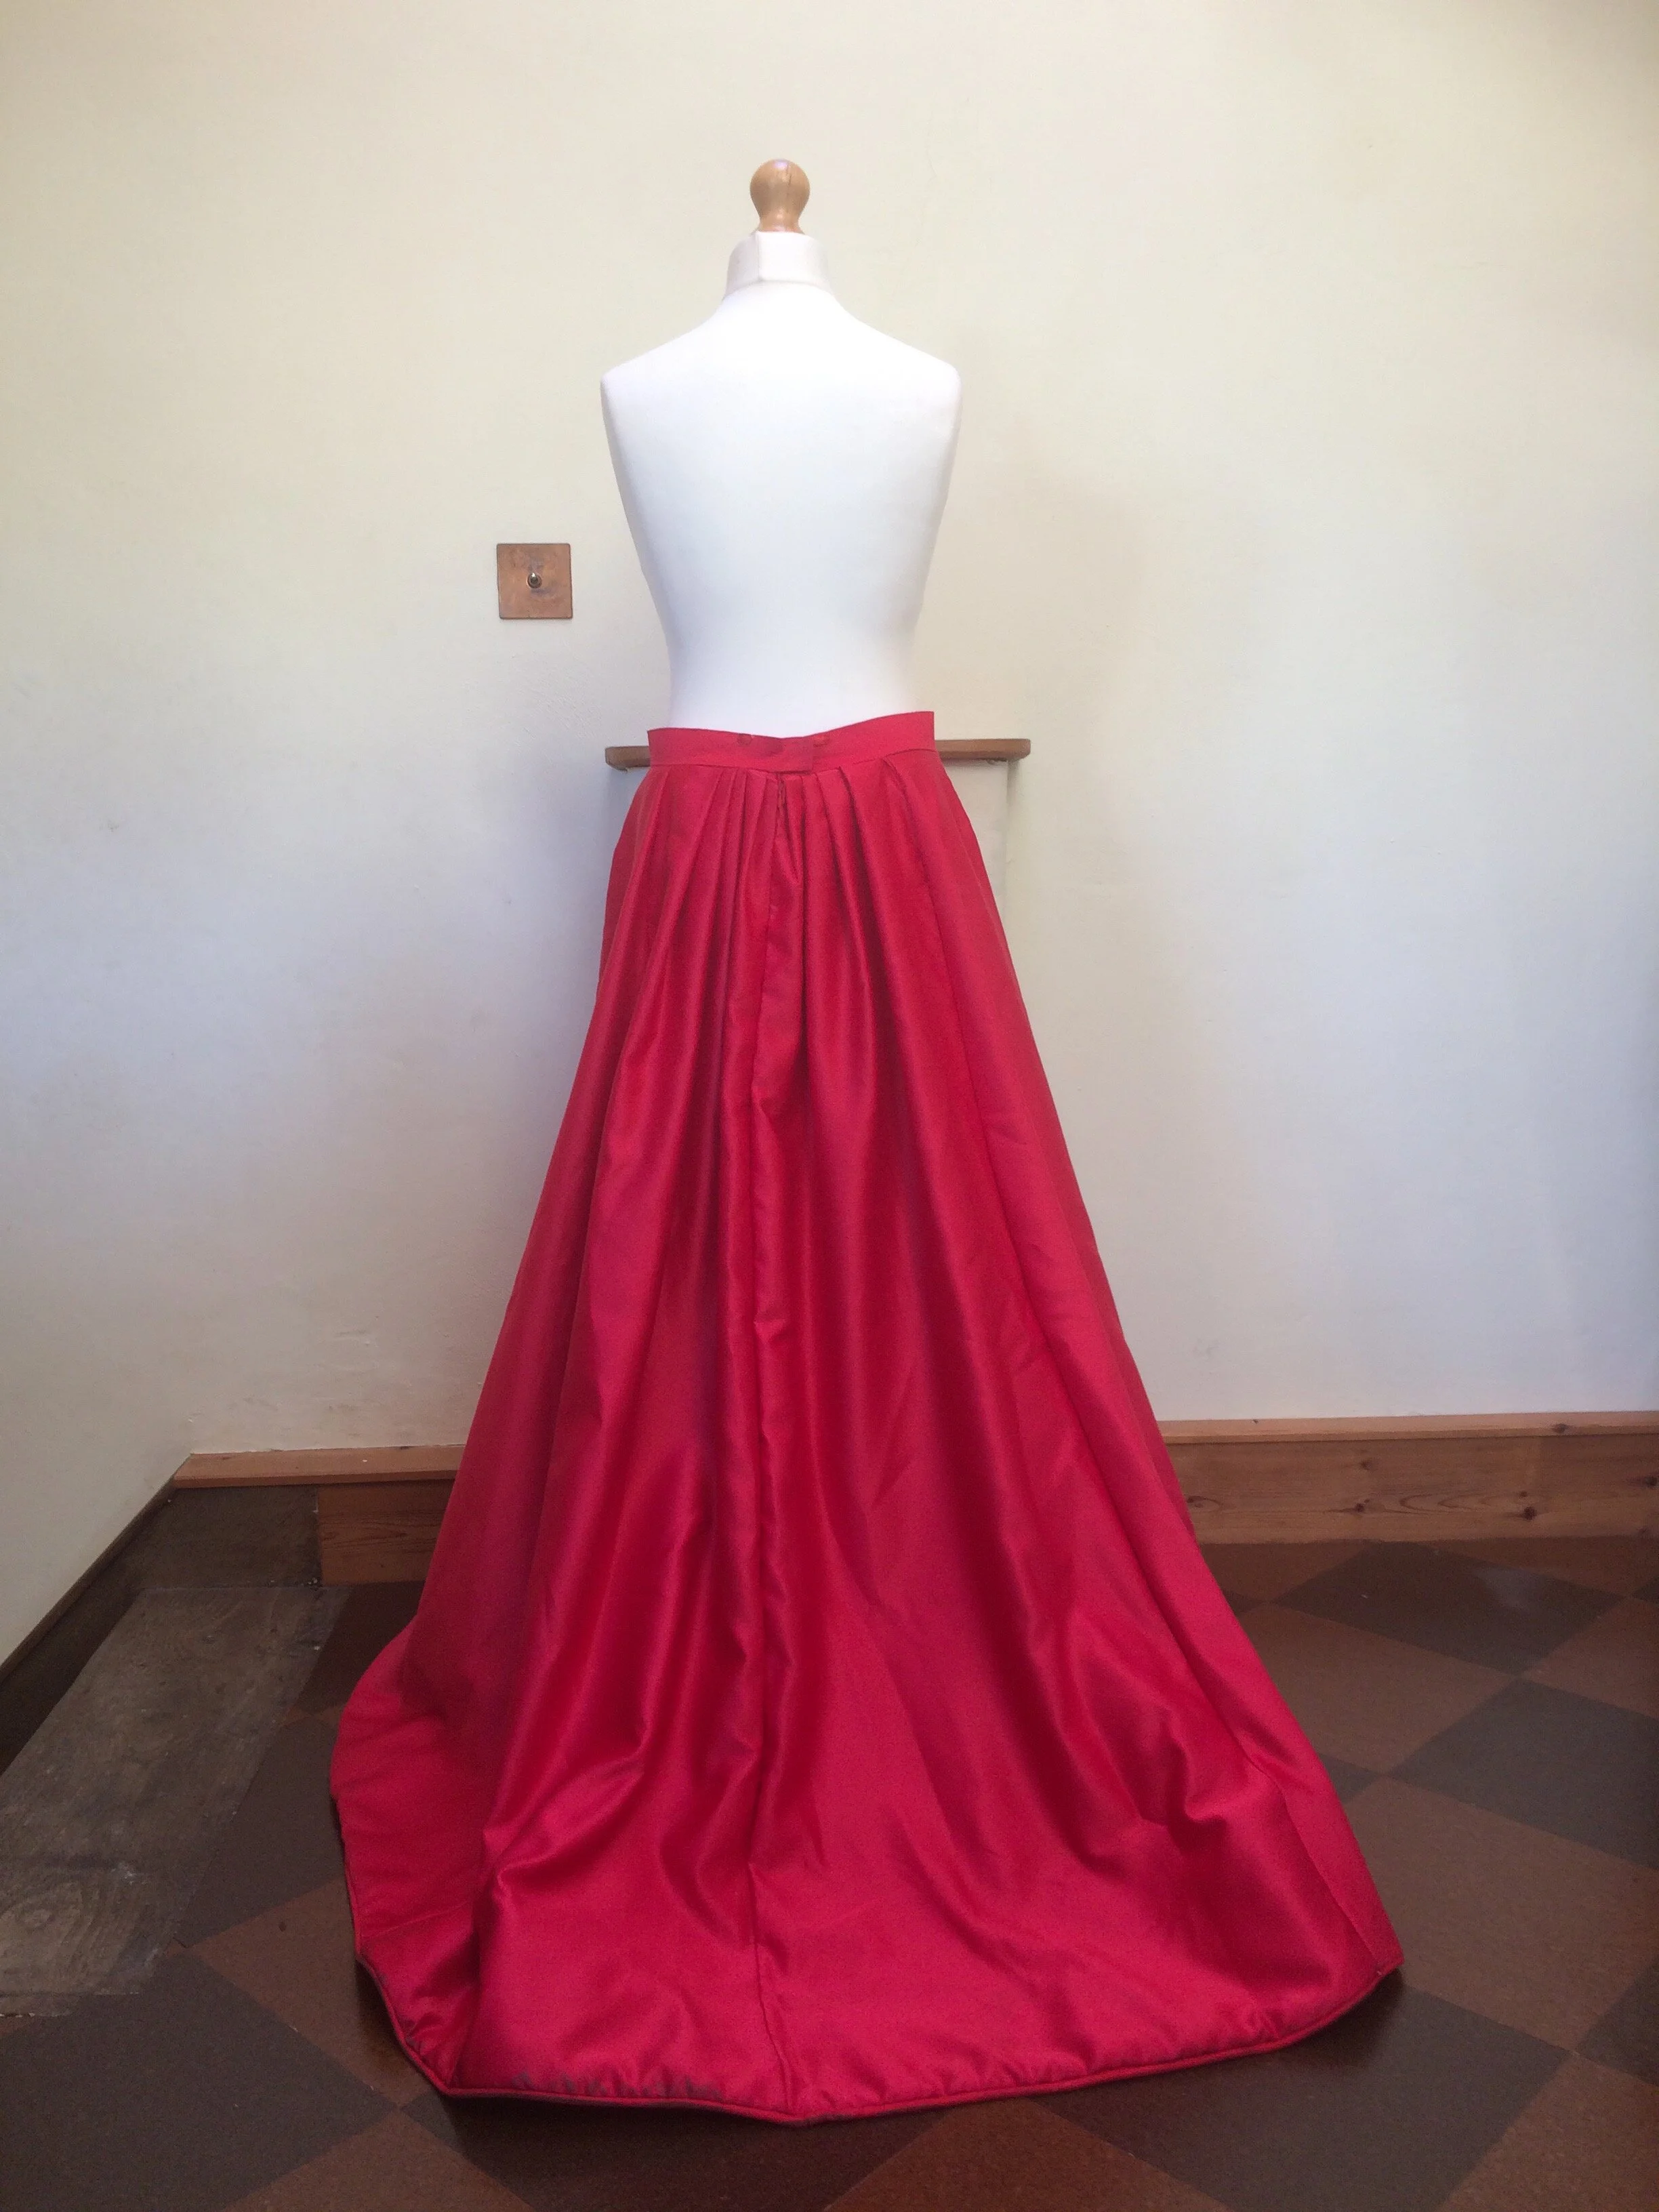
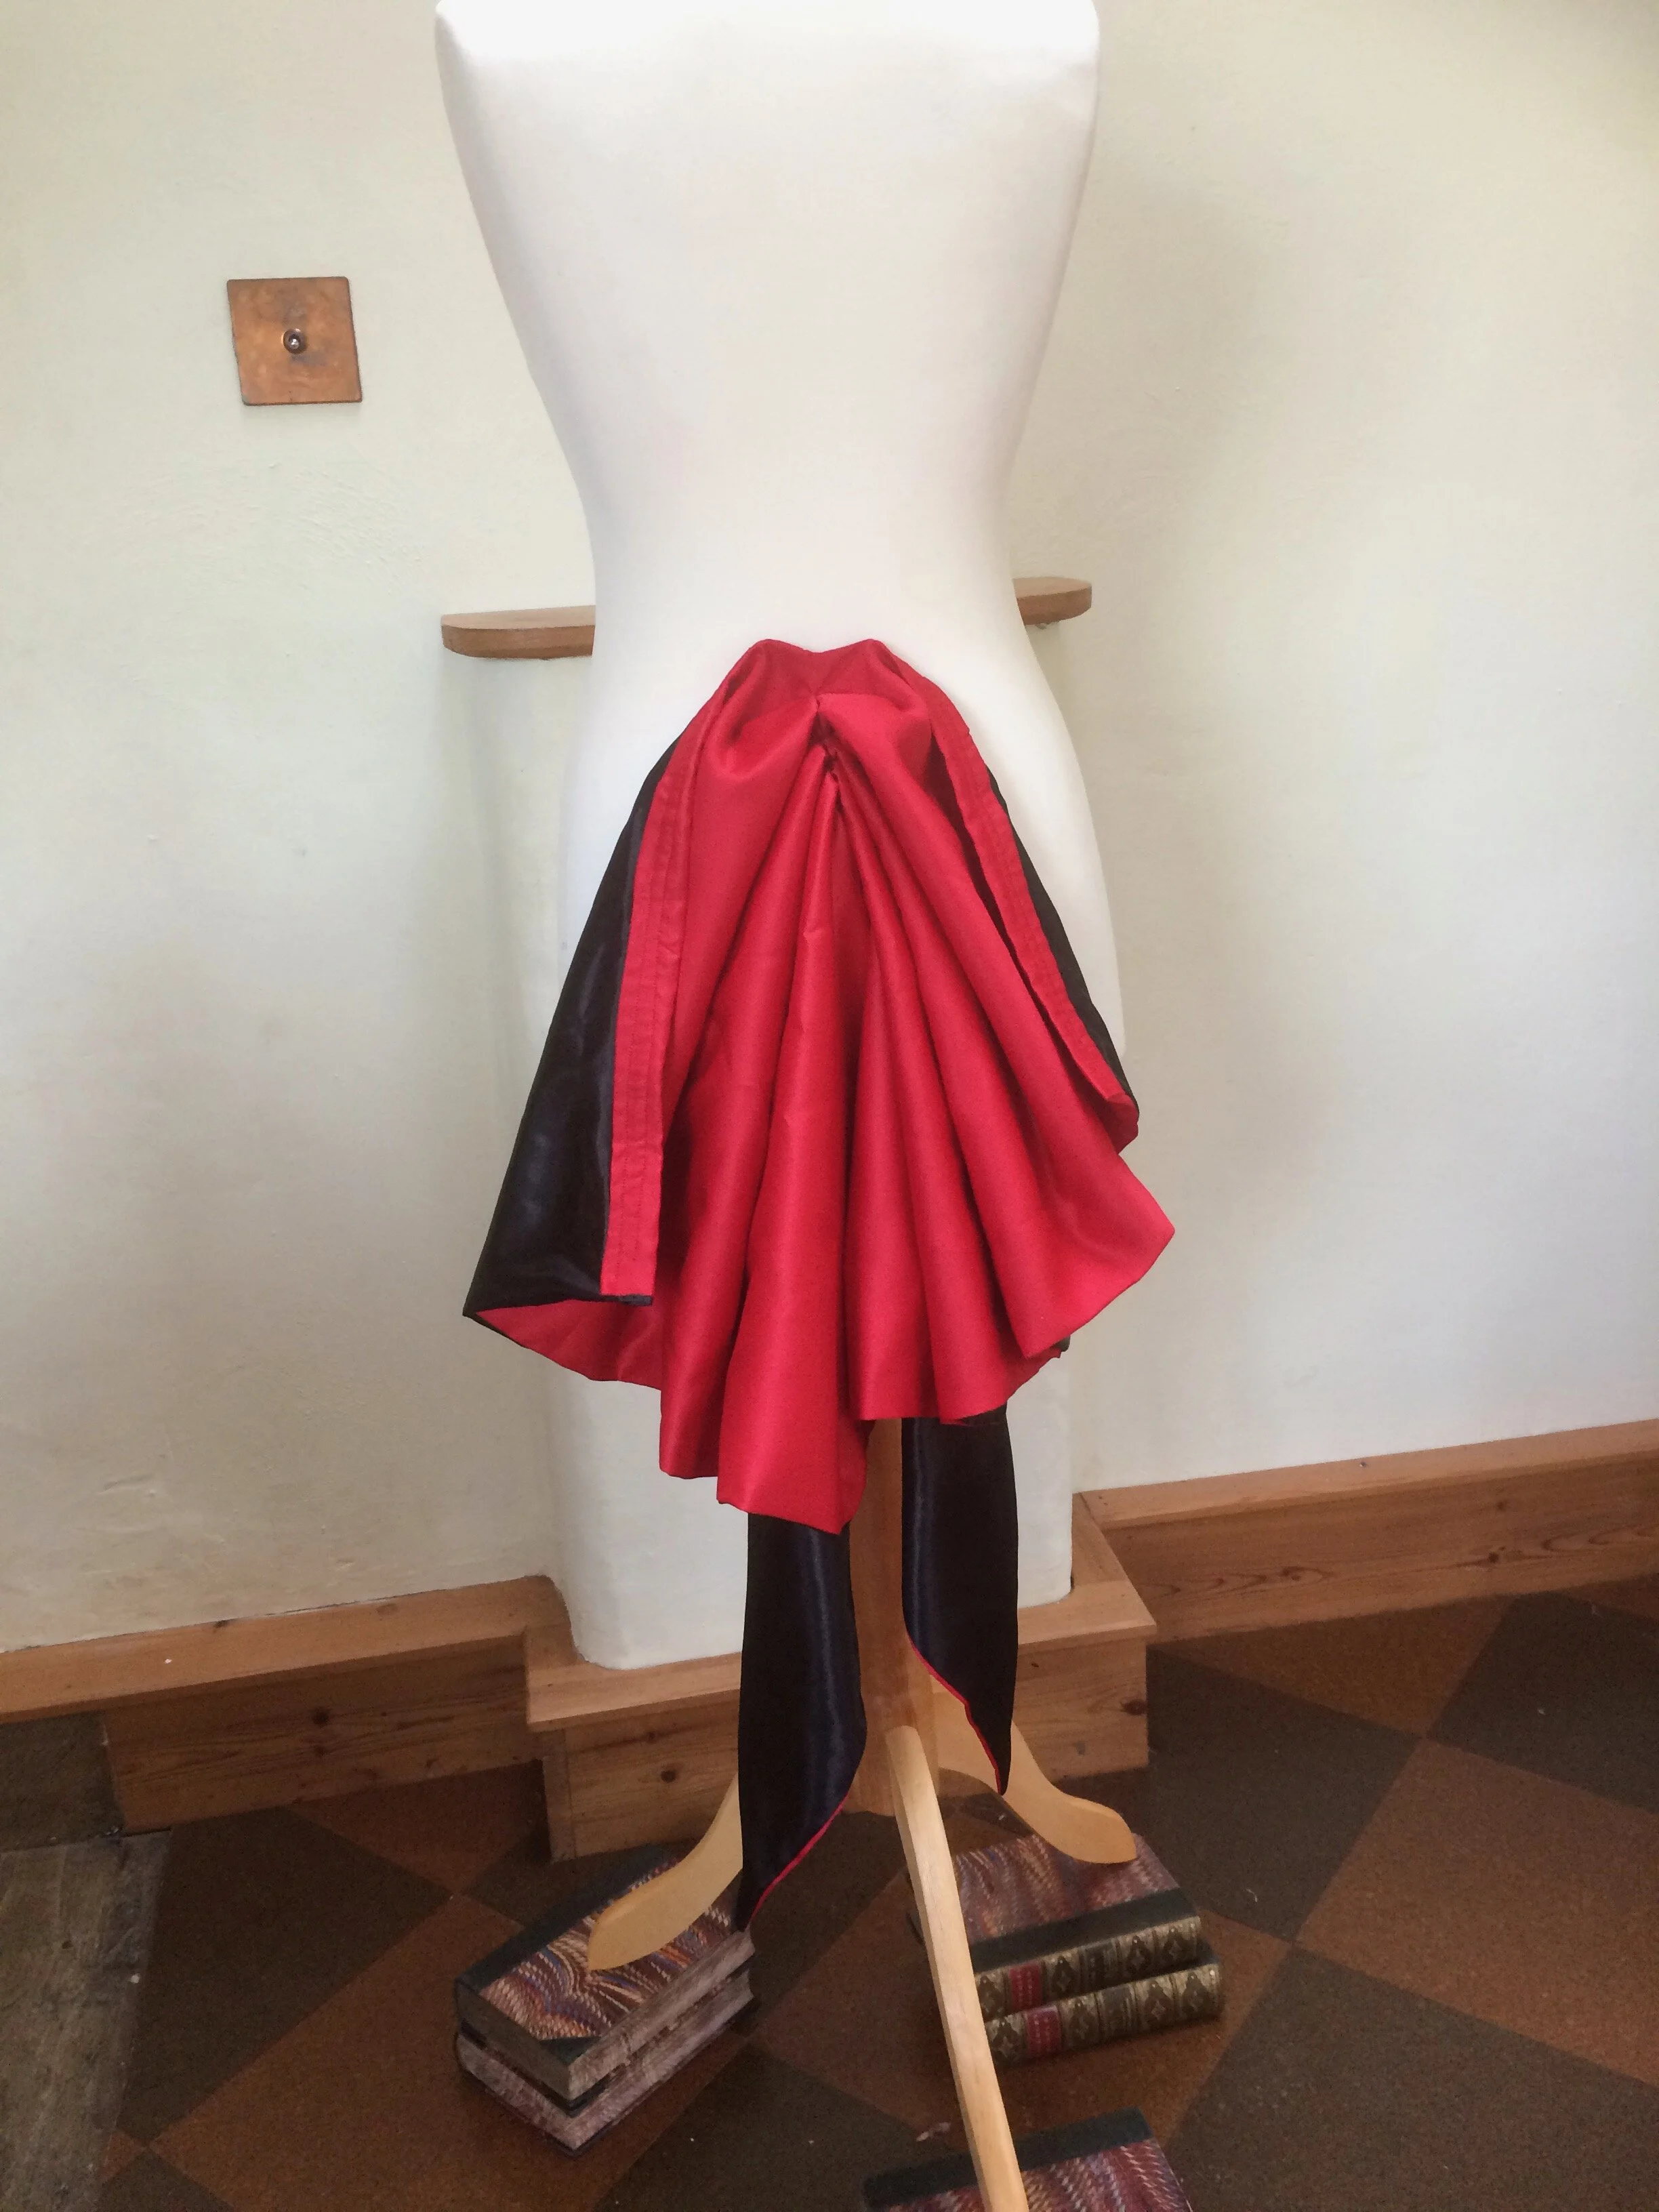
Train
As I was not aiming for total fidelity, the train was great fun and very easy. I made an 'old sheet' pattern totally by eye - cutting a rectangle and then cutting a fishtail into it. I pinned this up against the skirt, did some adjustments and ended up with a rectangle of 135 by 80cm with the fishtail of 38cm.
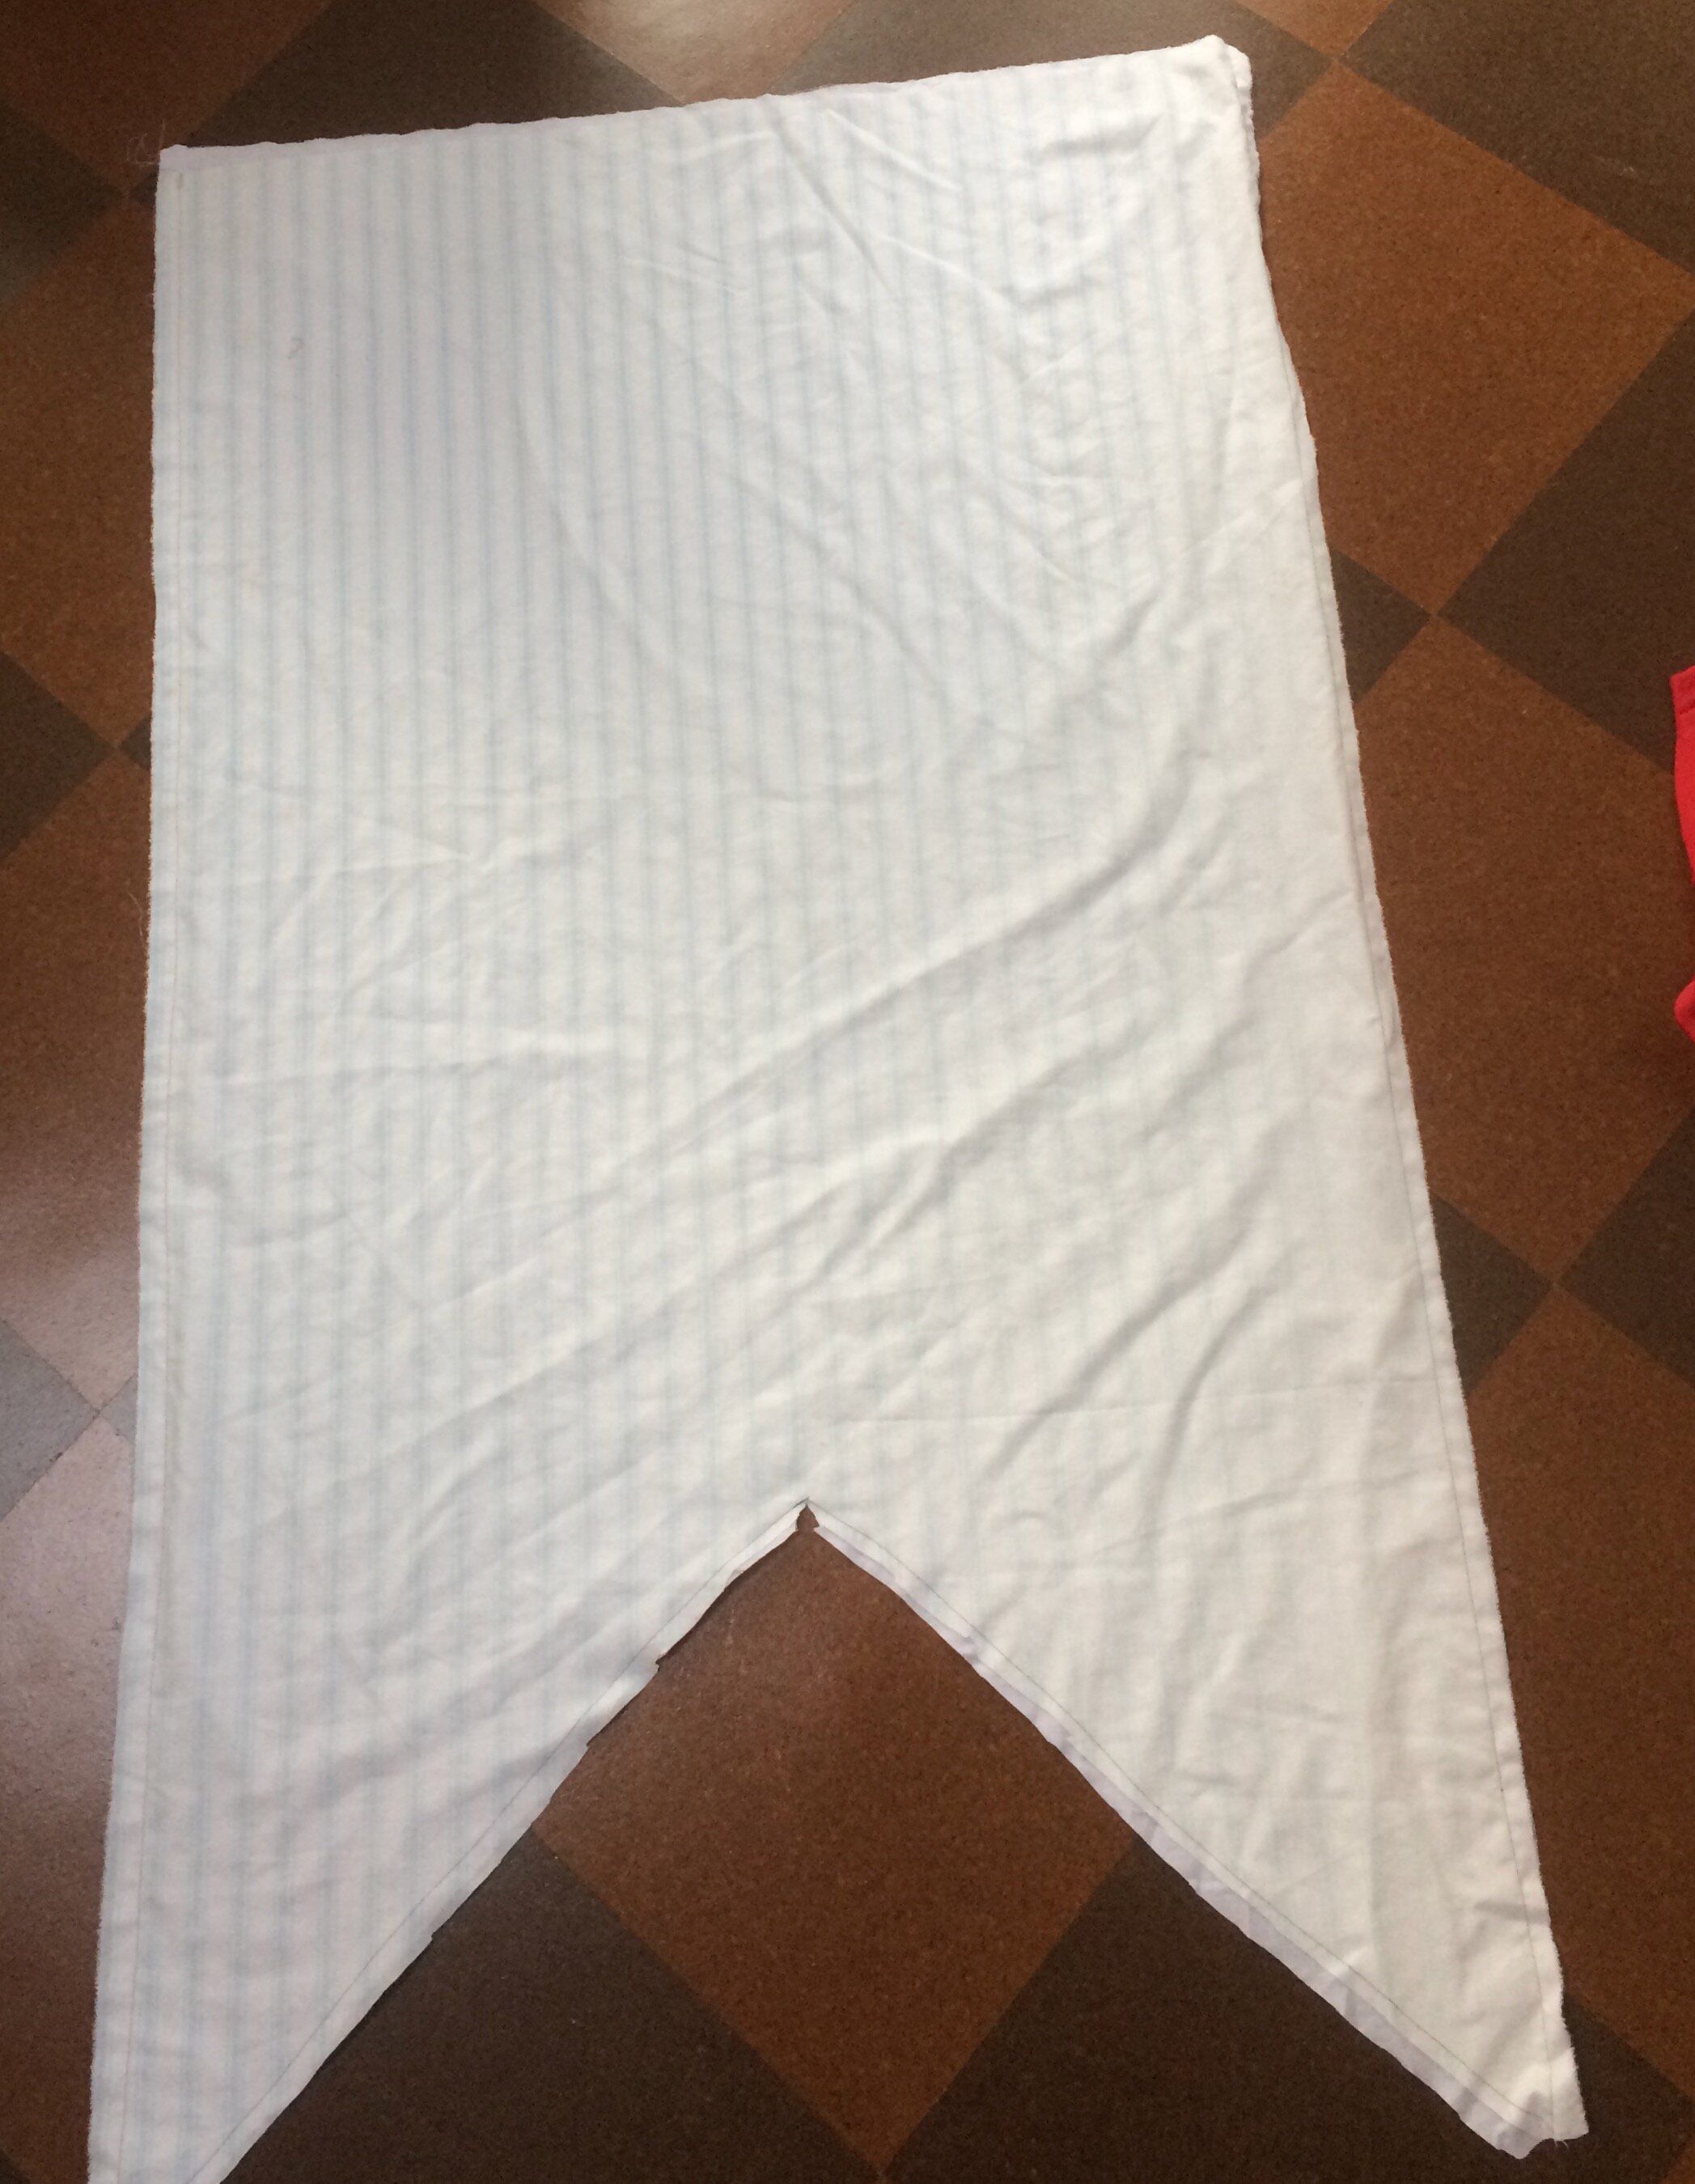
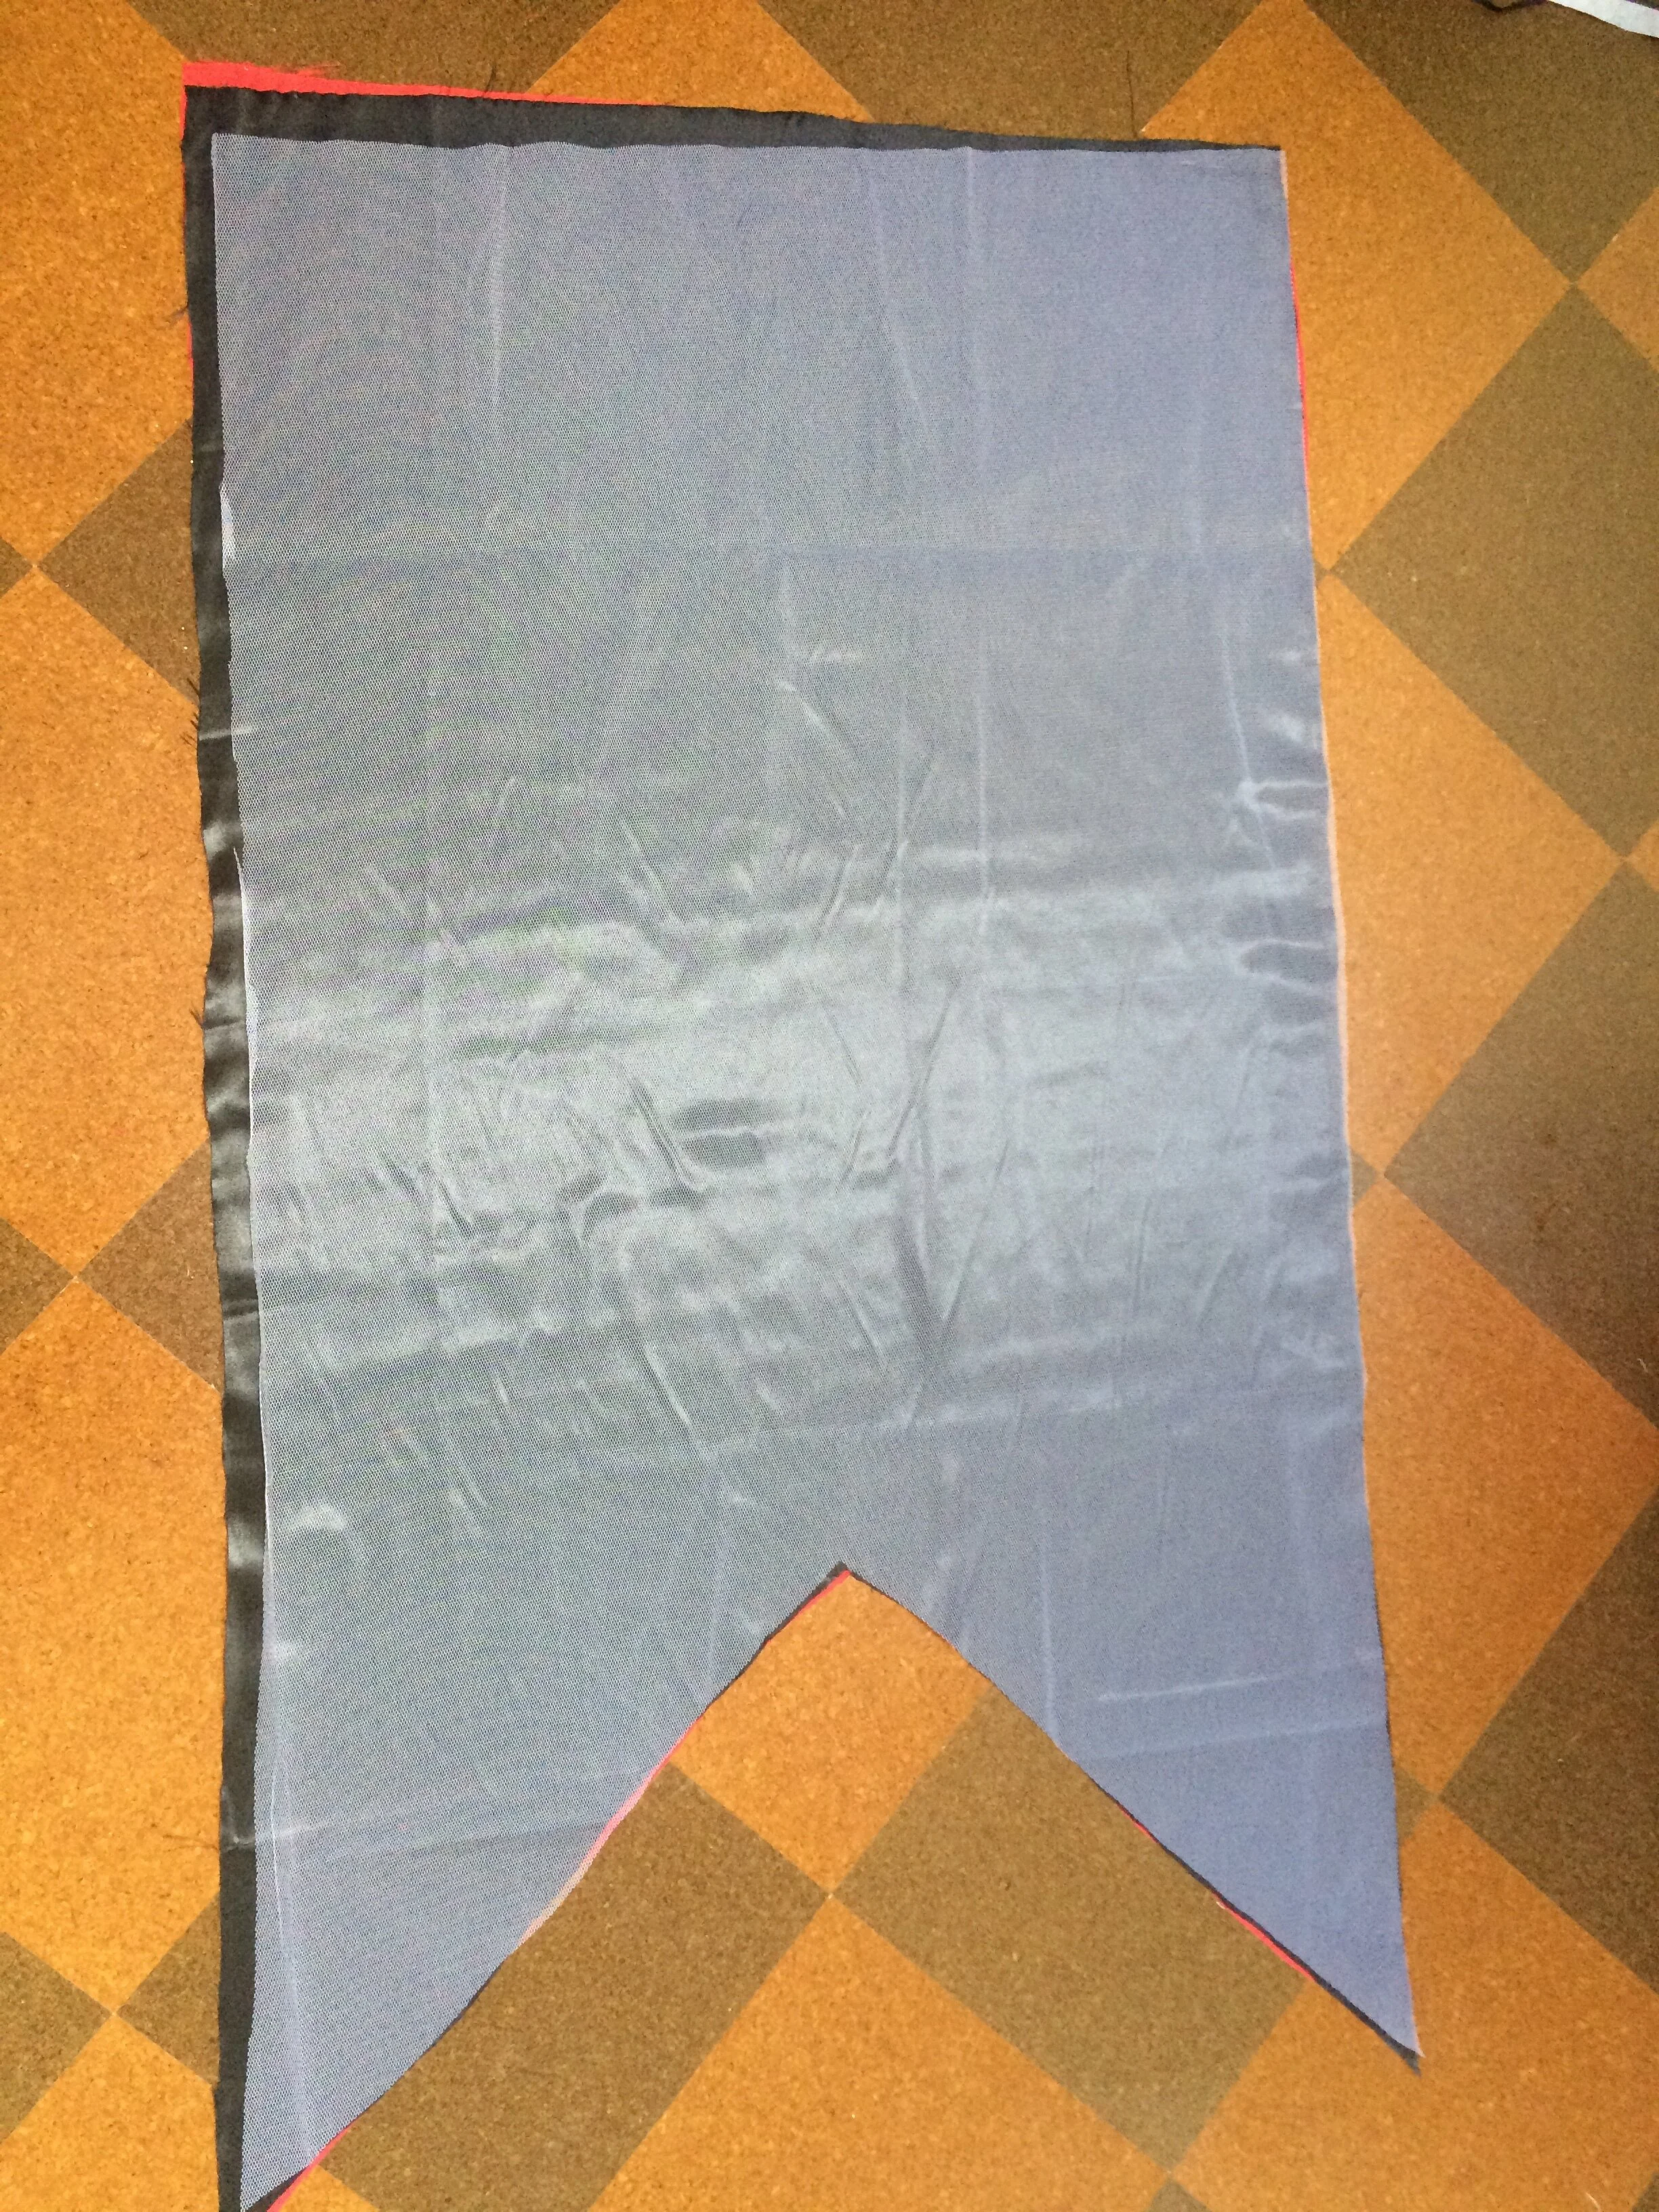


I then made this up, cutting the pattern in the red satin, the black satin, and also some dress net fabric to make the train a bit firmer. I sewed the black and red satin right sides together with the net in the middle, turned it right-way round and of course this resulted in the net on the outside. Gah. Unpicked it
Sewed it again with a sandwich of red satin, black satin, net, all wrong sides together, turned it right-way round and it was perfect.
I folded over the top raw edge and hemmed it, and then folded the top of the train into three deep concertina folds I used a needle and black thread to catch the centre of each thread together, and fasted the thread off at the top of the train, to give the butterfly fold effect. Pressing give the train sharper edges and locked in the folds that I wanted, letting the black lining show at the bottom.
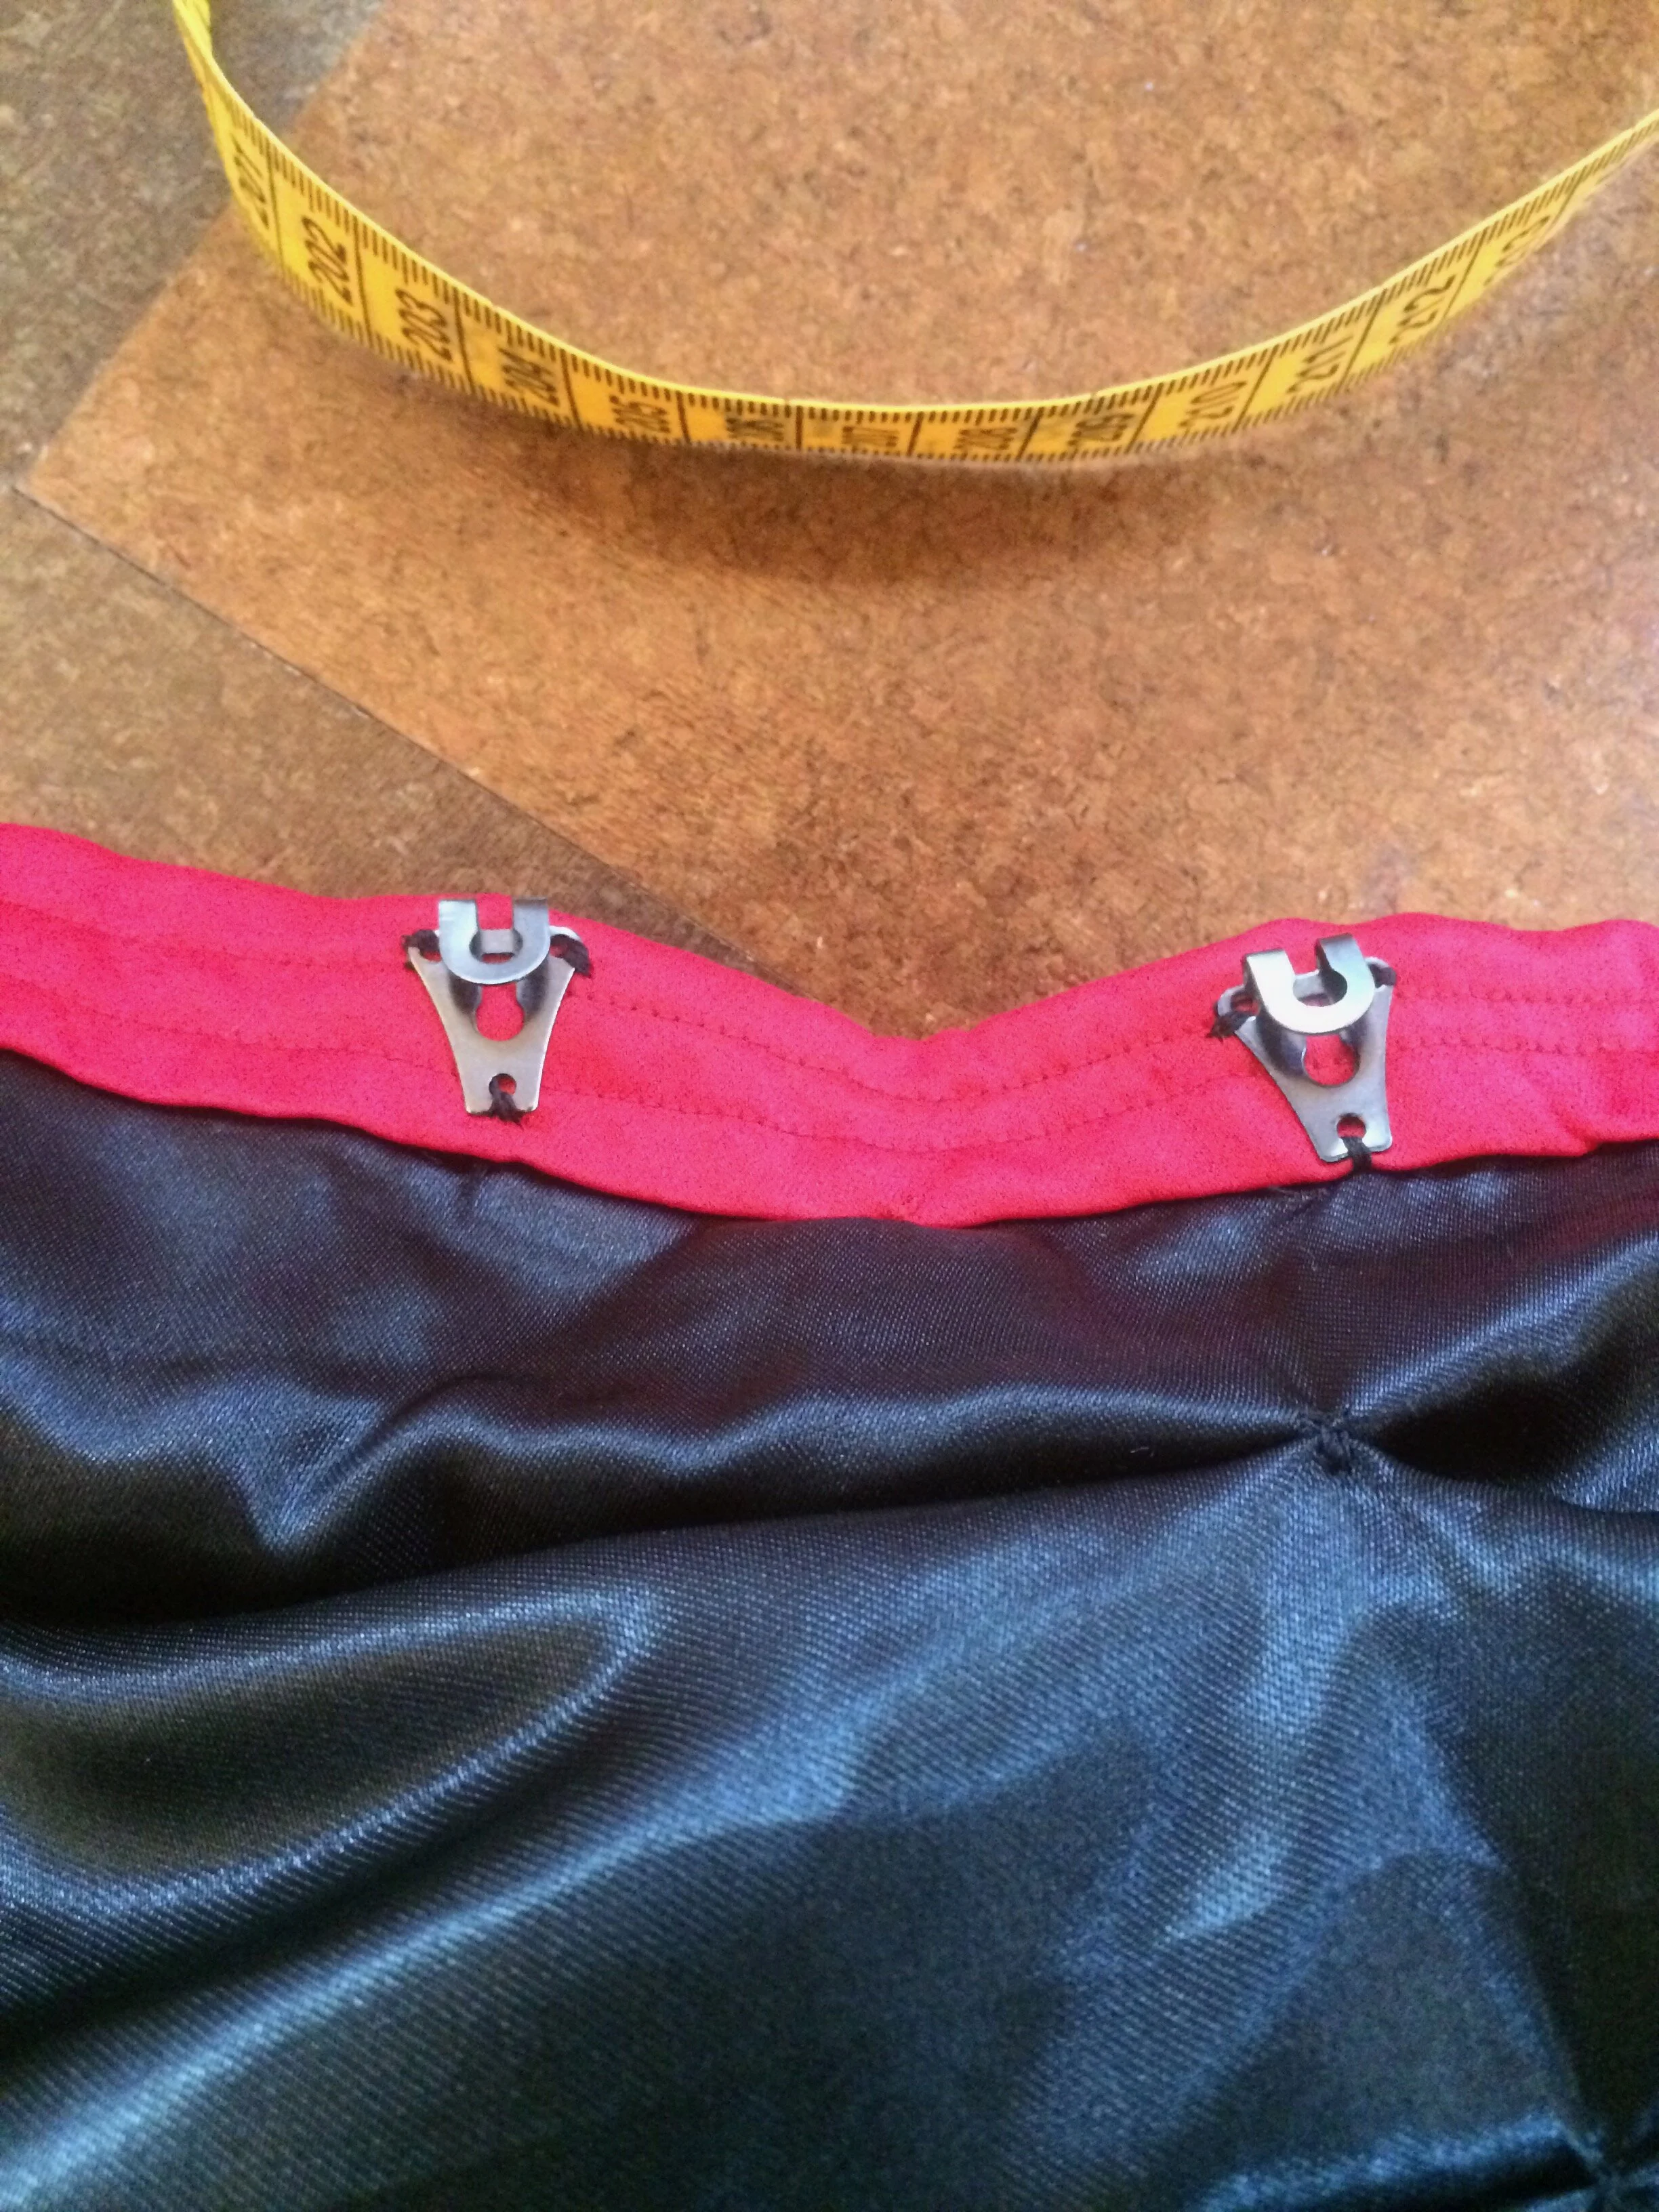
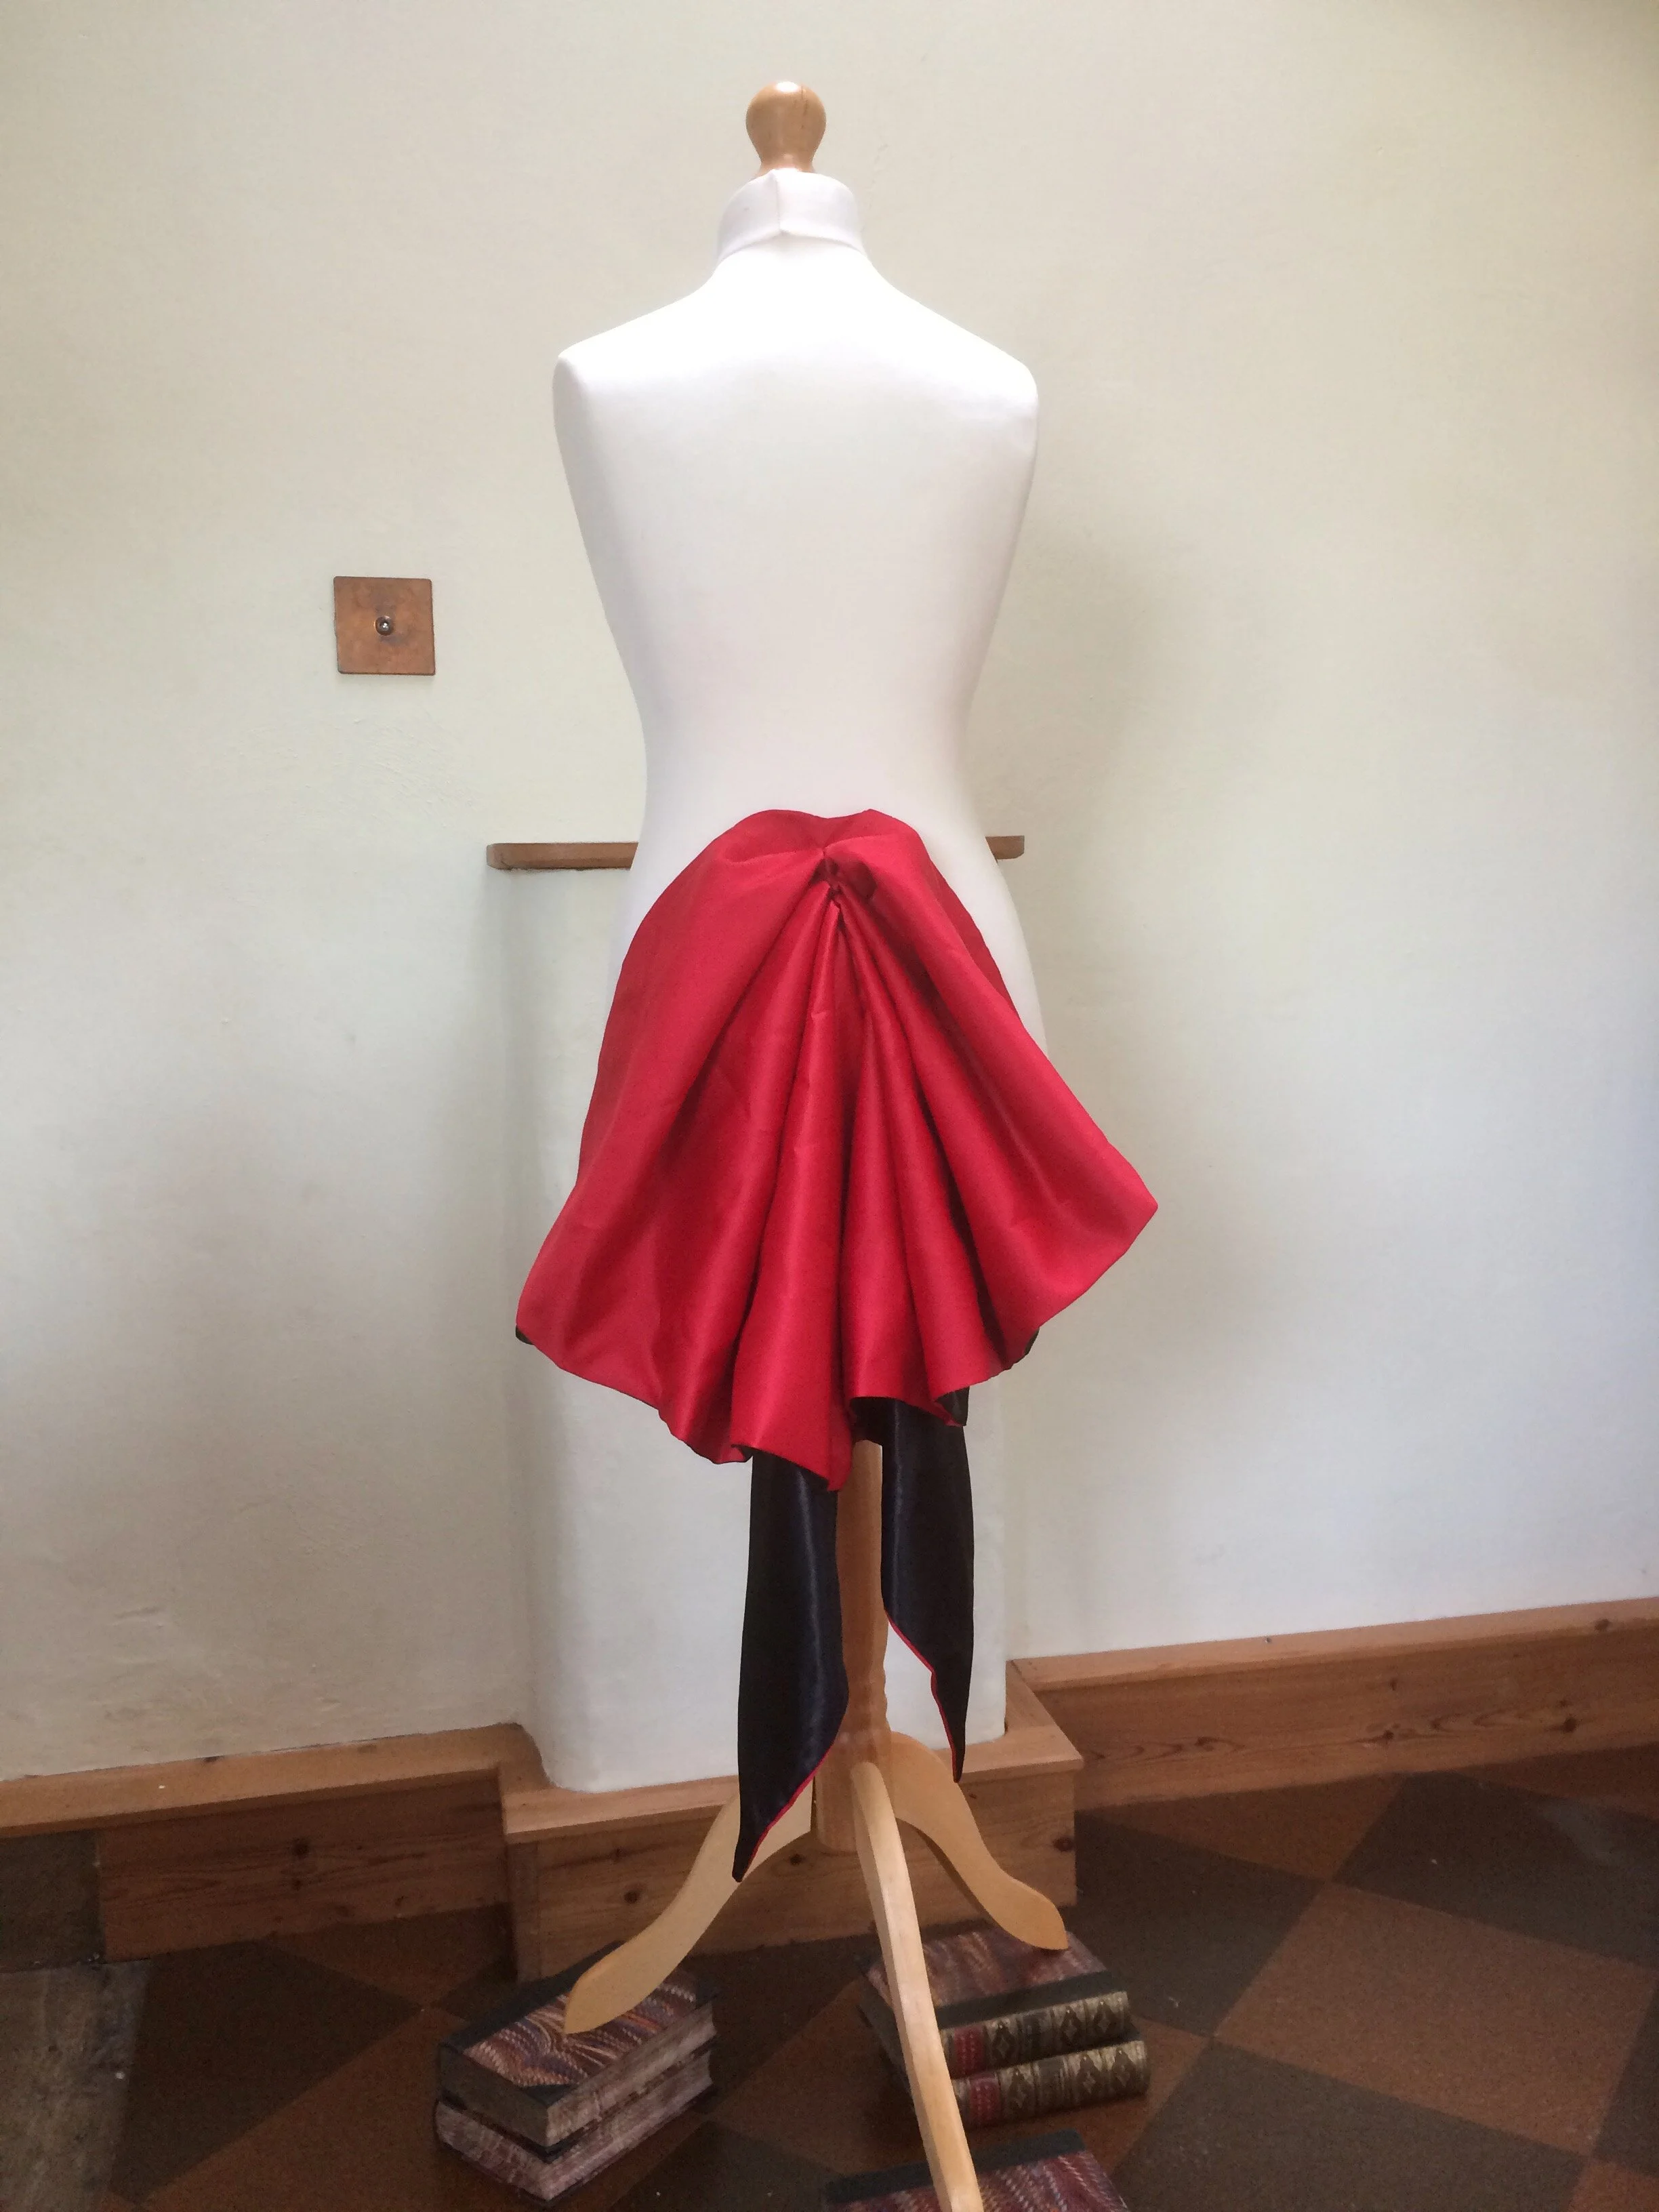


To attach the train to the skirt I added two hooks to the back of the train and two red ribbon loops to the back of the skirt, so it is easily detachable. This worked fine, although actually there was no need to remove the train and it would have been easier to just sew it to the back of the skirt.
Bodice
So I had now worked my way up to the bodice, which was by far the most complex part of the costume. I started off with the bodice from from Vogue sewing pattern 7427.

This is a corset-style bodice, so is worn on its own (rather than making up a separate corset and bodice).
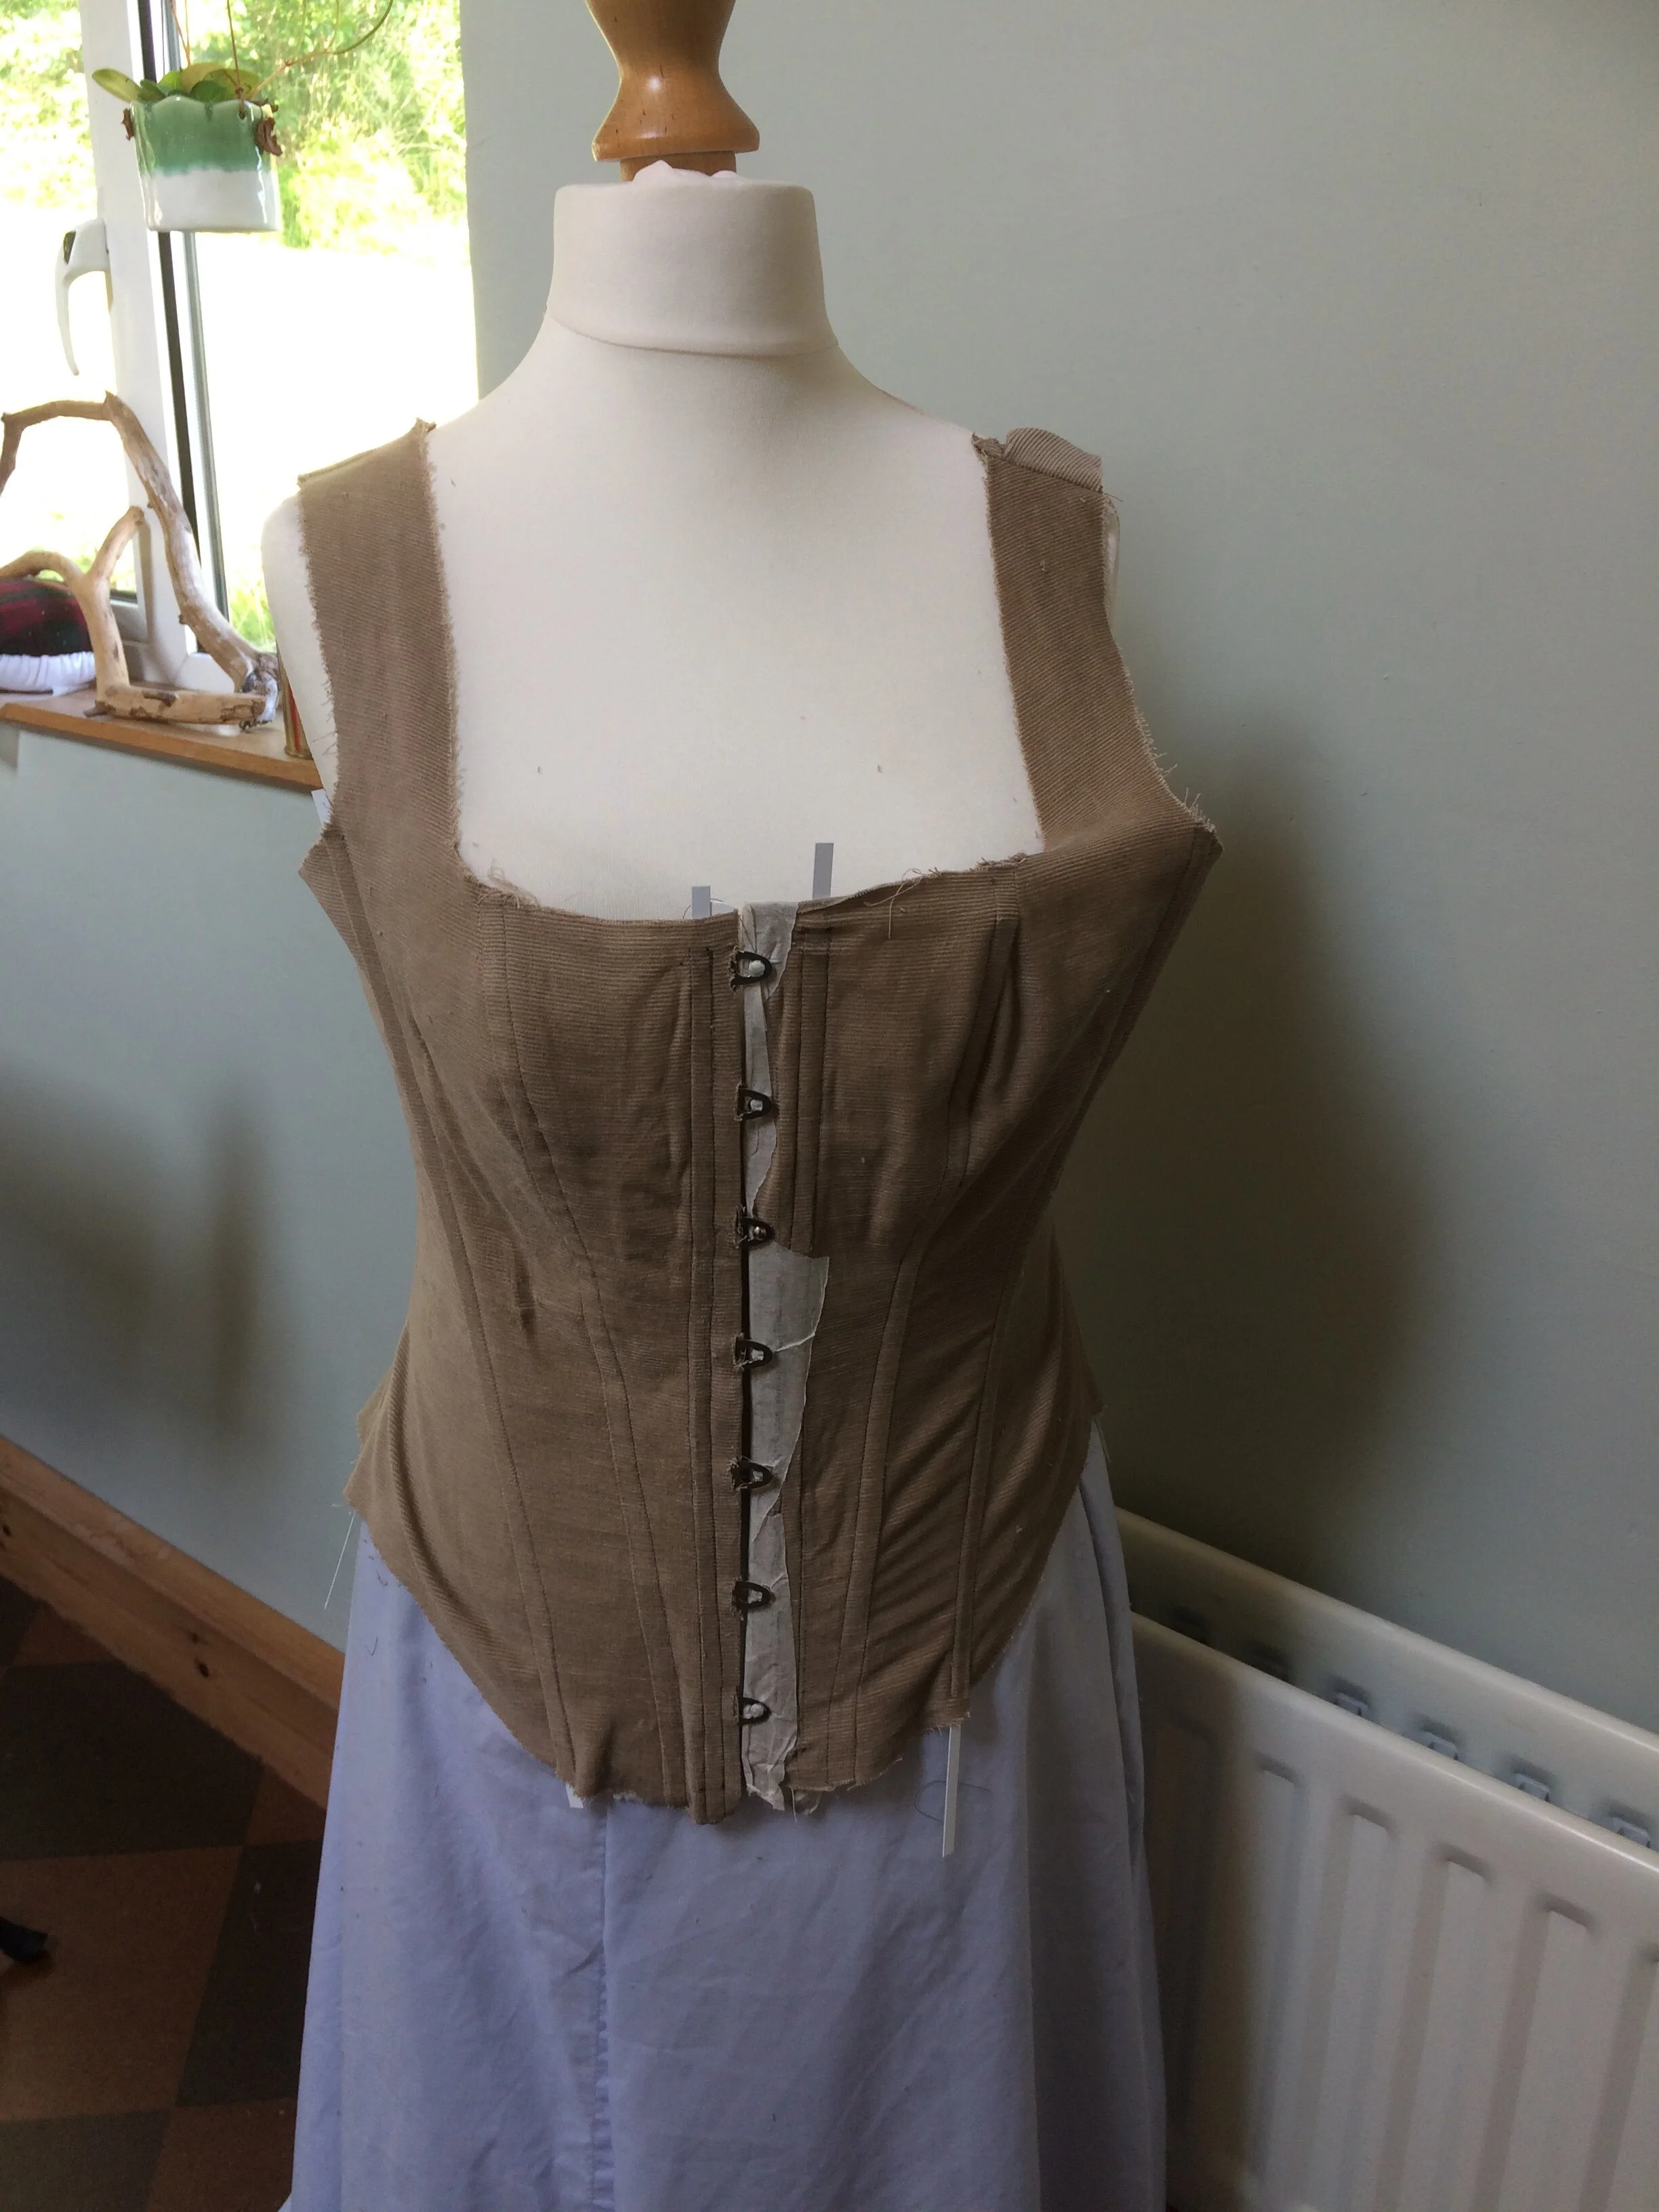
I was very methodical making the bodice (my first ever attempt at corset making) and took it very slowly and carefully.
The fist thing that I did was make a version in scrap corduroy fabric, following the pattern exactly. I knew that I'd be adjusting it both for fit and for shape, but I wanted a working toile to start with before I started mucking around with it. I had bought a metal busk for the front fastening, which I added to the toile to make it as accurate as possible. I also added some metal boning, which you can see sticking out of the bodice as I didn’t want to cut it accurately until I had the pattern correct.
I adjusted the toile for size, pinching and pinning it to reduce the size (needed everywhere apart from the bust as I'd deliberately chosen a large size) and cutting the fabric, stretching it open and tacking in a patch to increase the size (that'll be the bust...).
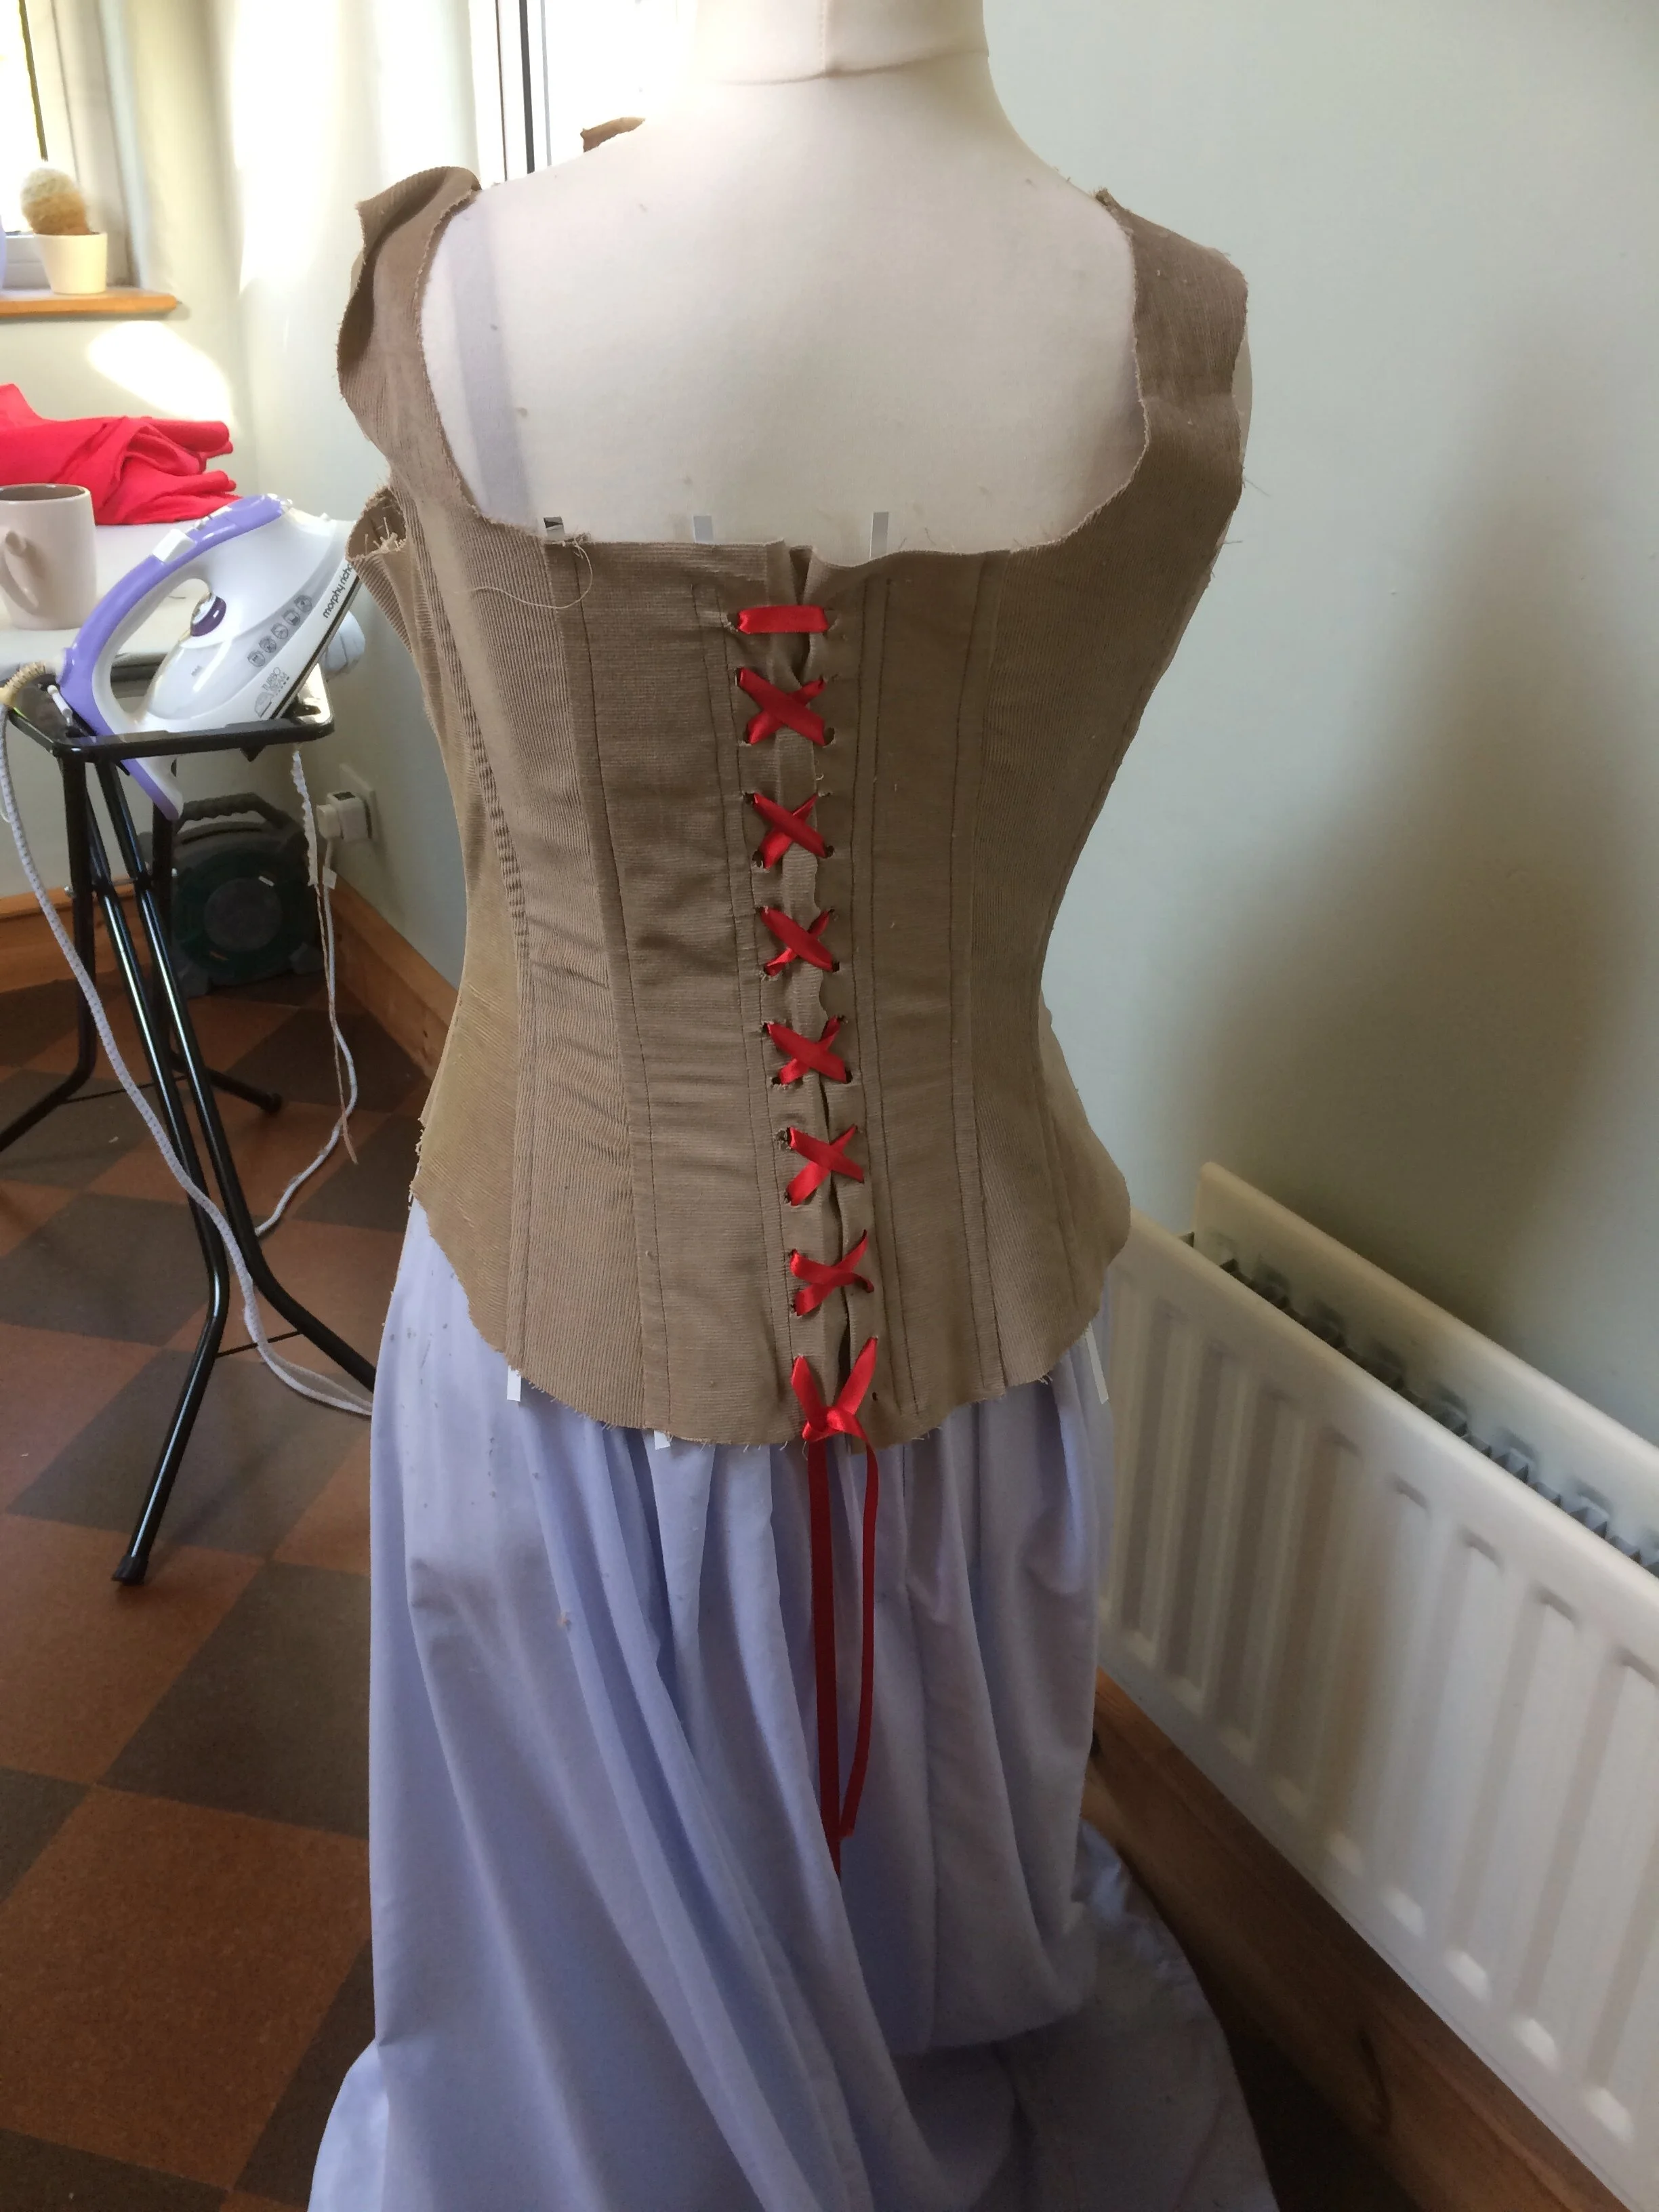
I also wanted to change the shape of the bodice - I wanted to give it more of a point at the front bottom, and to make the shoulder straps thicker and to bring them in in more of a v-shape at the centre, rather than the very square shape of the original.
Since I was changing so much, I made up a second toile with the new size and some rough estimates of the new shape, tried this on and made some more size and shape adjustments.
I made a MAJOR mistake here; I’d used a tough corduroy with no stretch for my first toile, but had run out, so for this second one I used my old standby, cotton bedsheets. This was not a good idea.
Now for the real thing...
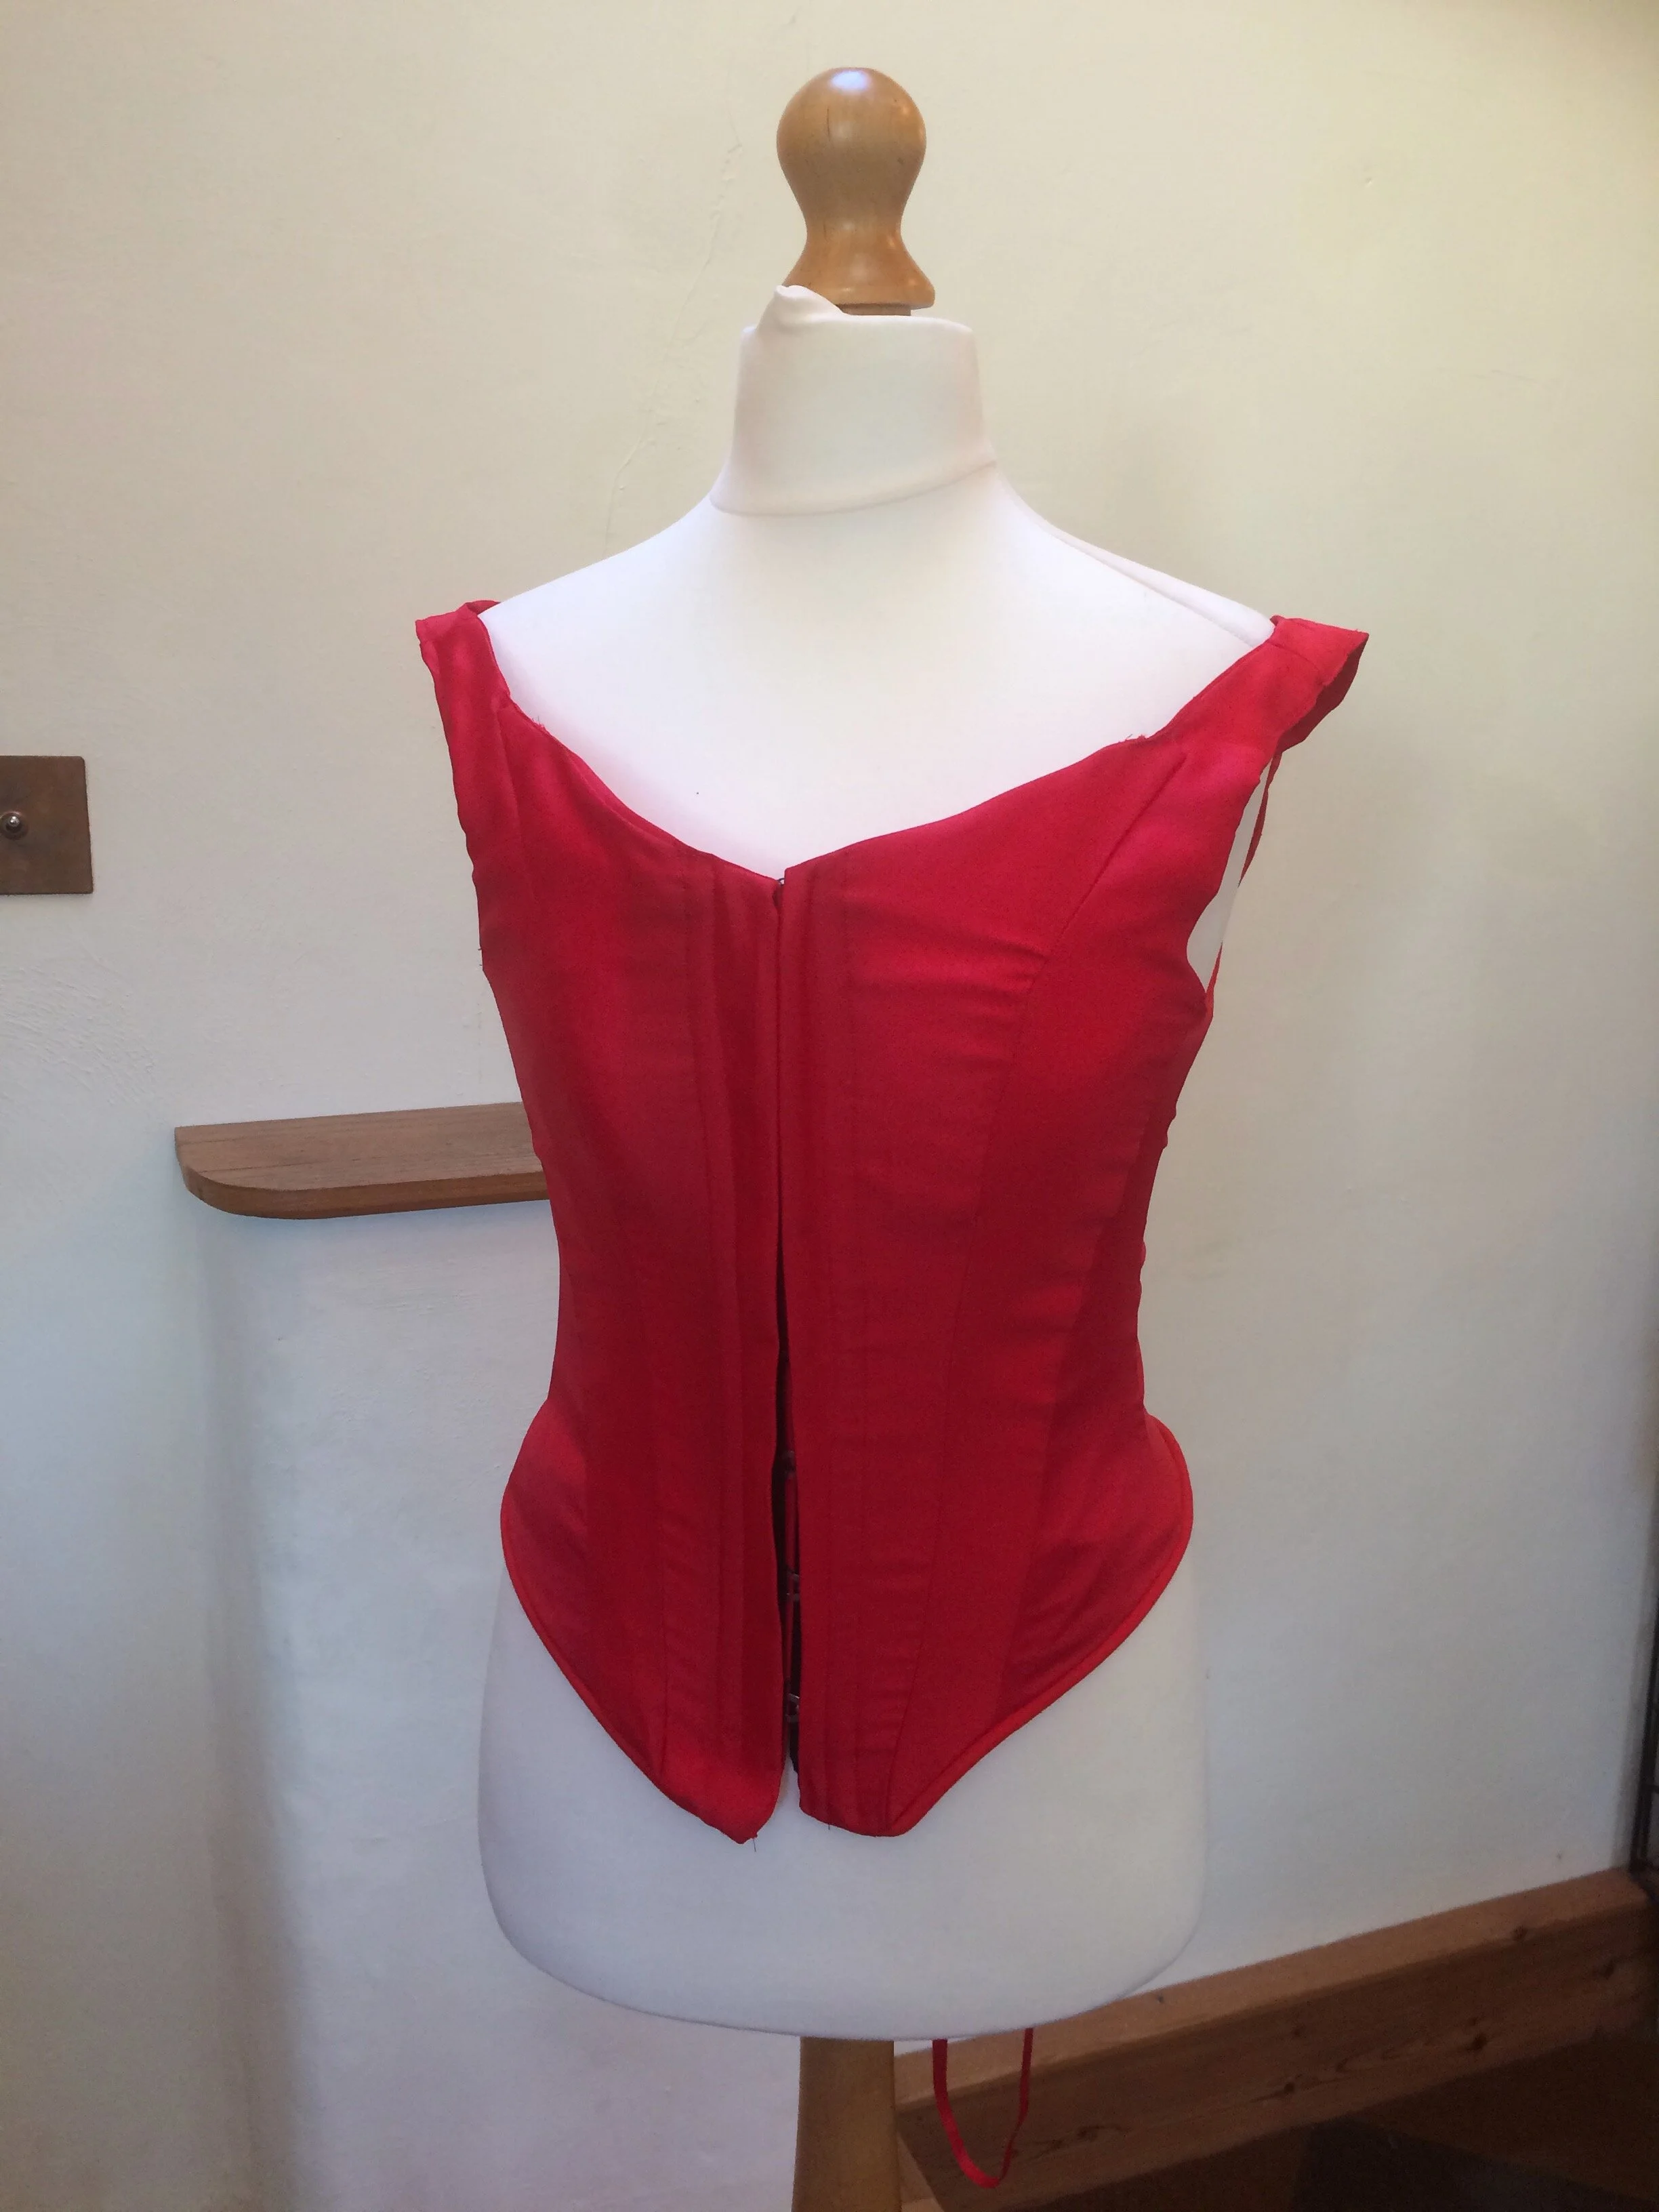
I applied iron-on interfacing to all of the red satin bodice pieces before cutting them out - this gave the satin a very sturdy feel and no stretch whatsoever. I made up the bodice, planning to use black cotton as the lining. However, the stiffness of the interfacing caused the fabric to wrinkle at the curves and I didn't like the look of that, so I decided to 'line' it with plain red satin, but to wear it with the boned layer inwards and the red satin lining outwards, which looked smoother.
Now for the shock - the final bodice was A LOT smaller than the toile. This was so disheartening. The cotton that I for the second toile had too much stretch in it, and also adding the lining made the whole bodice smaller. I was ready to cry at this point. Luckily I had made all of the toiles with the back fully laced up, so I had a lot of room to increase the size of the bodice by loosening the laces. The shape was still correct, so I just unlaced the back, did up the busk in the front and then tightened the laces again.
I felt very lucky that the bodice then fit well, and pretty humbled at how wrong I'd managed to go, even after trying to do everything right and using two mock-ups.
Boning
This was the first time I had worked with boning. I bought a continuous strip of 6.5mm flat boning from Sew Curvy, and a shorter amount of 7mm spiral boning. The spiral boning is more flexible and I used it on the most curvy seams over the bust, with the flat boning in the other seams. I cut the boning to size with tin snips, and to try out my new sewing machine, closed the boning channels with little embroidered hearts!
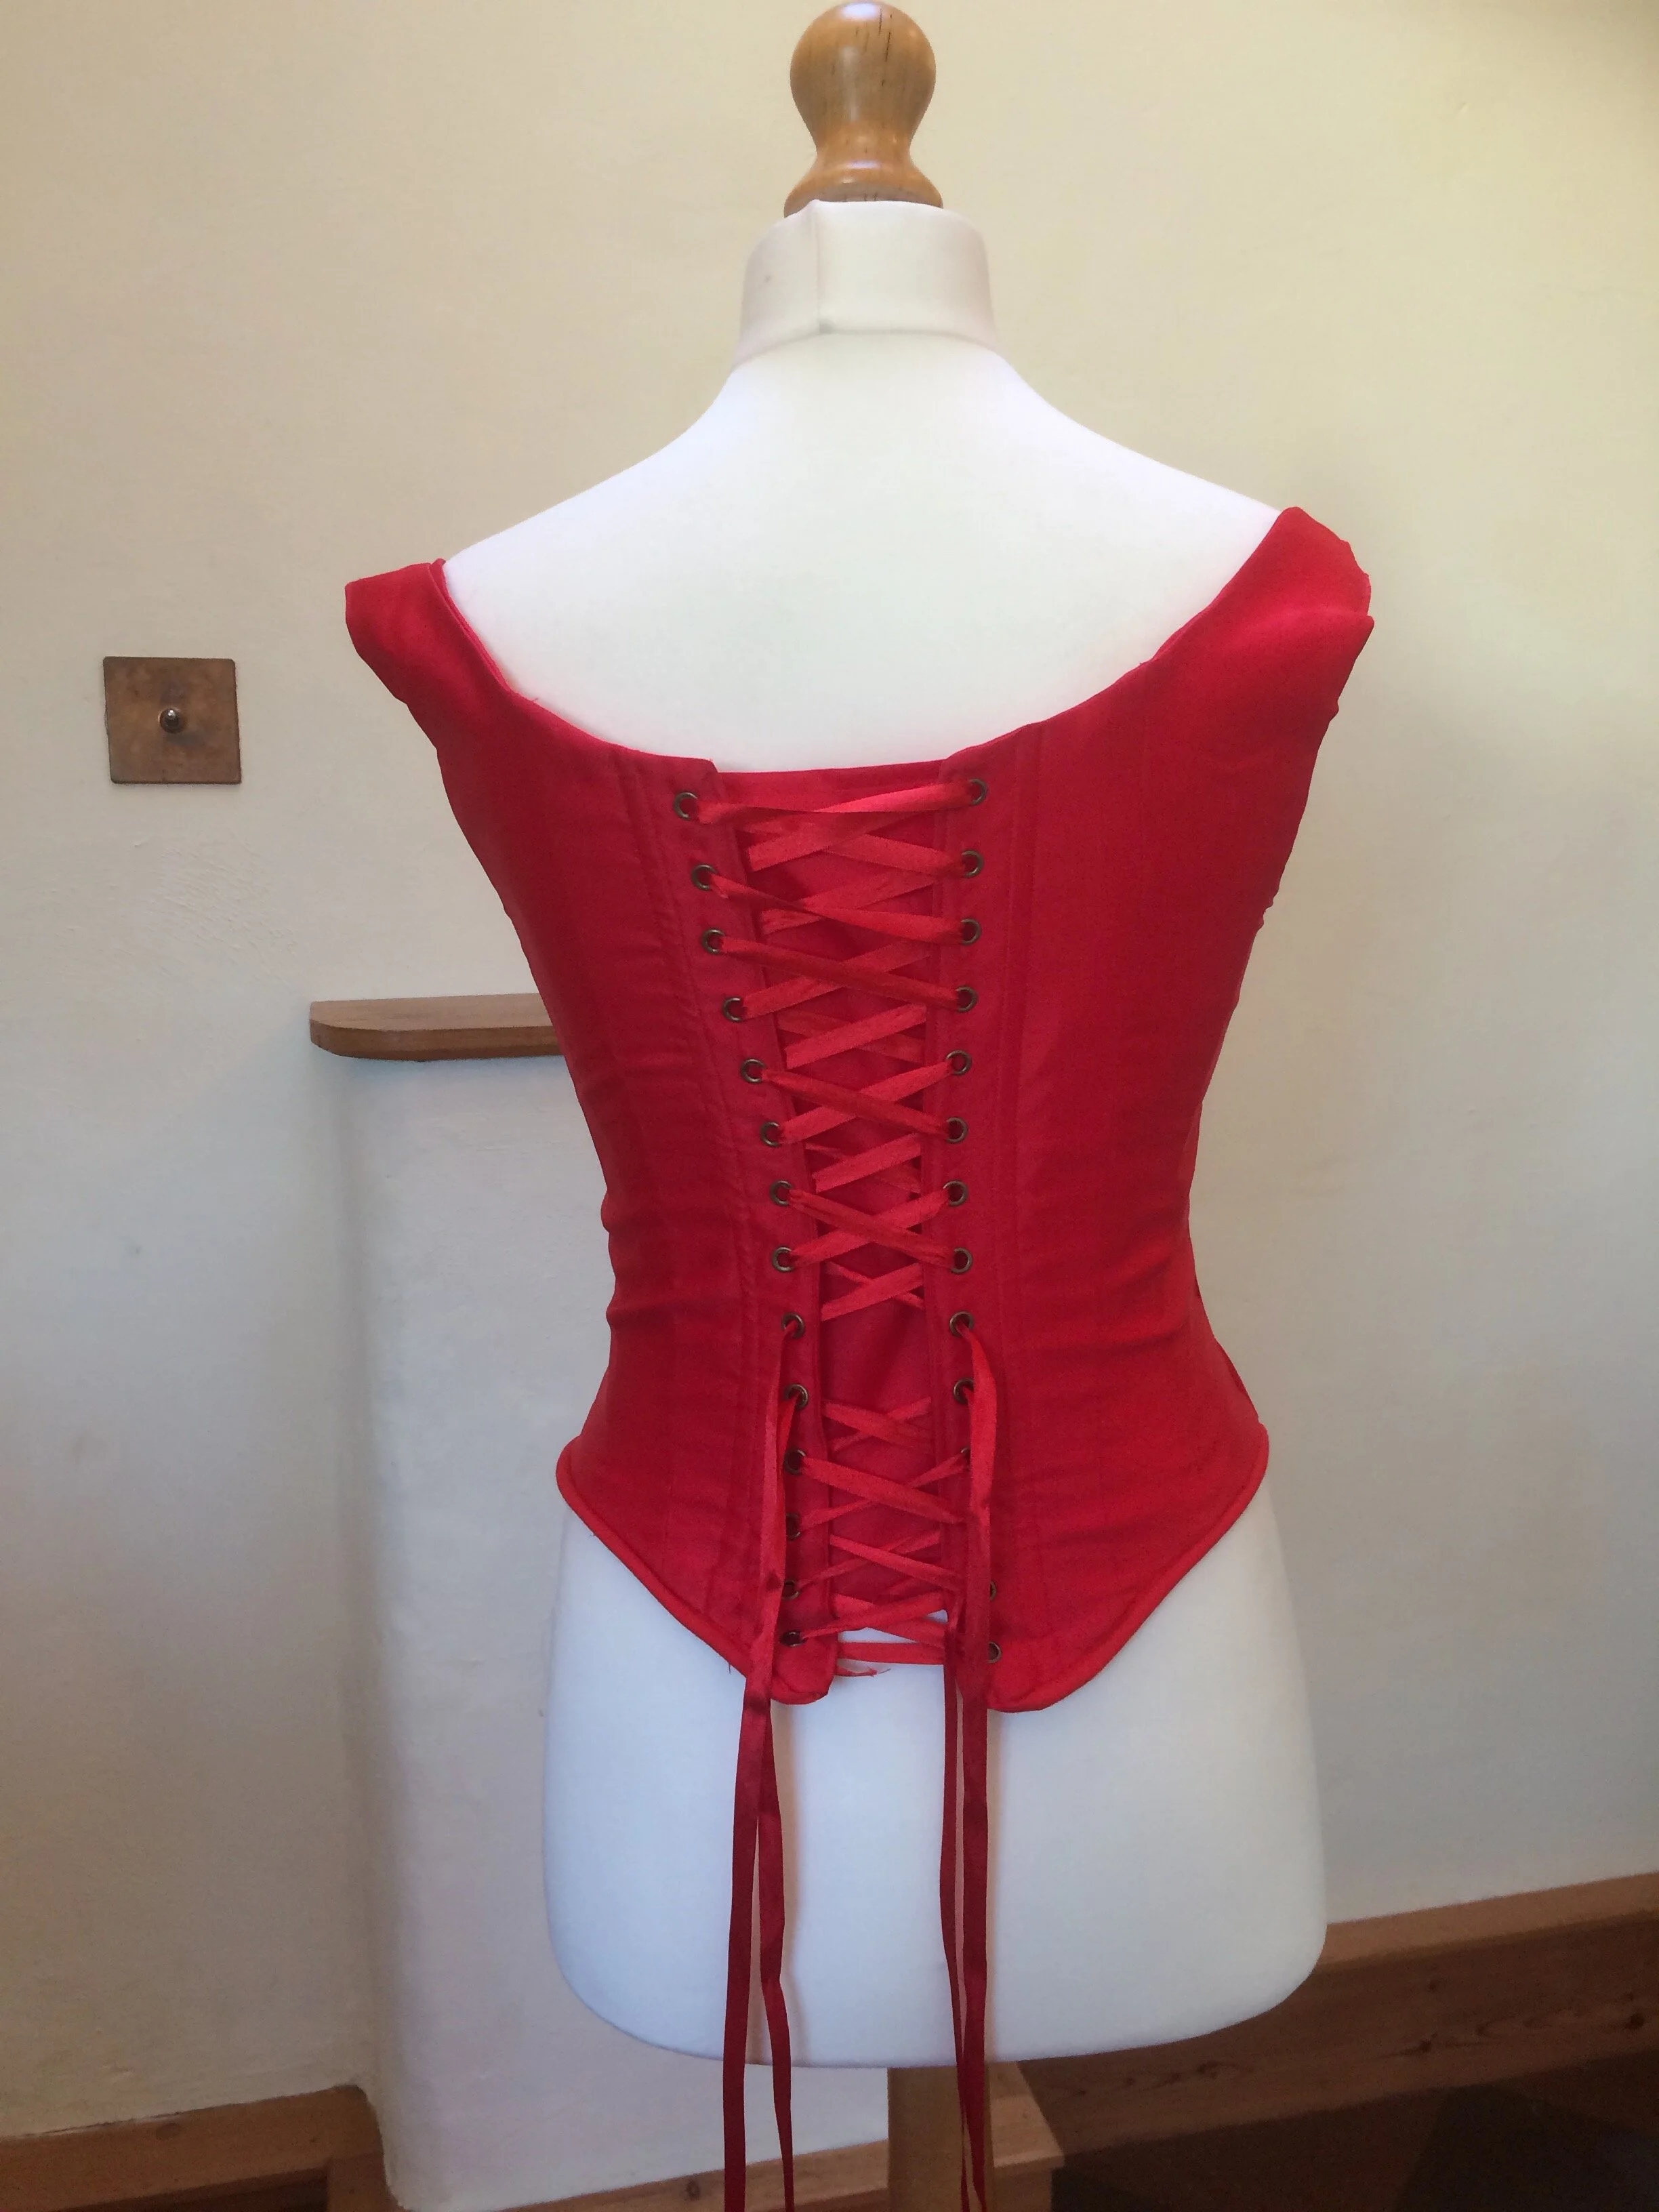
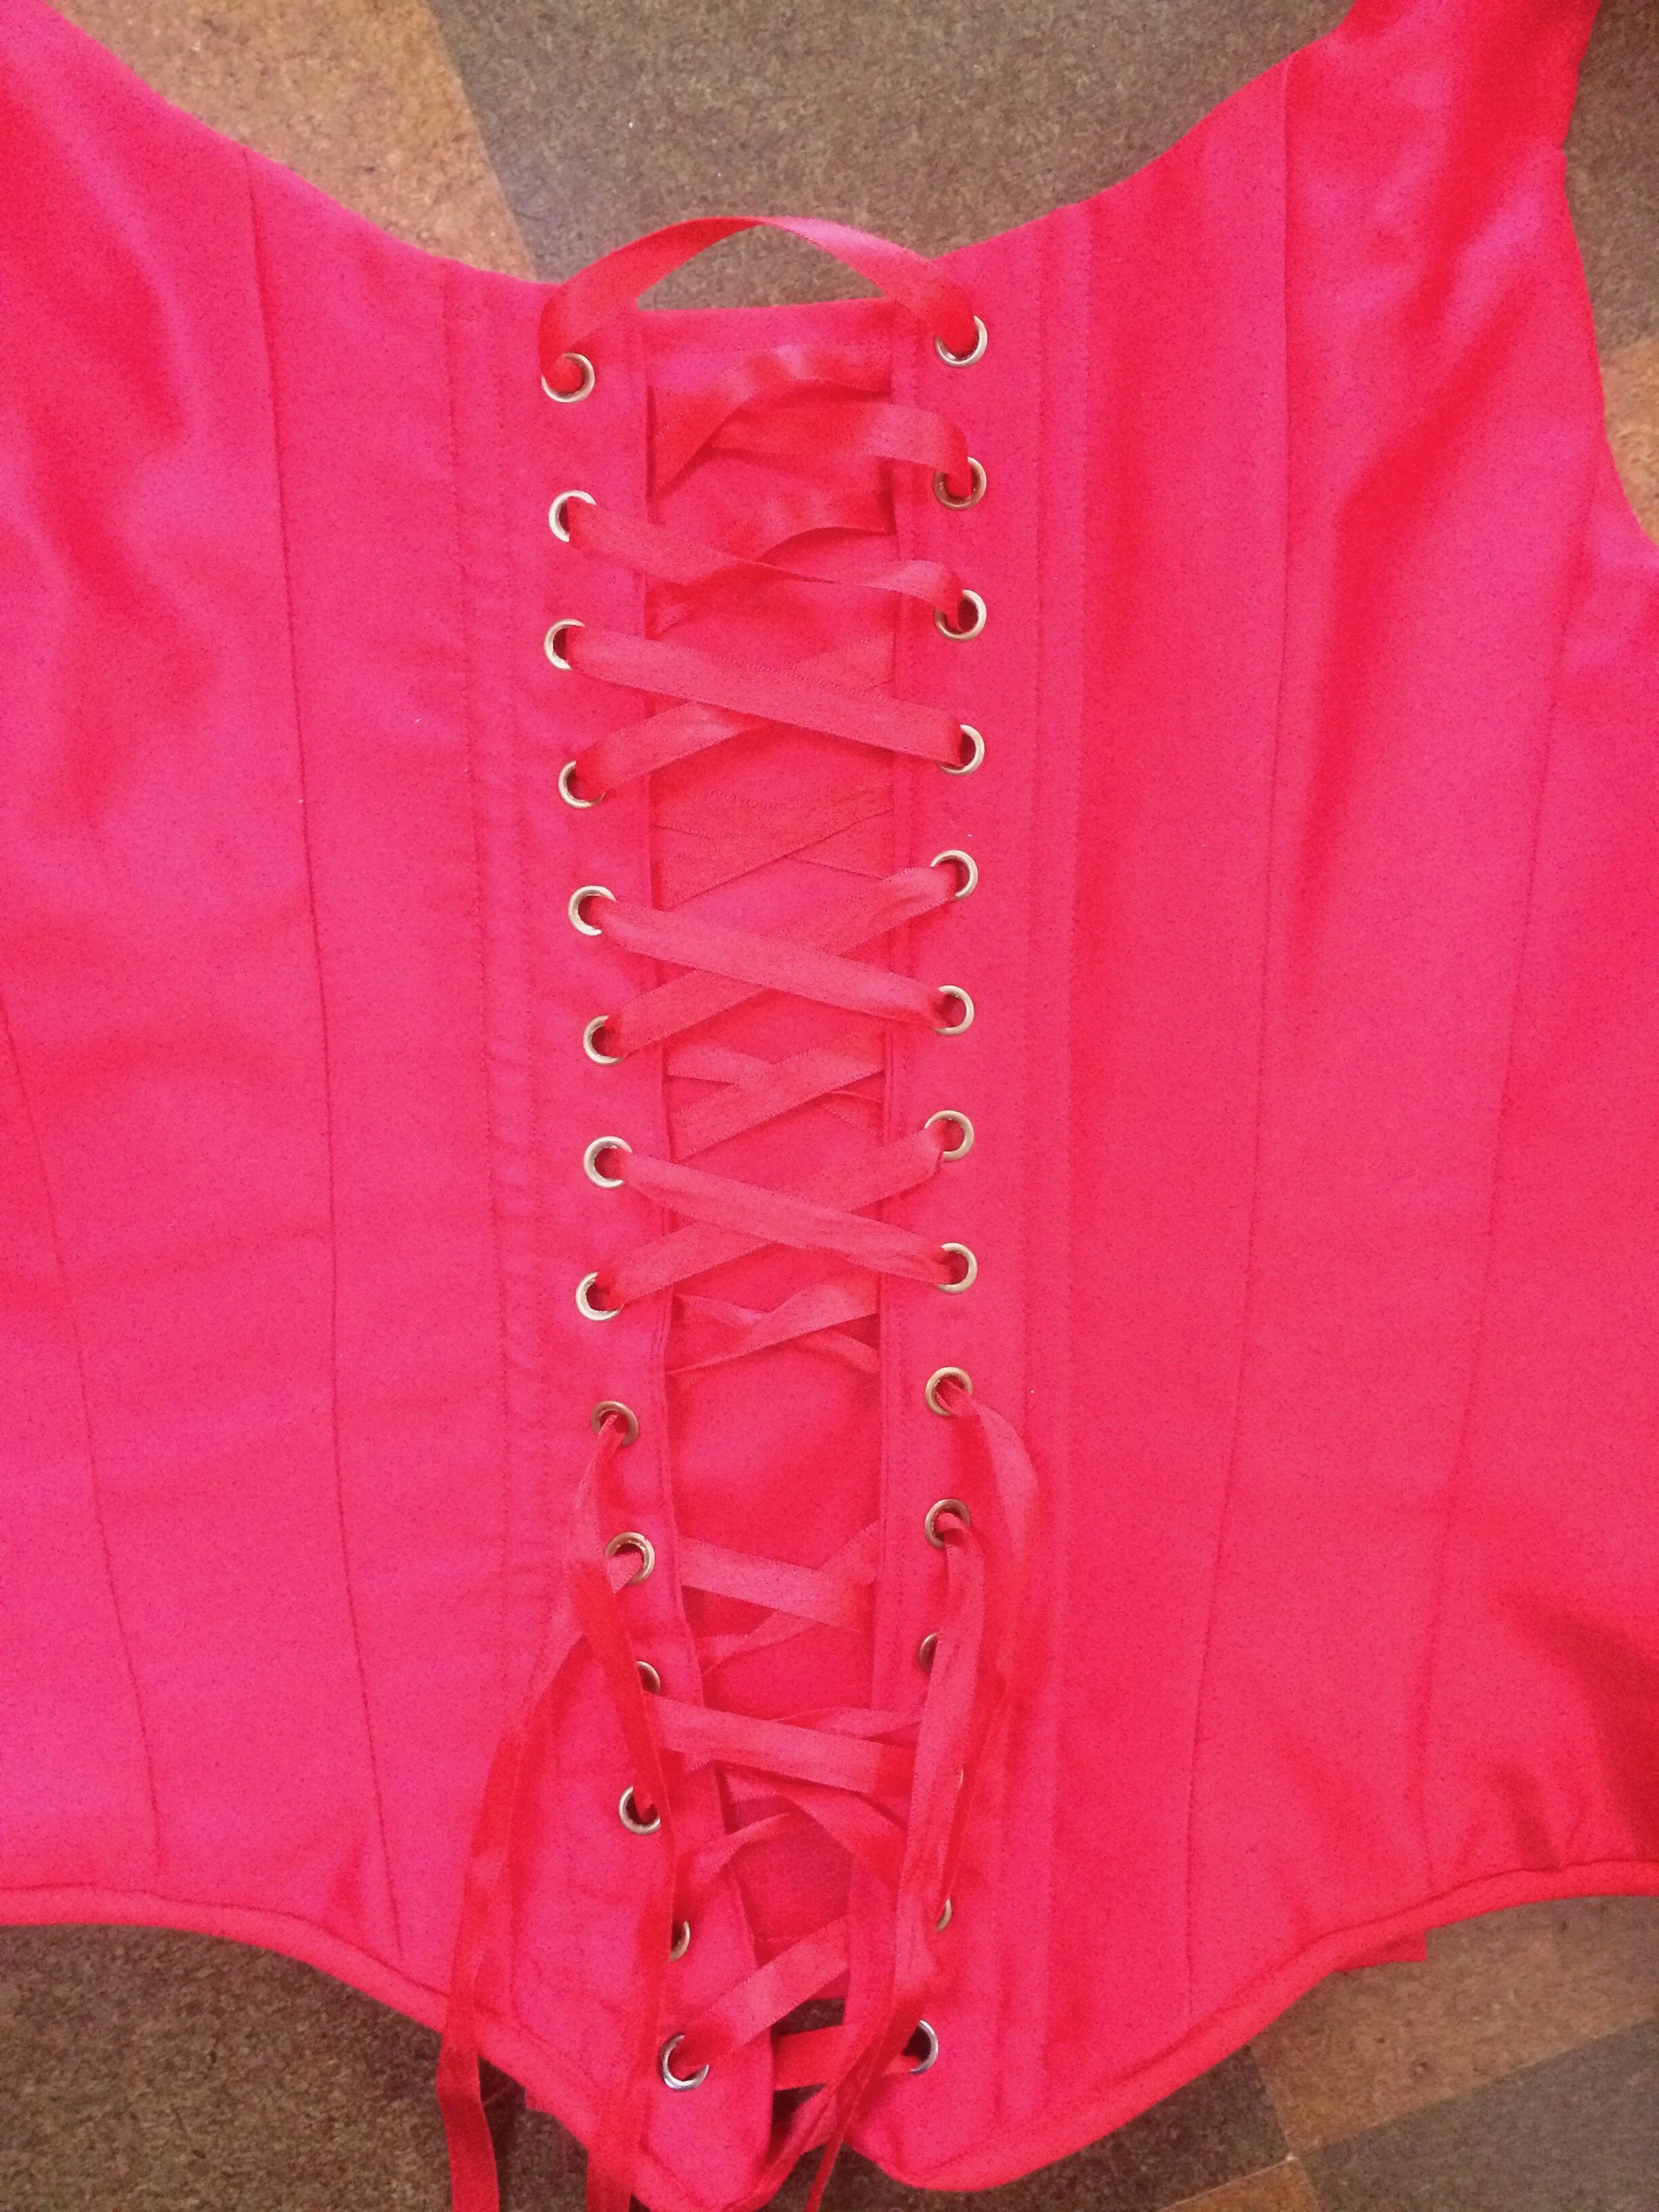
Lacing
For this I bought myself a new treat, a grommet kit. For under £8 I got a basic grommet setter kit from Amazon with over 100 grommets, and now I want to grommet everything.
Some red ribbon laced through the holes, with the excess ribbon at the waist allowed me to pull the bodice tight once I'd done up the busk at the front.
And that was the dress finished.